How to care for orchids in spring: 3 tips
Spring is in the air – and orchids can sense it too. Longer days and rising temperatures encourage plants to come out of their winter rest. Spring is the time when orchids become more active again and start producing new roots or leaves. With just a few small adjustments to your care routine, you can help your orchids make the most of the season.
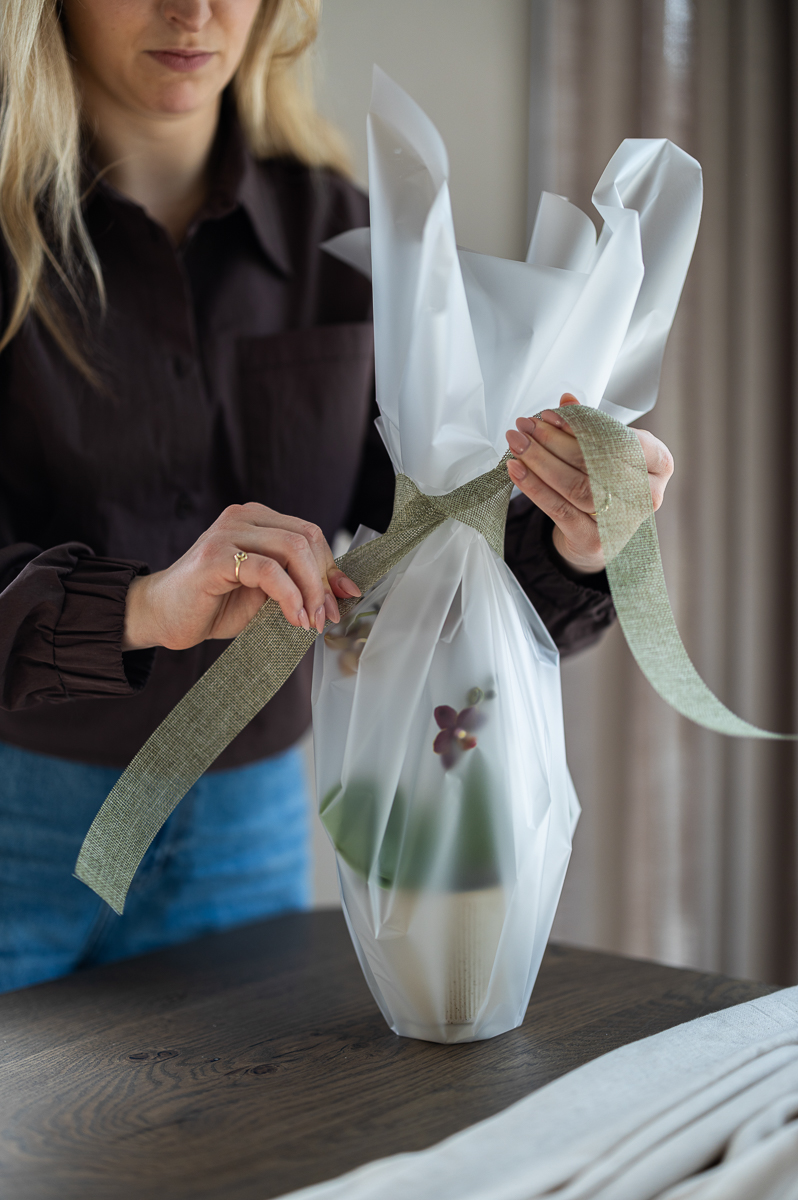
Also read: Bring spring into your home with orchids
How to care for orchids in spring
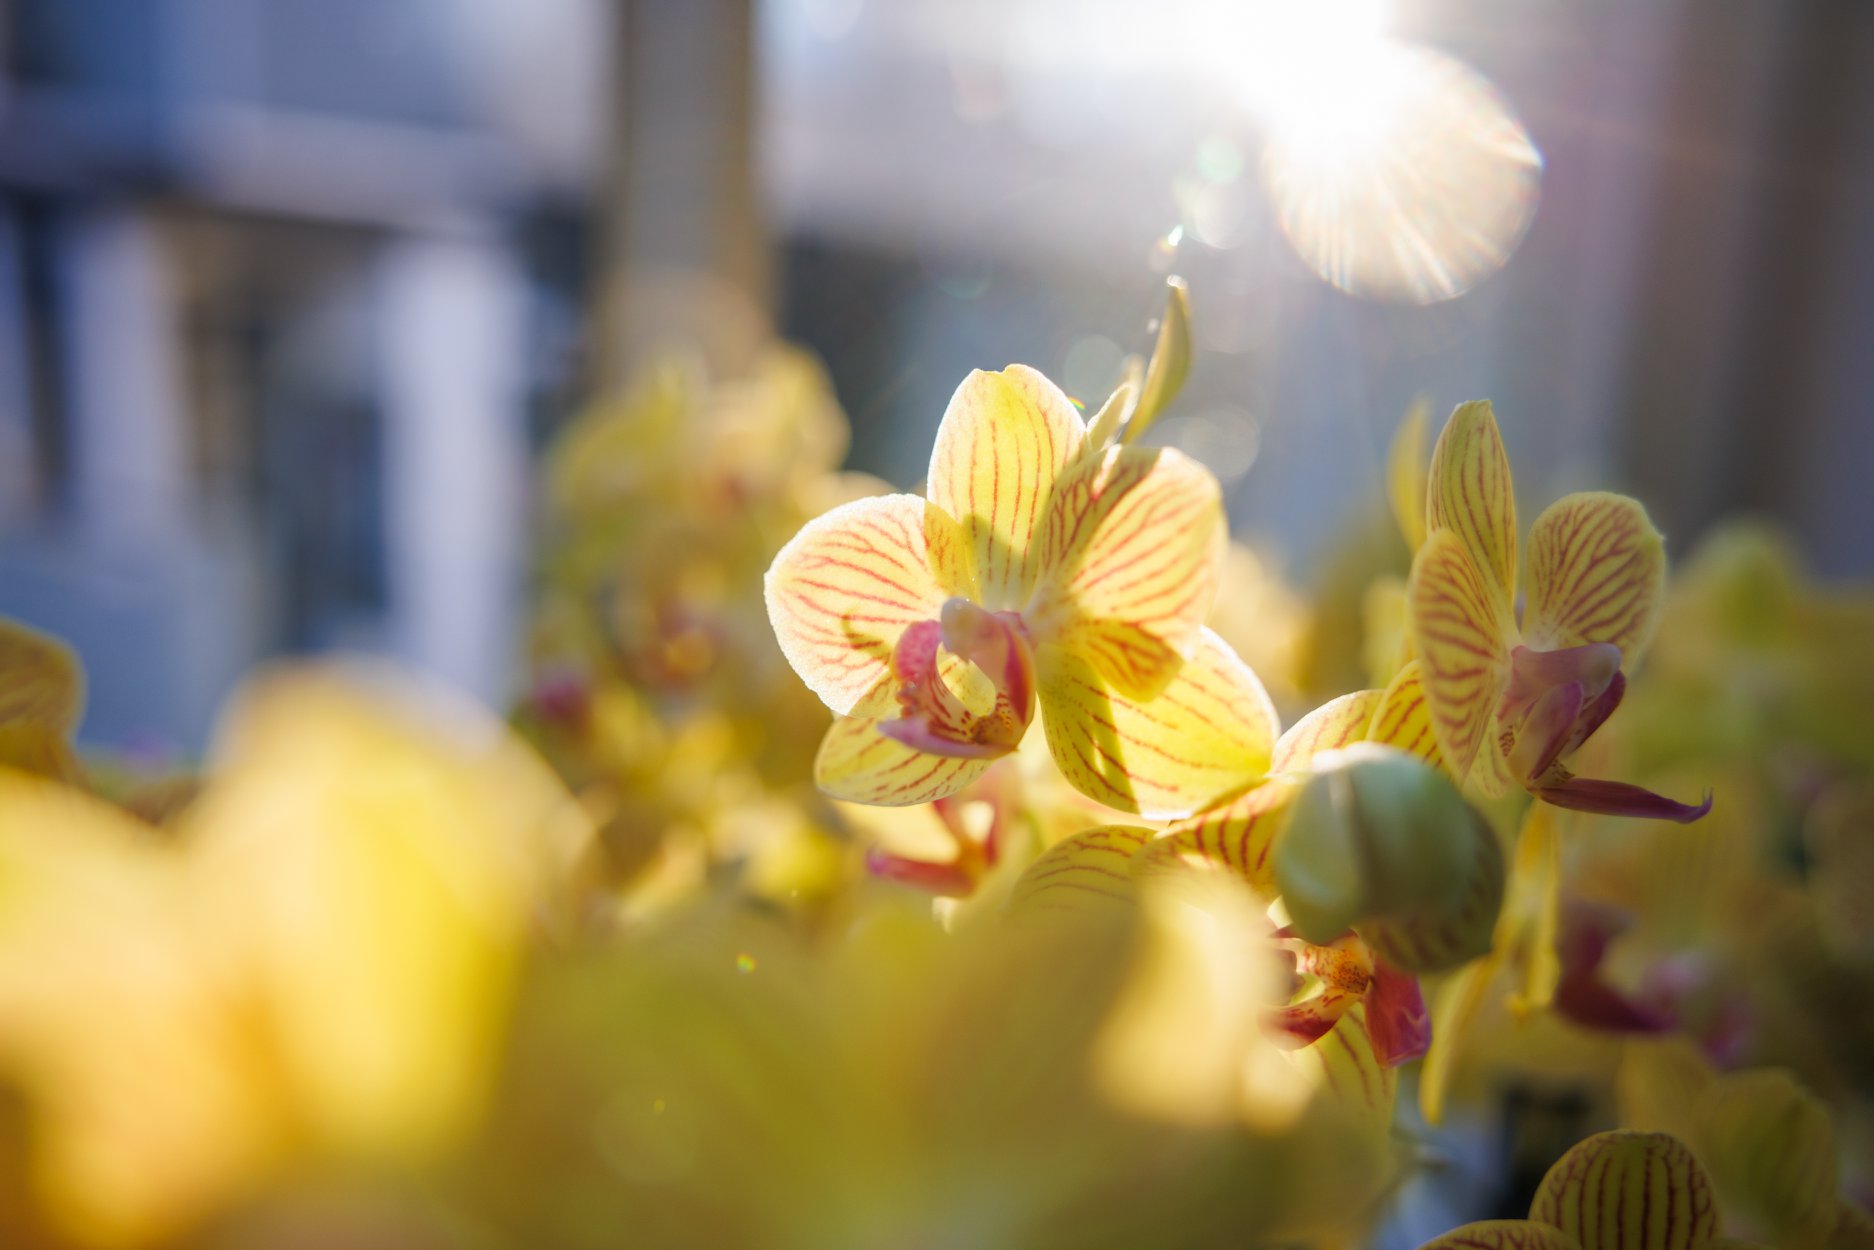
Indirect sunlight
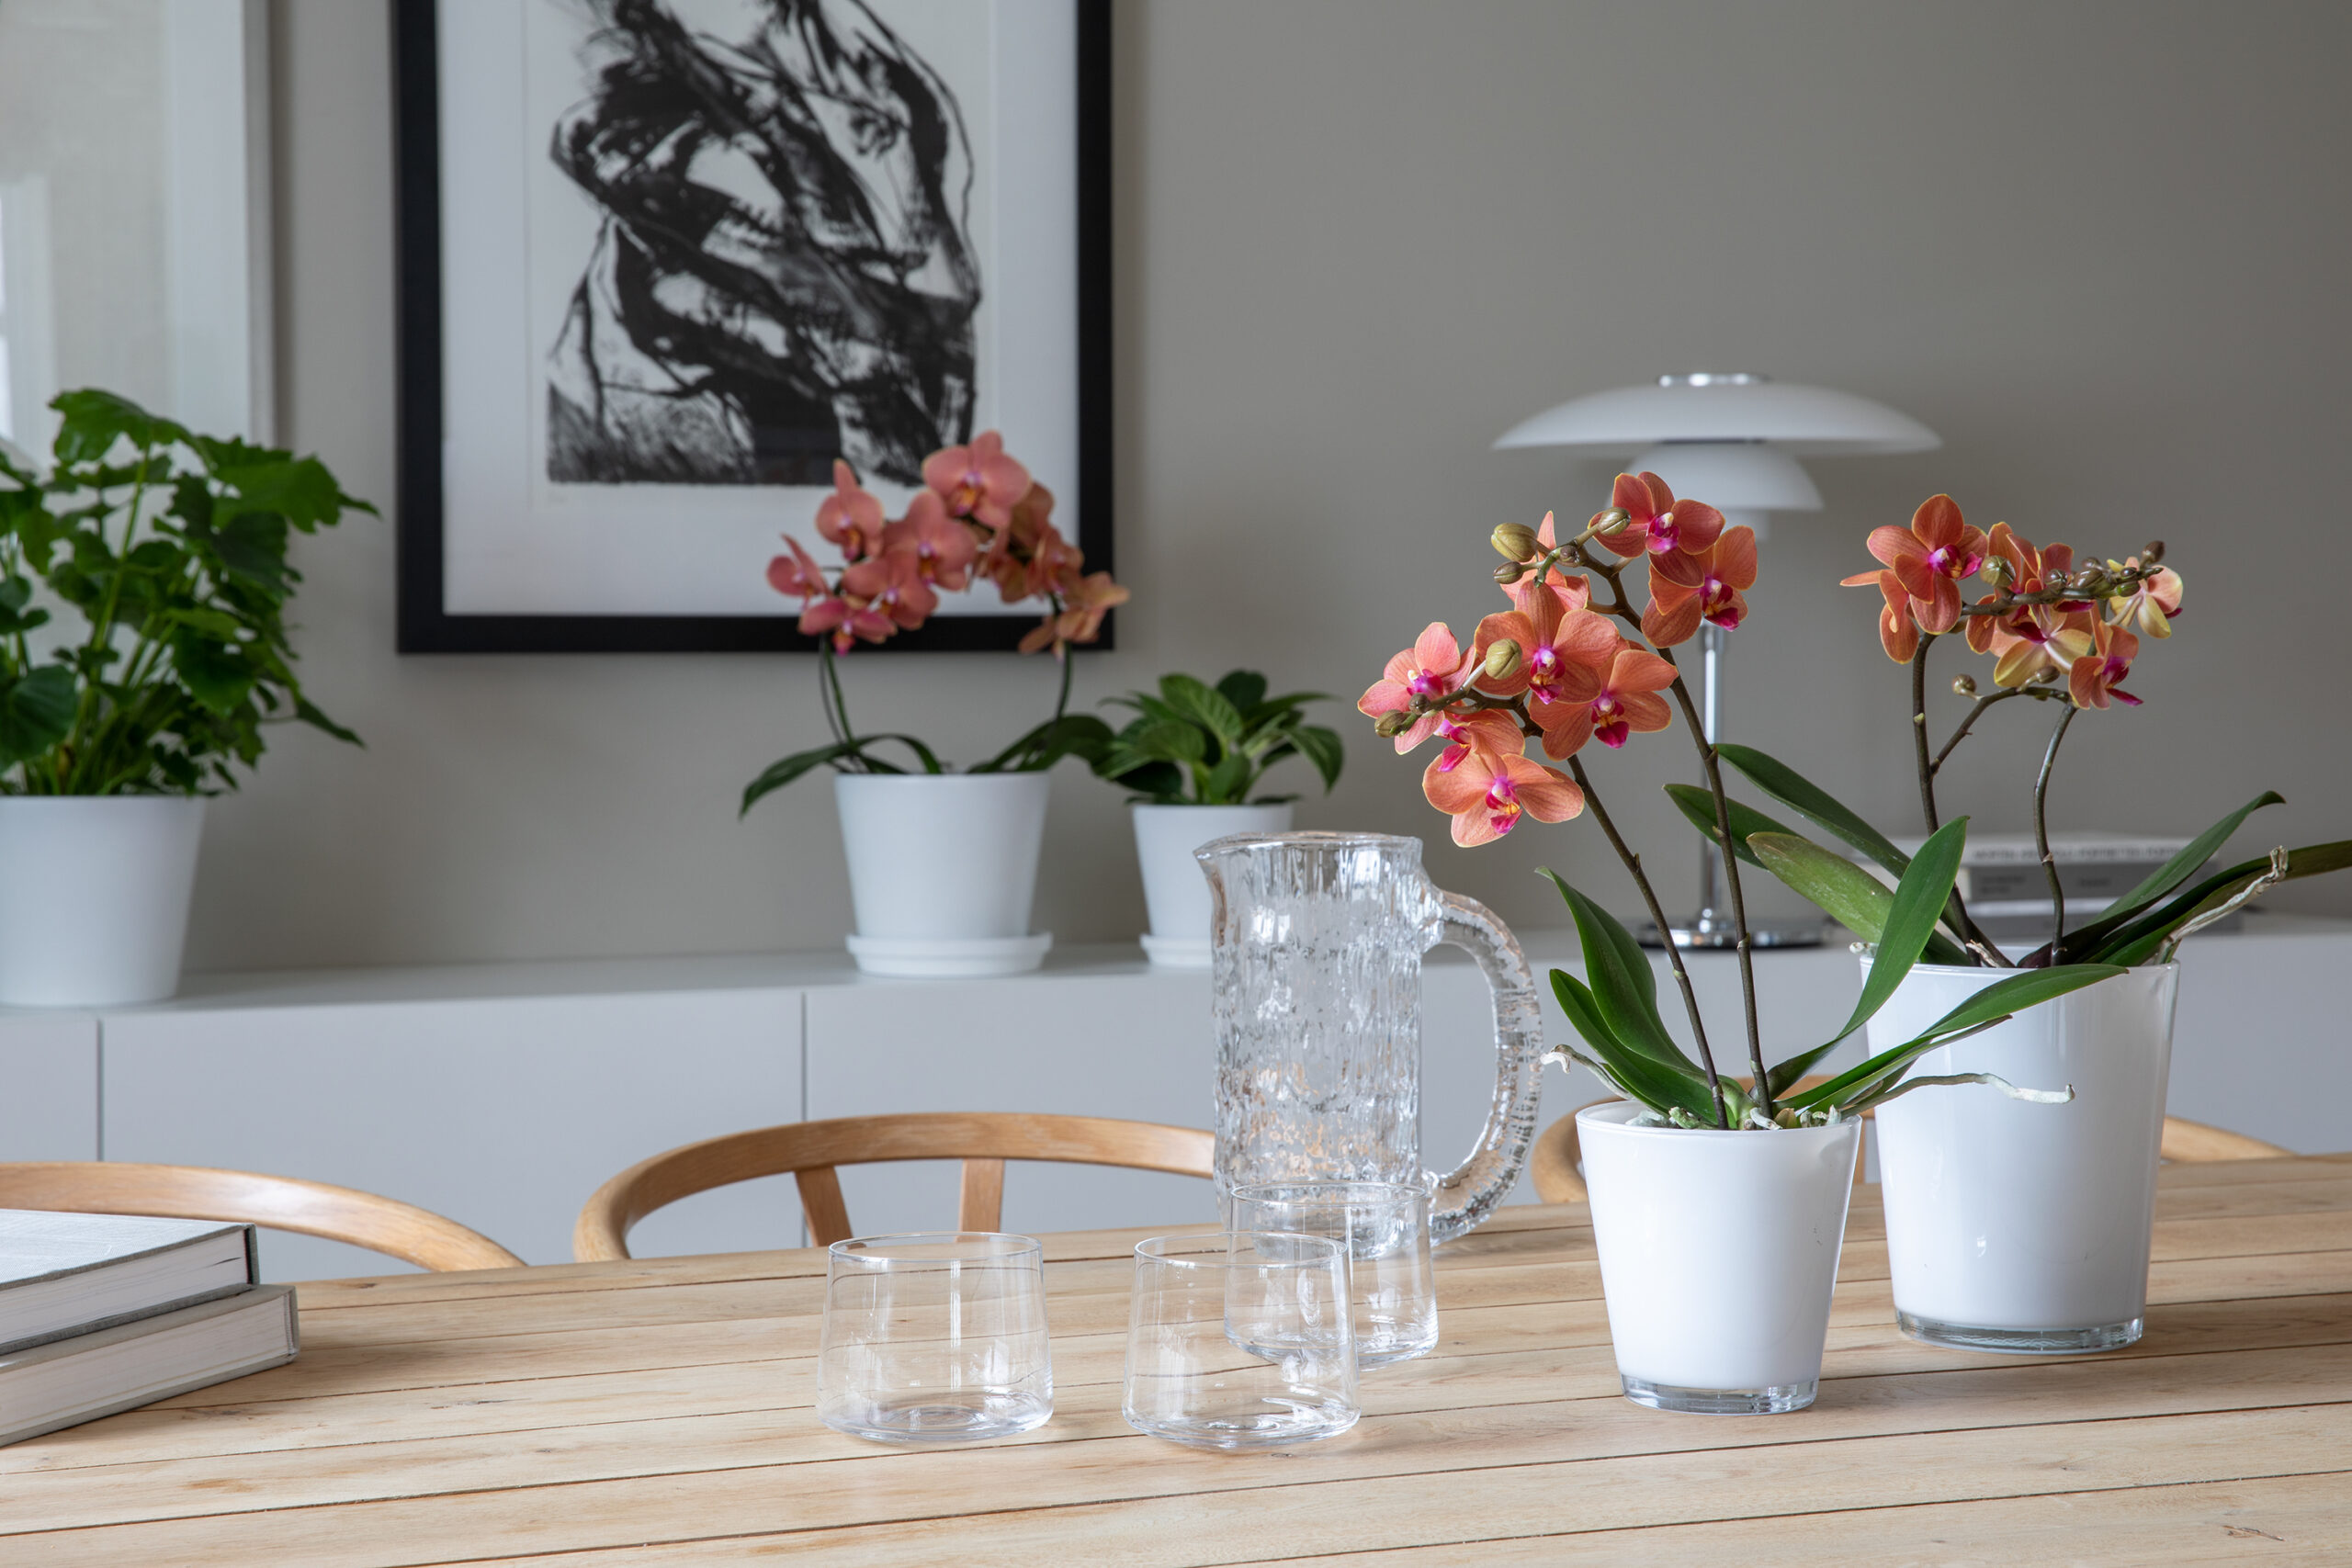
Now that the days are getting longer, your orchids are likely receiving more sunlight. While they enjoy plenty of light, they do not tolerate direct sun. Check whether your plants are sitting in full sun and, if necessary, move them slightly further back from the window. Bright, indirect light is ideal.
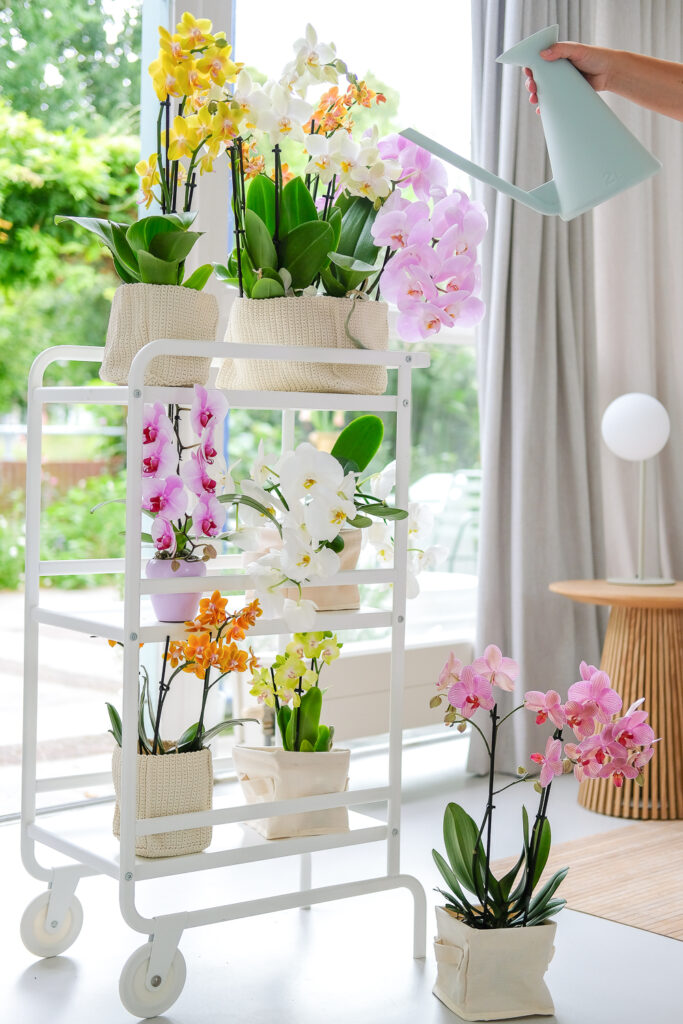
Avoid draughts
Are you opening the windows more often to air out your home? Orchids do not like draughts. A bit of fresh air from time to time won’t do any harm, but be careful with windows and doors that are frequently left open. The ideal room temperature for an orchid is between 20 and 22°C.
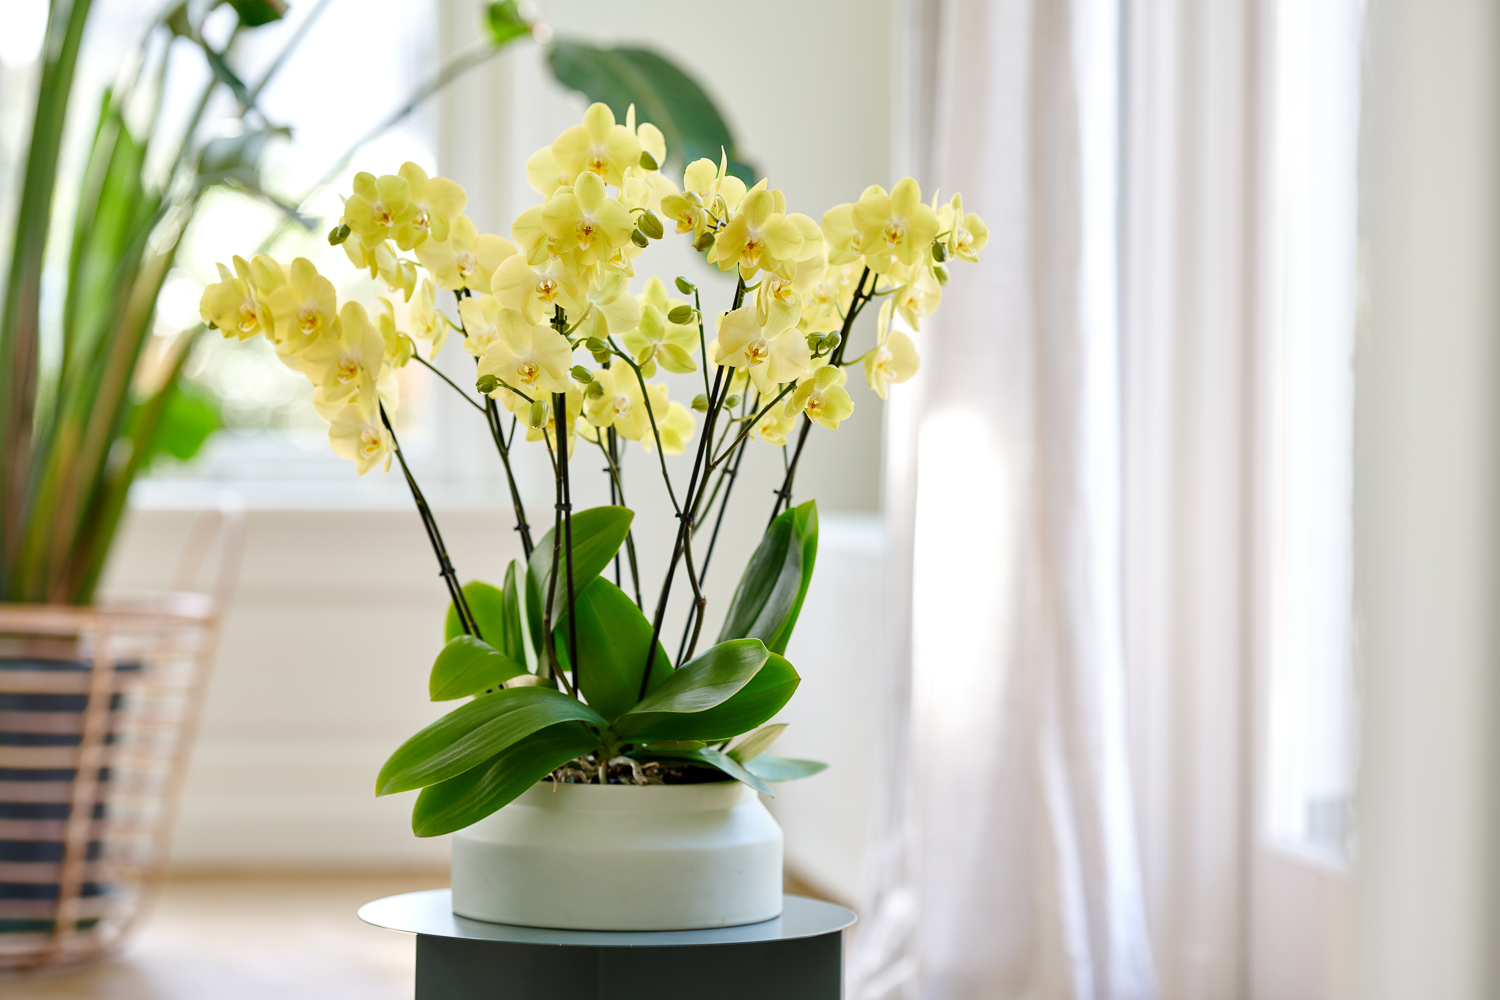
Encourage reblooming
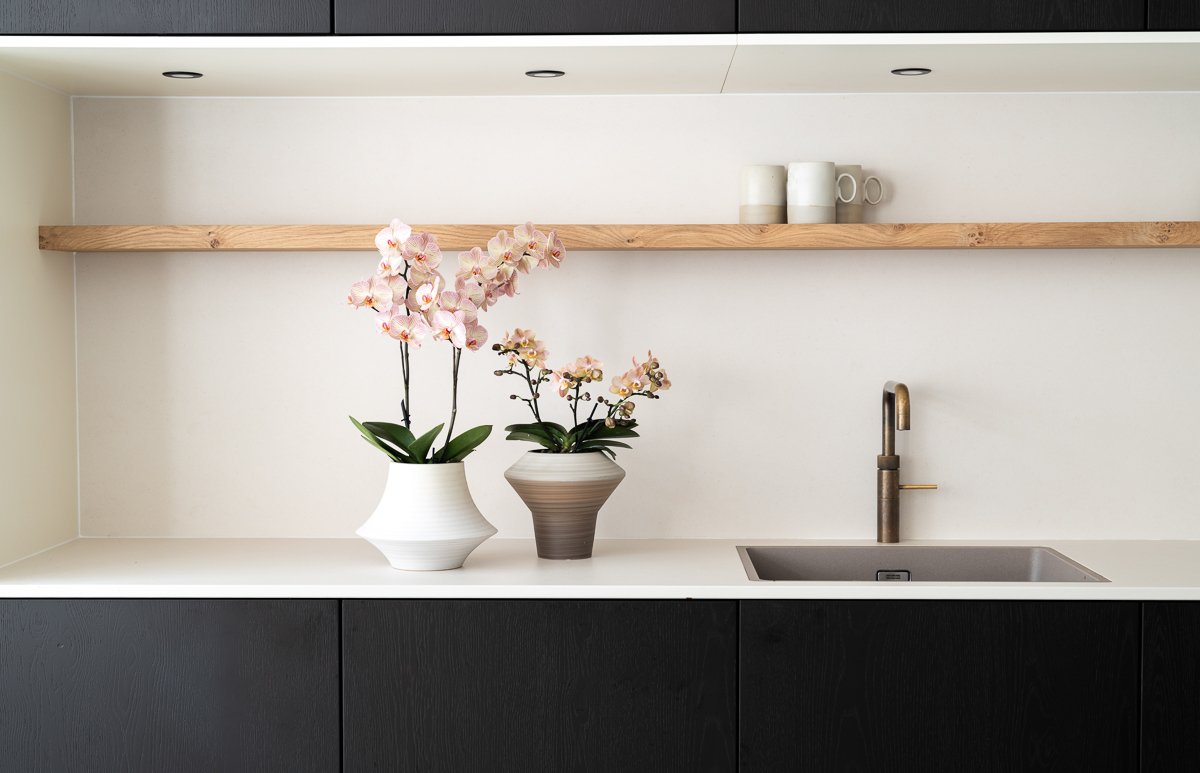
Did you know that an orchid doesn’t flower just once, but can bloom repeatedly? You can enjoy orchids for many years. And spring is the perfect time to give an orchid a fresh start. With more sunlight and warmer temperatures, orchids often begin producing new buds again, rewarding you with another beautiful display of flowers.
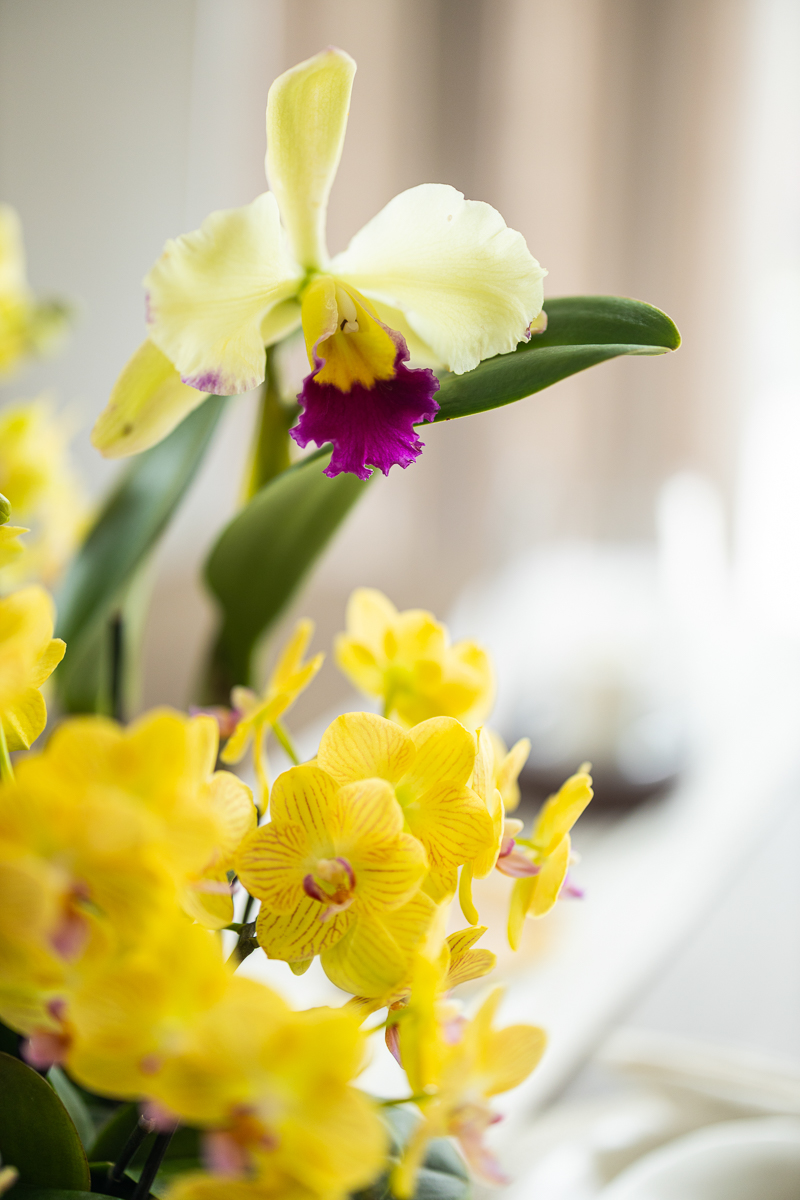
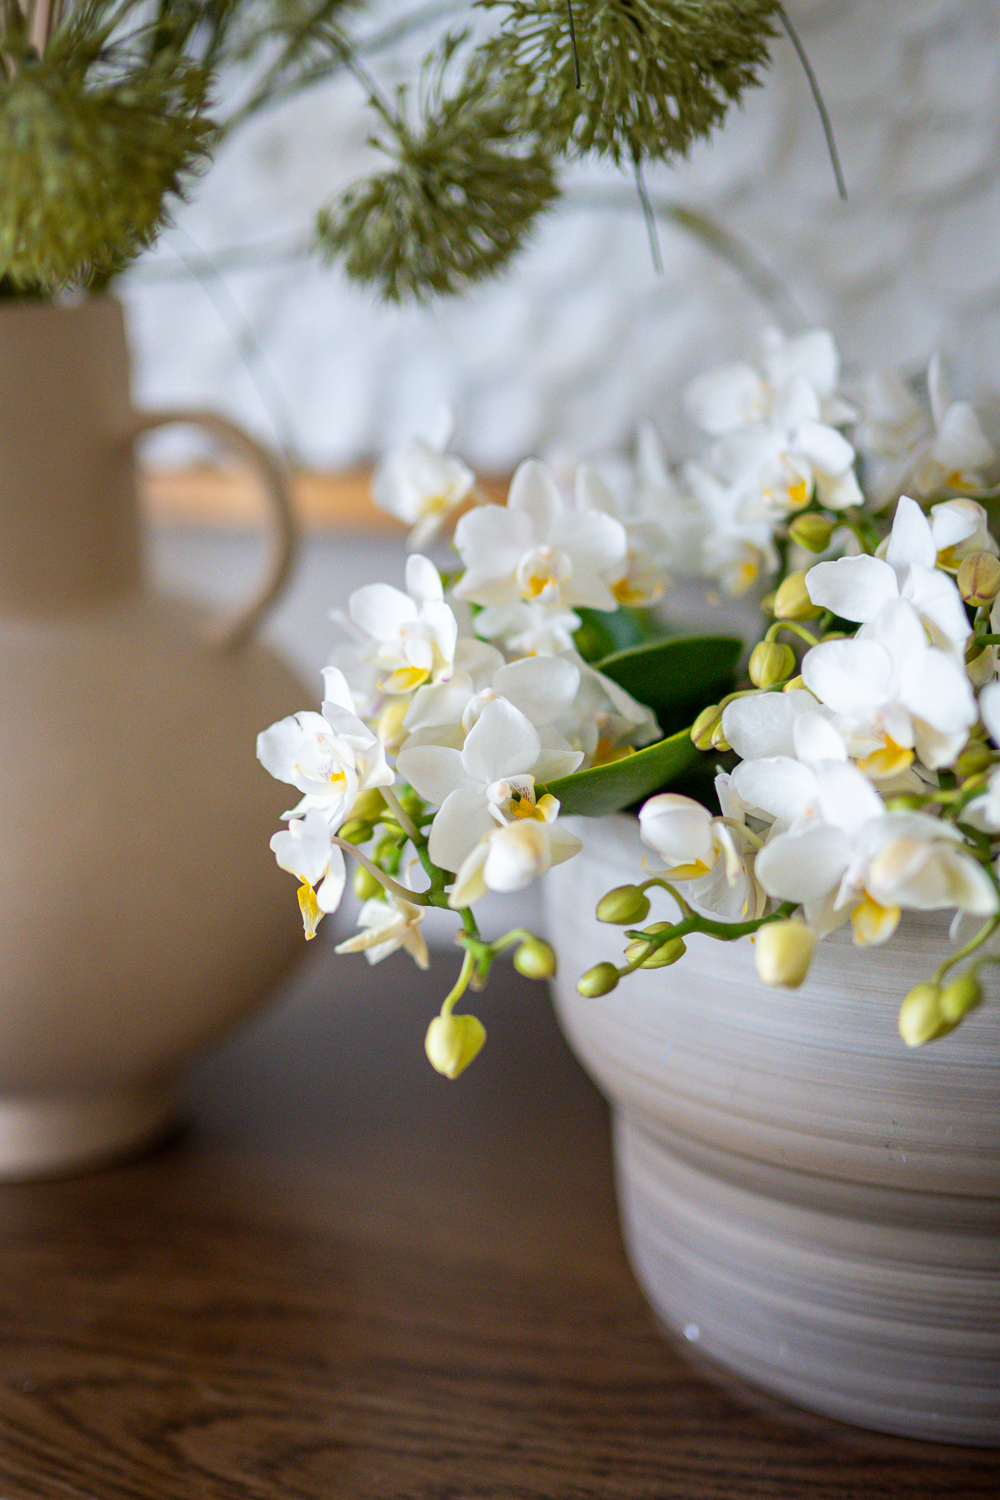
When the flowers of your orchid have finished blooming, they dry out and eventually fall off. If this doesn’t happen naturally, you can carefully trim away the dried flowers yourself. This allows the plant to focus its energy on any remaining blooms and on developing new buds.