How to bring the coastal chic trend into your home with orchids

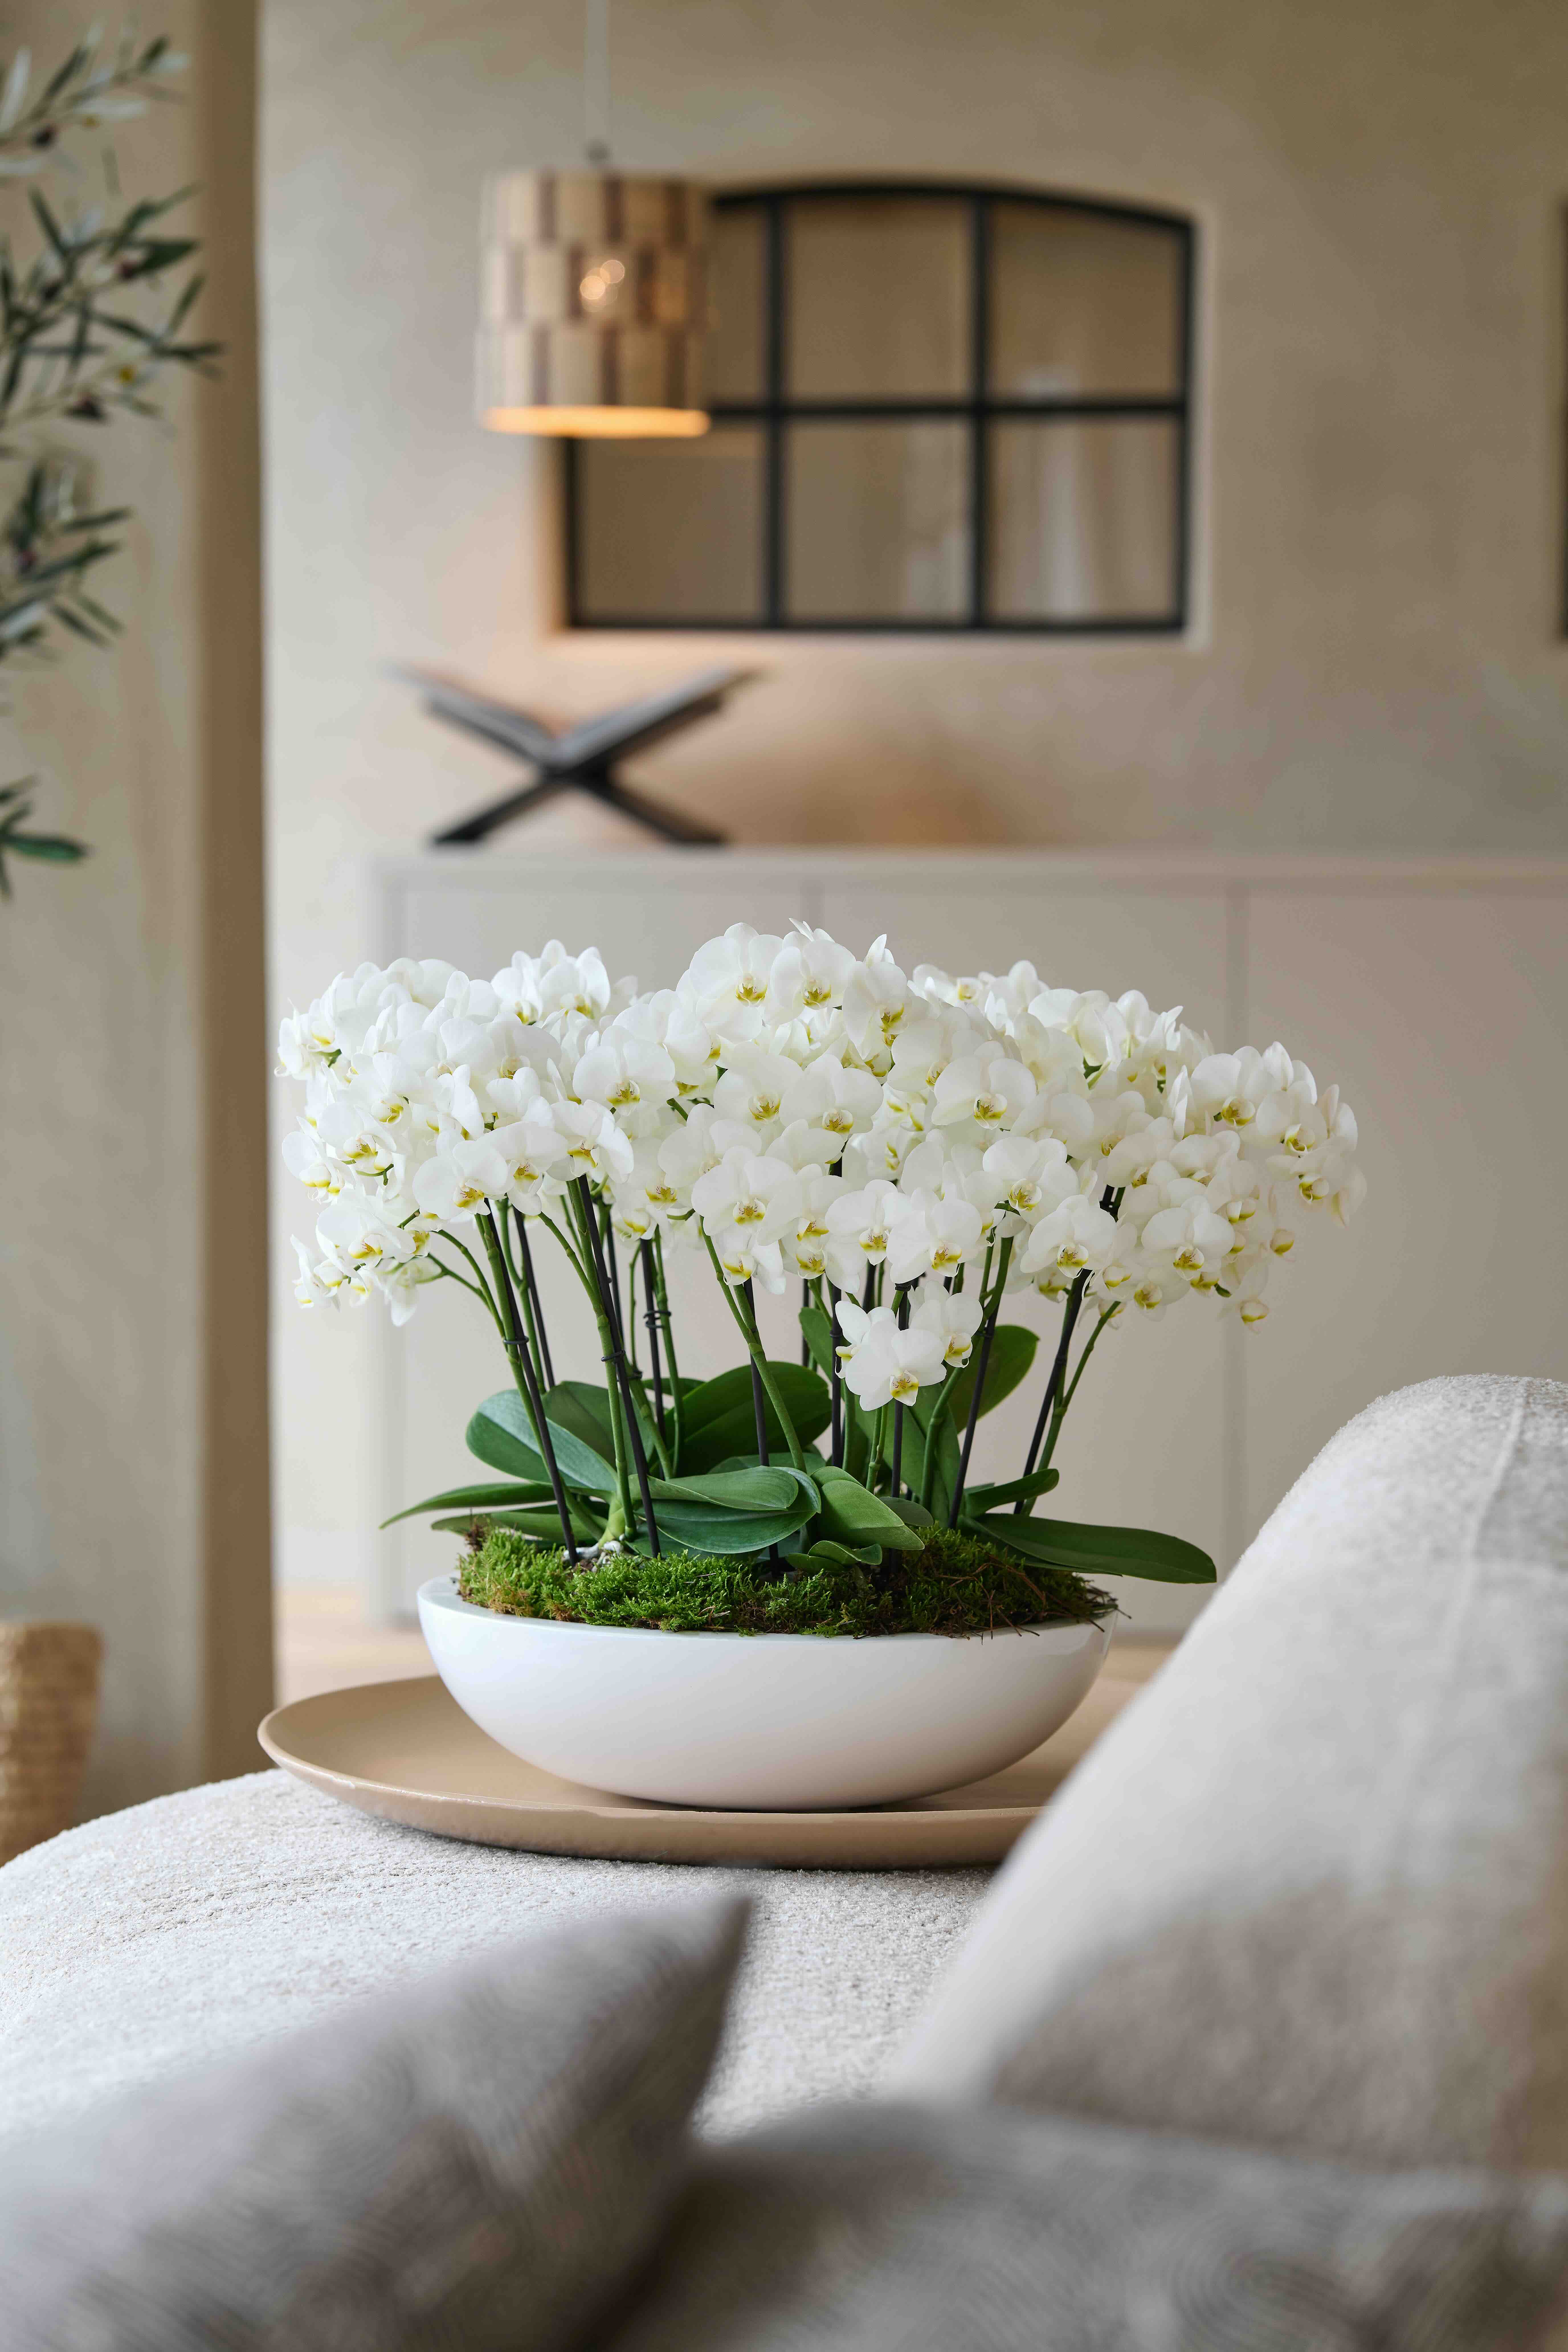
Can’t get enough of the beach and wish you could spend every summer day by the sea? Then the coastal chic trend is perfect for you. It transforms your home into a modern beach house, combining calming colours, natural materials and subtle seaside influences to create a relaxed, airy atmosphere. And the best part? With their elegant, organic shapes, orchids fit this style beautifully, adding the soft, natural touch that defines the coastal chic look.


How to bring the coastal chic trend into your home

The colours of a day at the beach

Coastal chic is all about creating a calm, natural interior. Wooden furniture, linen fabrics and woven accessories instantly evoke the feeling of a beachside retreat. The colour palette remains understated, with shades of white, sand, soft grey and a variety of blues inspired by the sea and the sky.

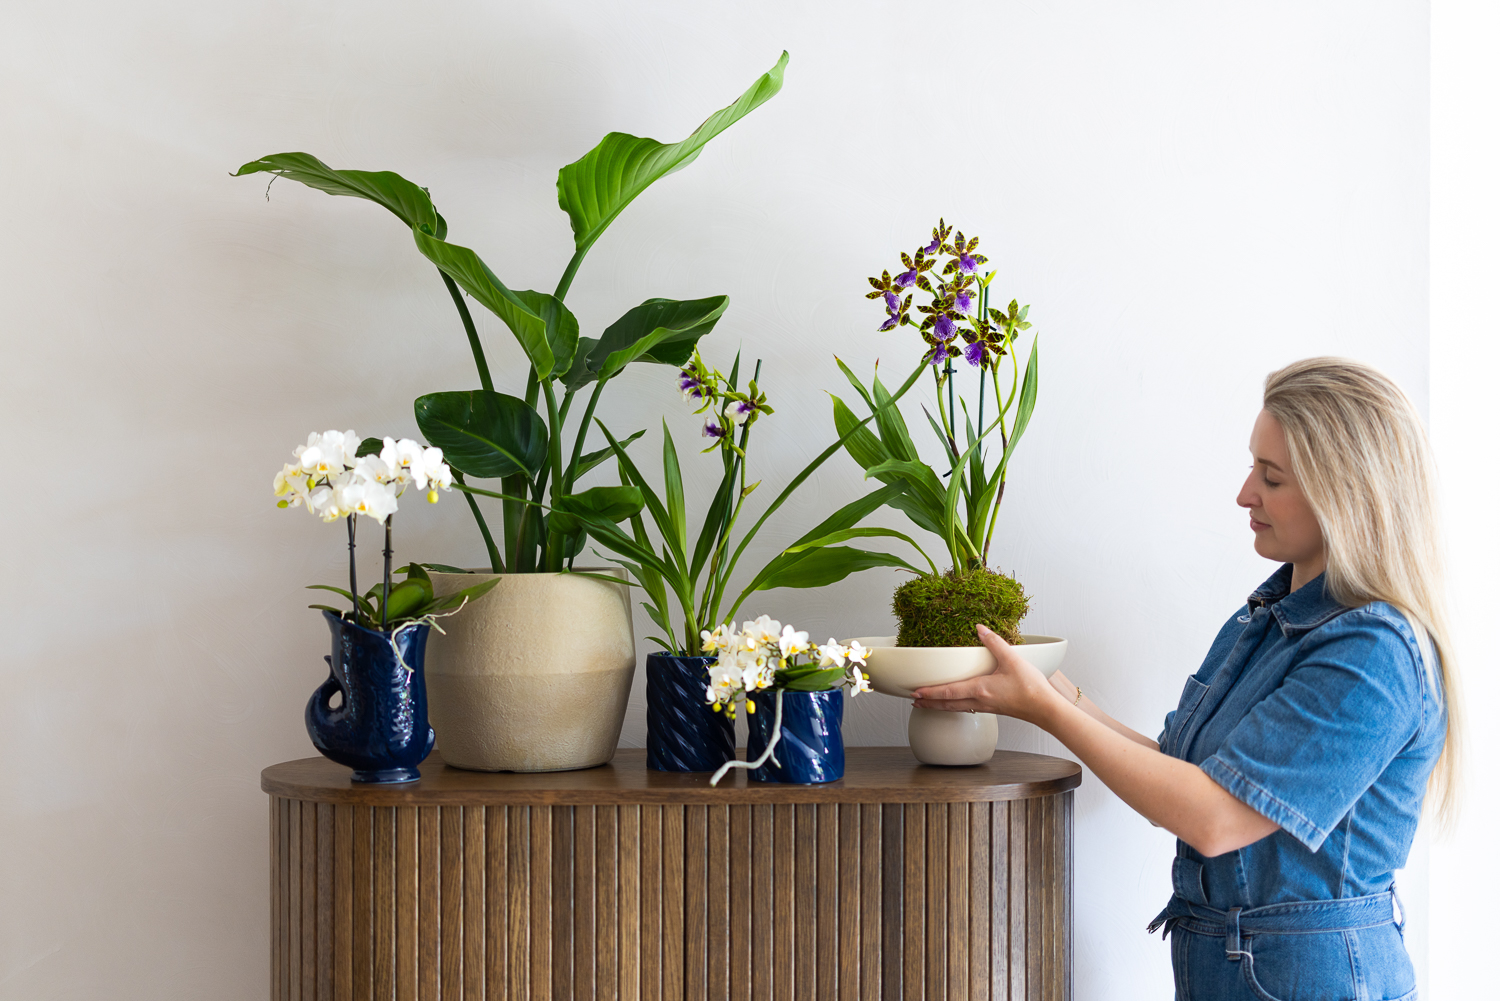
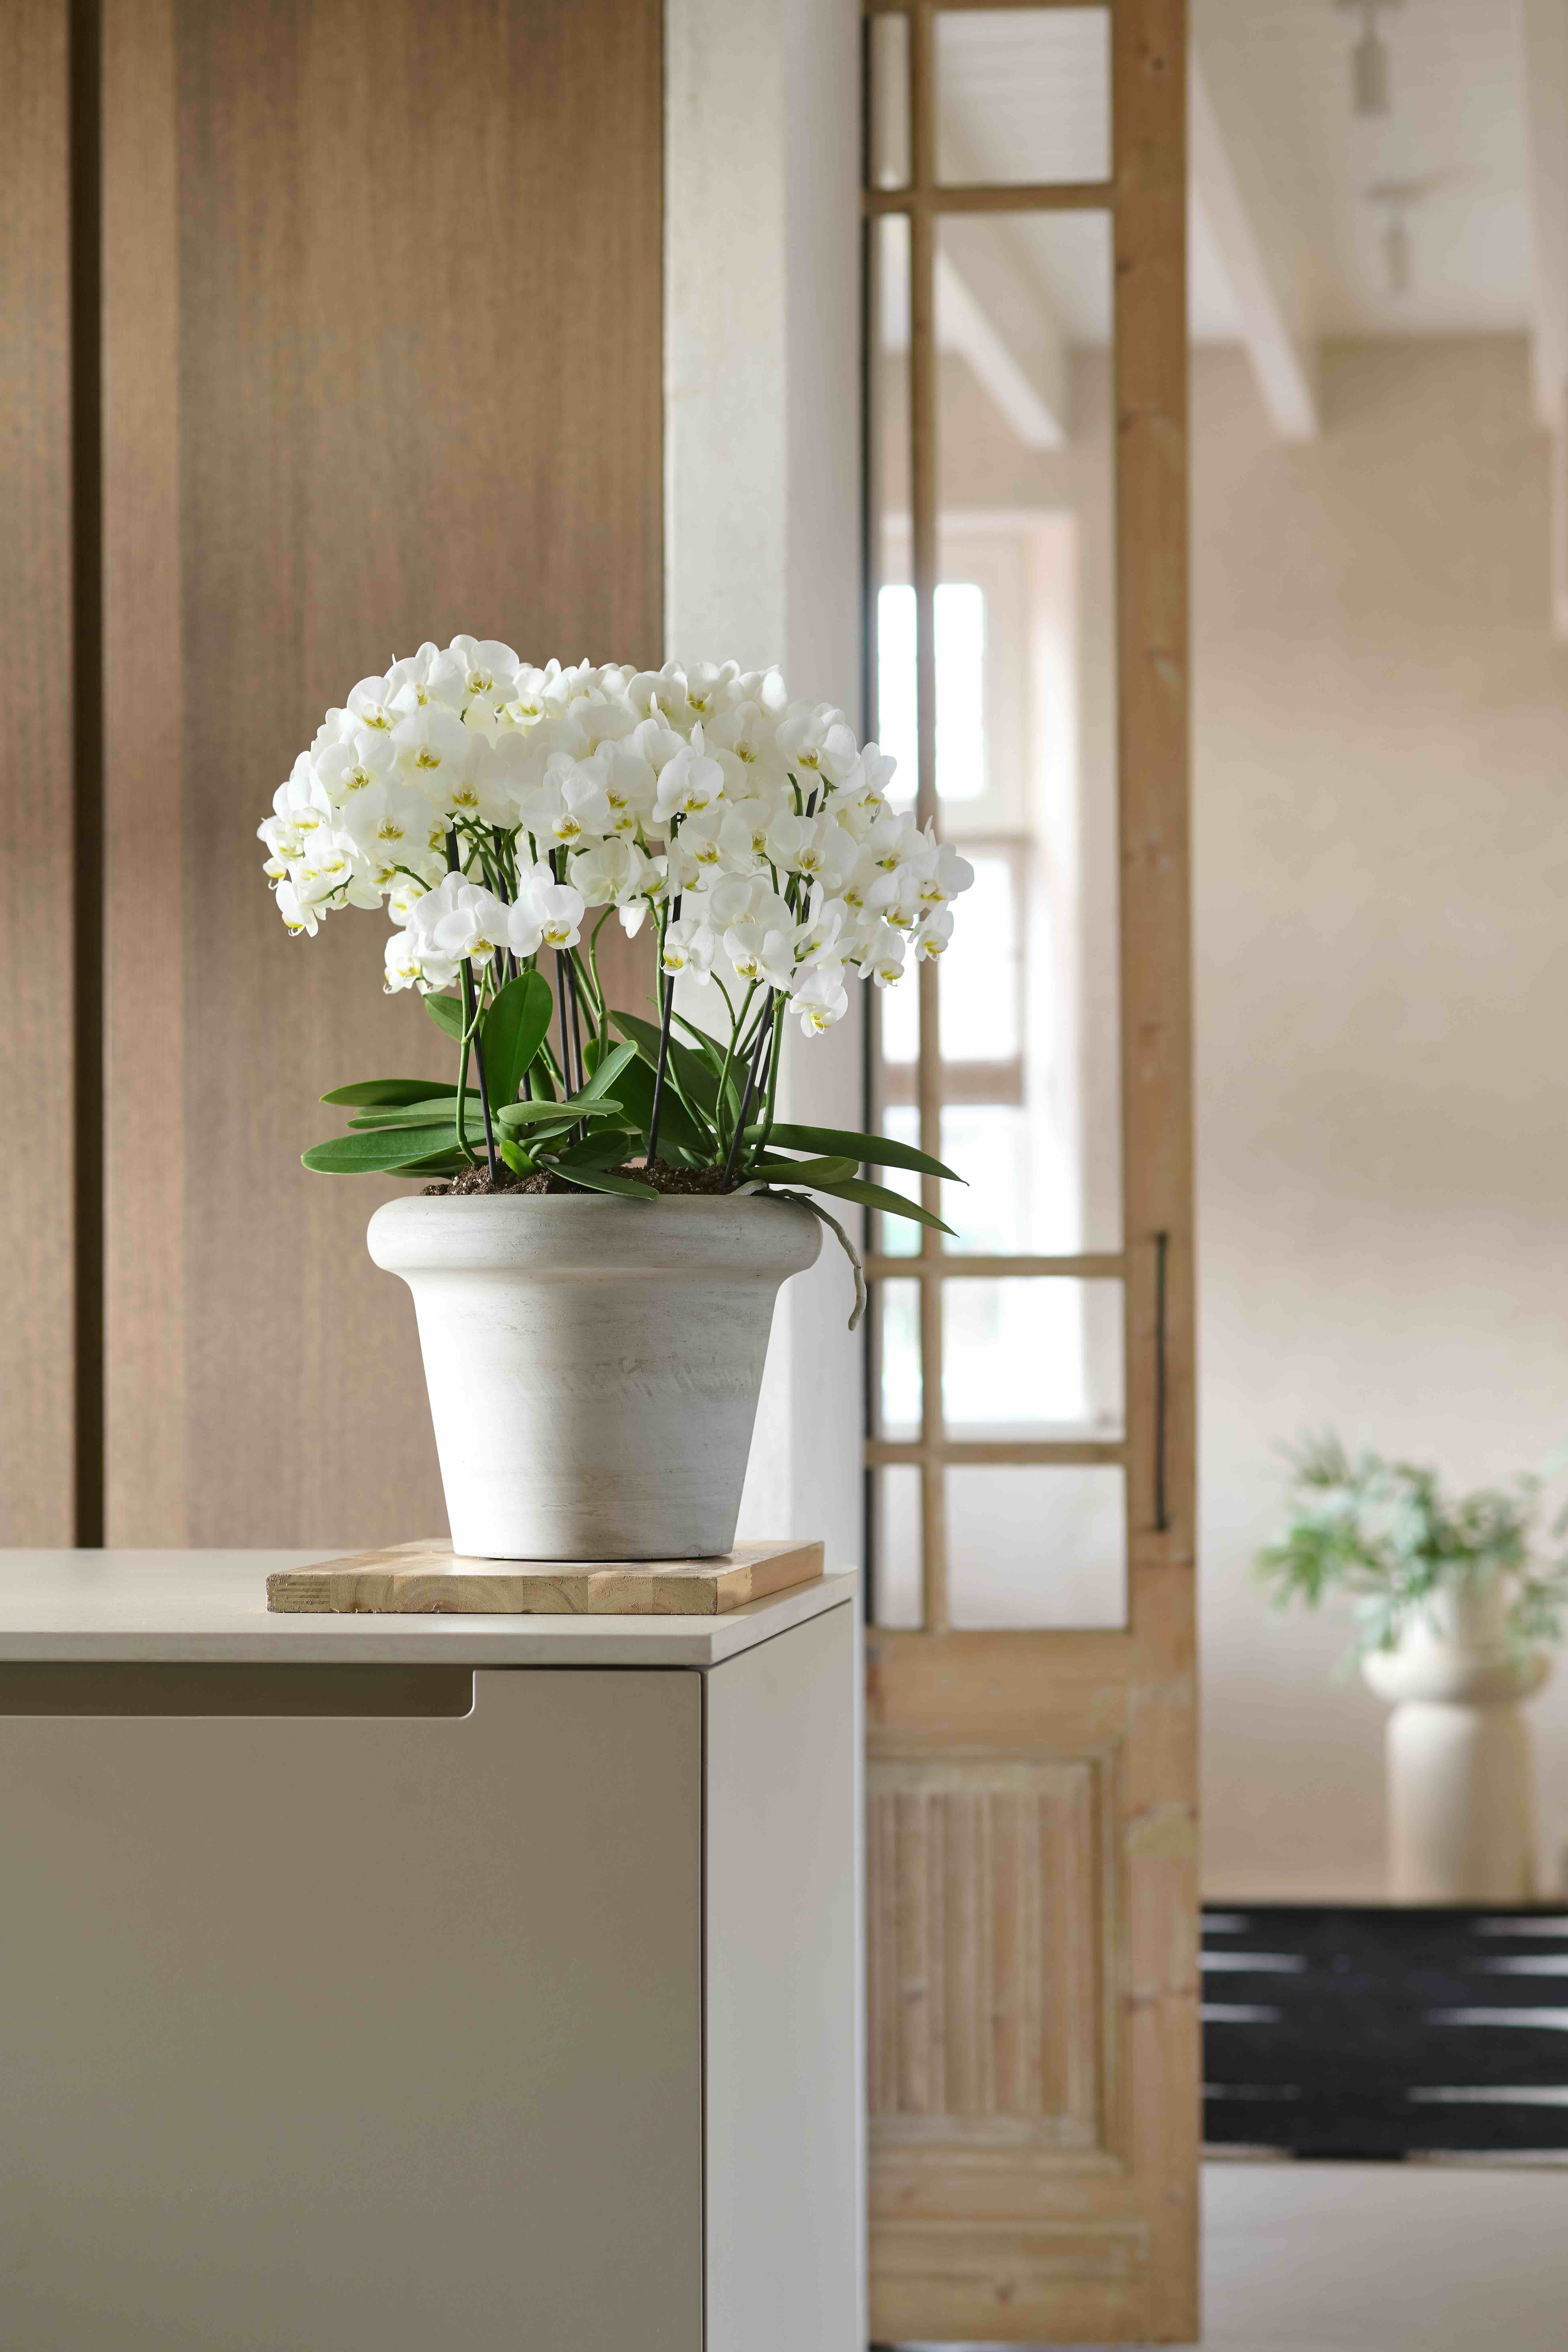
The pure, cloud-like blooms of an orchid complement these colours perfectly. Choose several white orchids, or combine them with orchids in soft lilac or pale pink for a little extra depth. Display them in ceramic pots with a matte, earthy finish, or opt for baskets made from rattan or seagrass. These natural materials capture the relaxed beach-house aesthetic and allow the orchids to blend effortlessly into the interior.


Styling tips for a coastal look

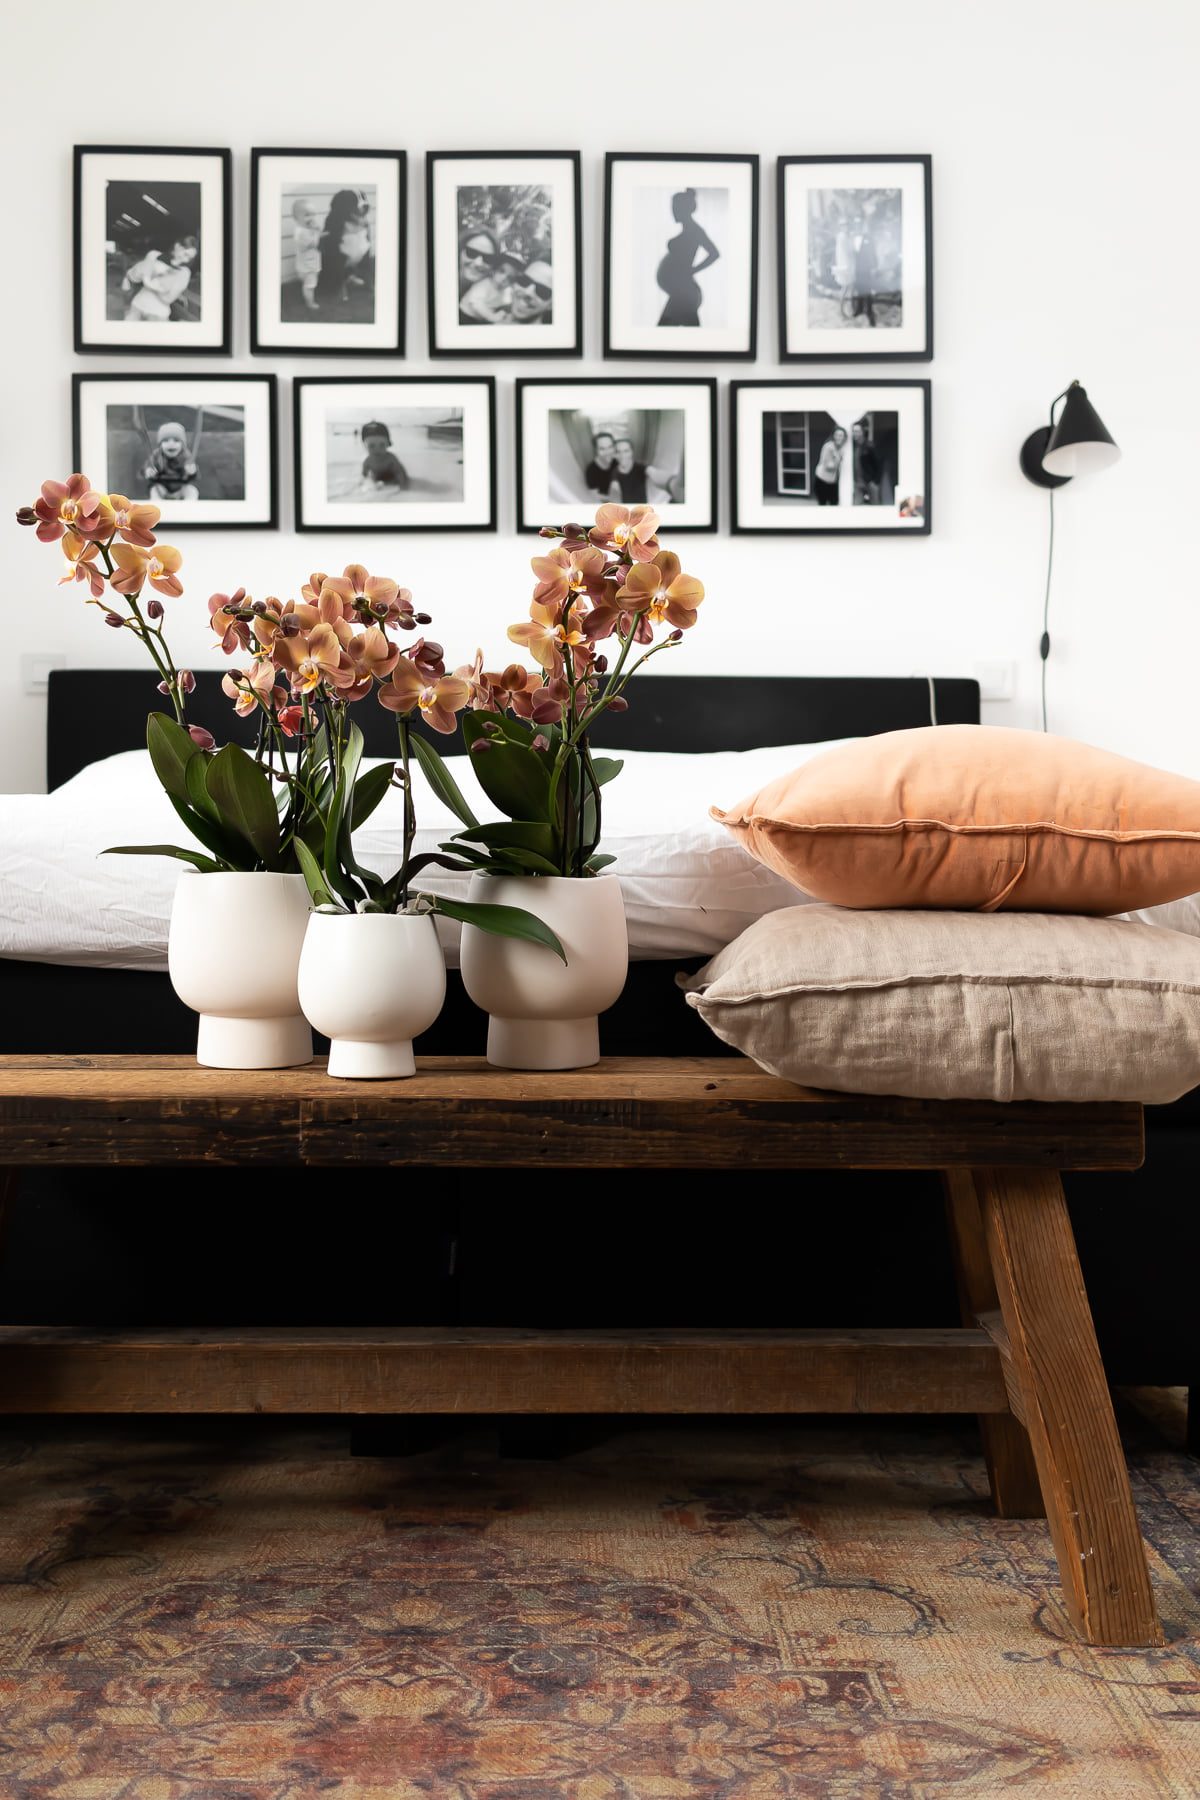
For a balanced display, group three orchids together and pair them with natural decorative elements such as seashells, pieces of driftwood or a simple lantern. This creates a carefully curated arrangement that subtly reflects the atmosphere of the coast without feeling overdone.

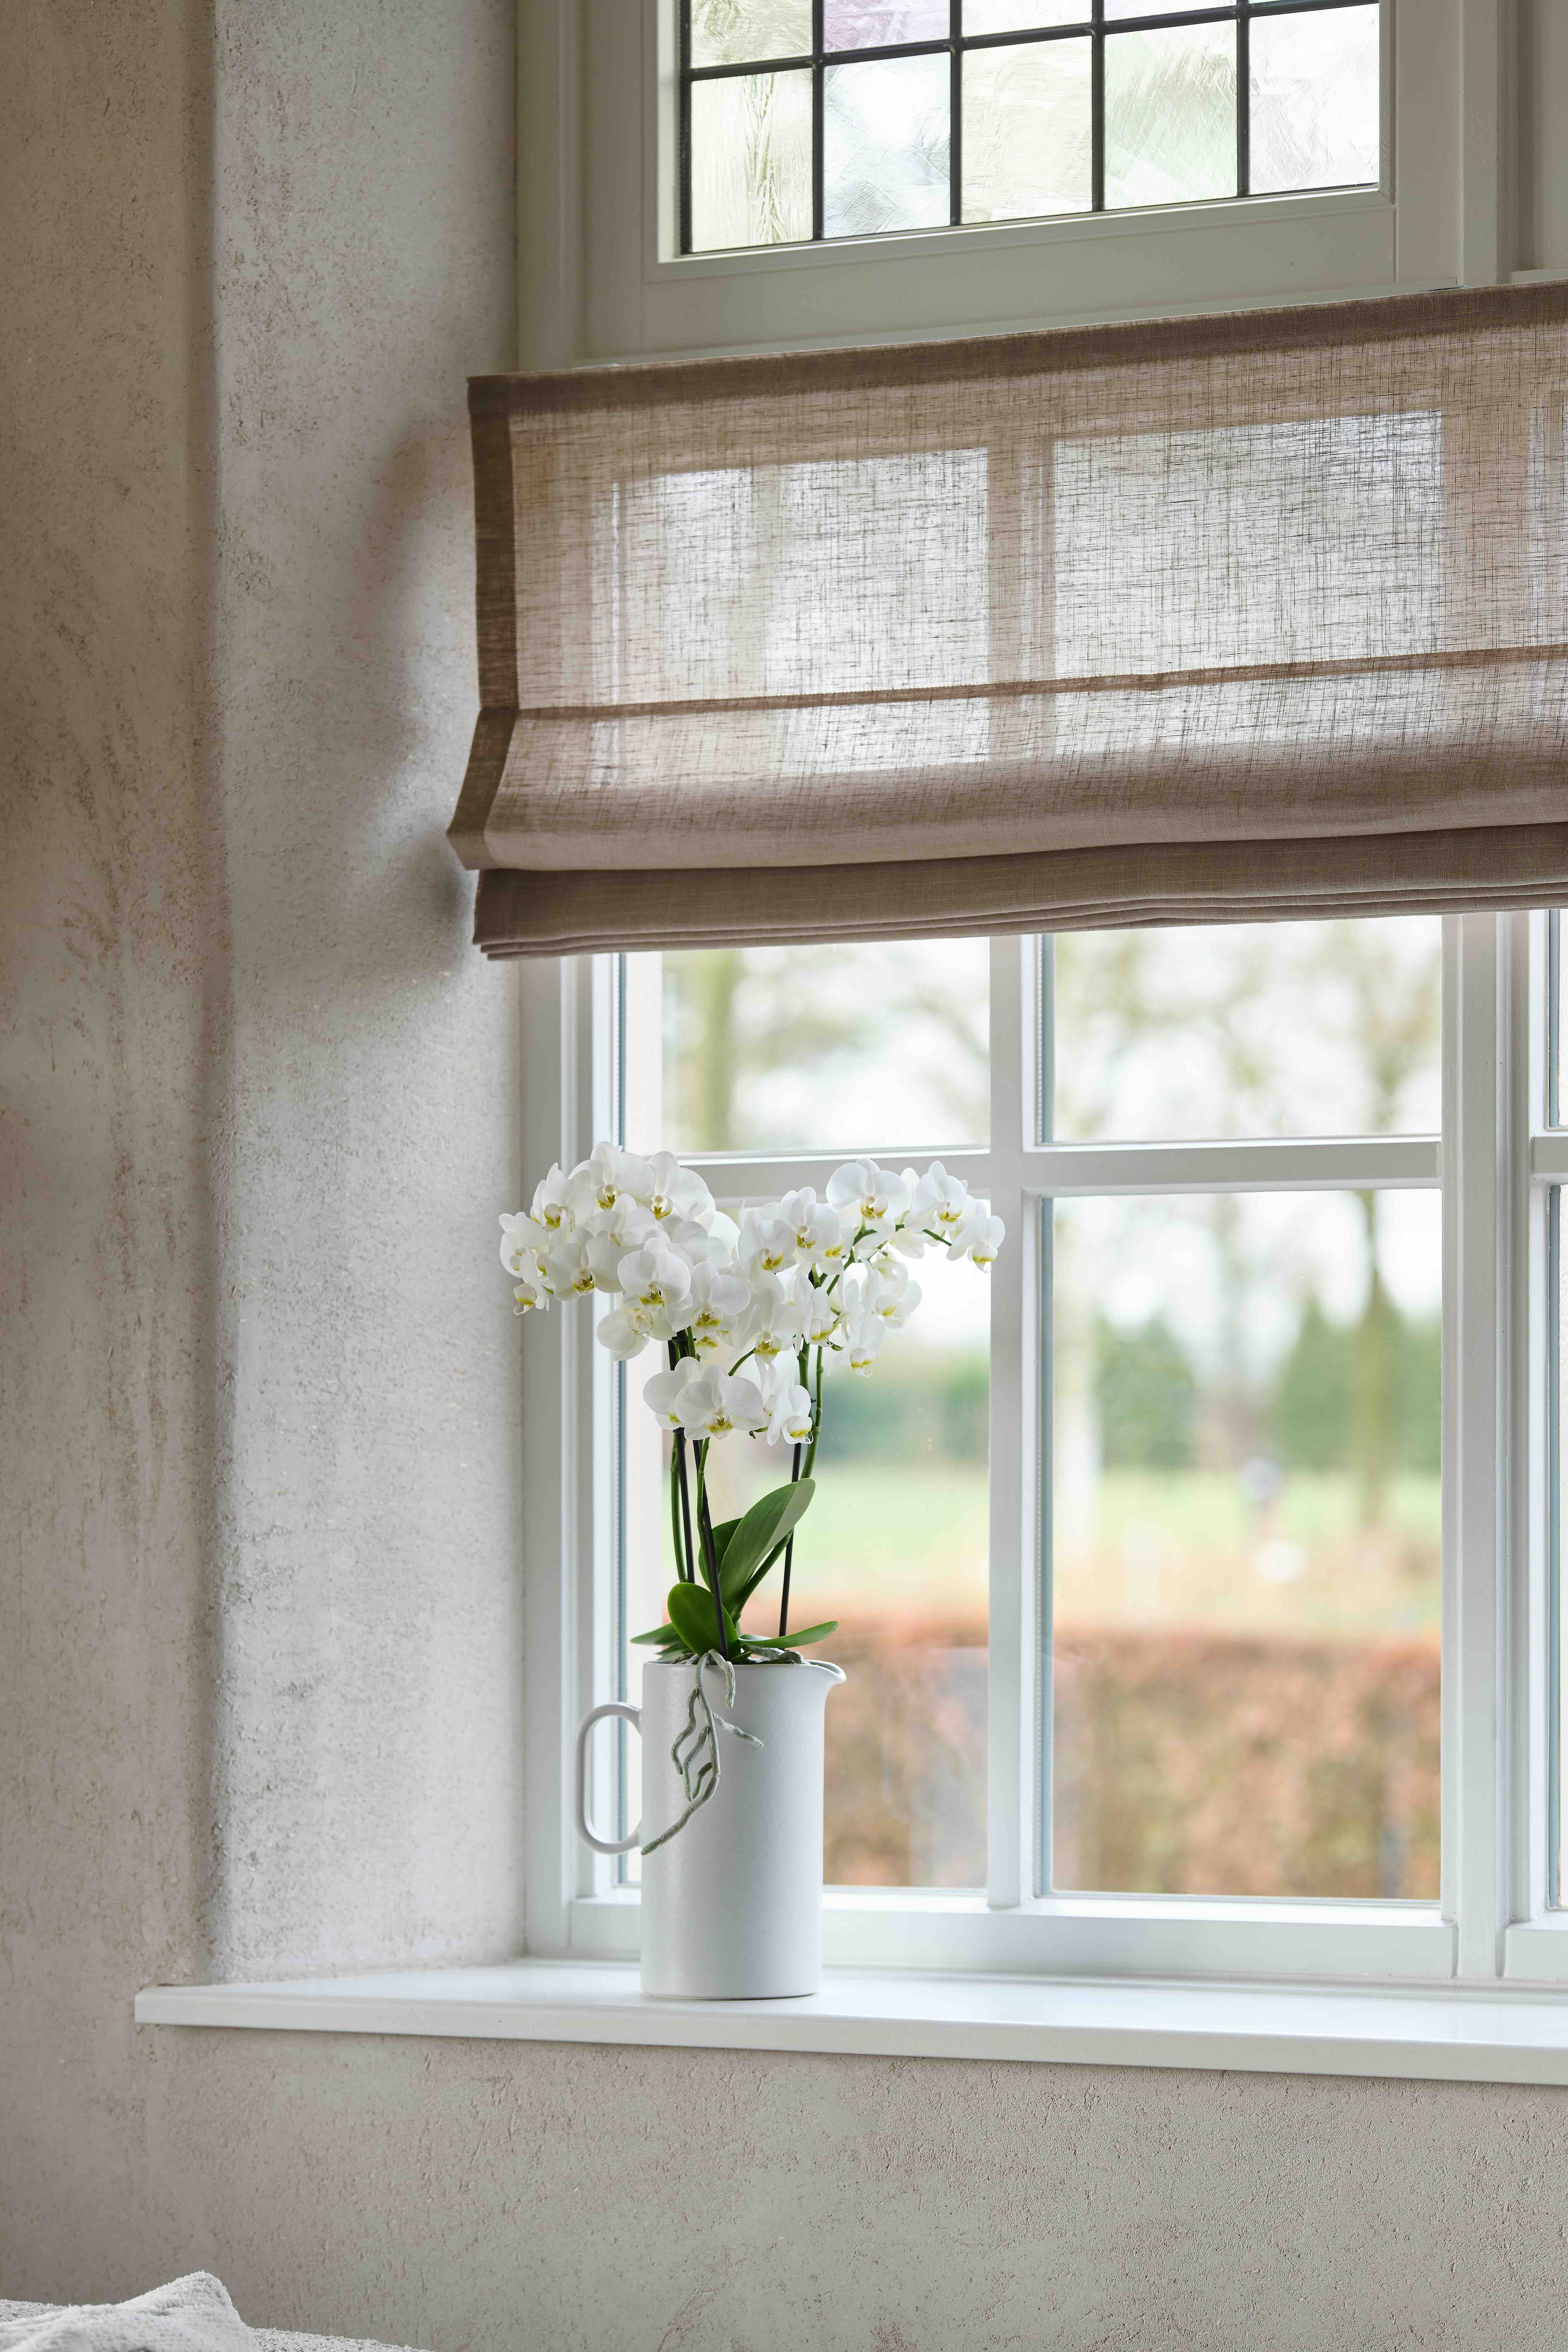
Placement is just as important. Coastal chic interiors are filled with natural light, so position your orchid in a bright spot where it can enjoy plenty of daylight. Avoid direct sun, however, as this can scorch the leaves. With the right setting, your orchids will complete the coastal chic look and bring a fresh, calming sense of summer into your home.


Also read: How to create a tropical terrace with orchids

How to water an orchid: the soaking method

Many orchids do not die from too little attention, but from being watered the wrong way. The most popular orchid, the Phalaenopsis, has different needs from many other houseplants. Its roots are sensitive to sitting in wet compost for long periods, so watering with a watering can is not always the best option. That is why we prefer the soaking method. In this article, you will find out what it is and how to use it.


How to water an orchid

First, it is a good idea to check whether your orchid actually needs water. You can do this by looking at the plant’s roots. The colour of the roots is the best indication of whether an orchid has enough moisture.

  • If the roots are grey, it is time to water the plant.
  • If the roots are green, the orchid still has enough moisture.


What is the soaking method?

With the soaking method, you place the orchid in water for a short period so the roots can absorb exactly what they need. Afterwards, you let all excess water drain away completely. This gives the plant enough moisture without leaving the roots sitting in a wet pot for too long.


The soaking method works as follows:

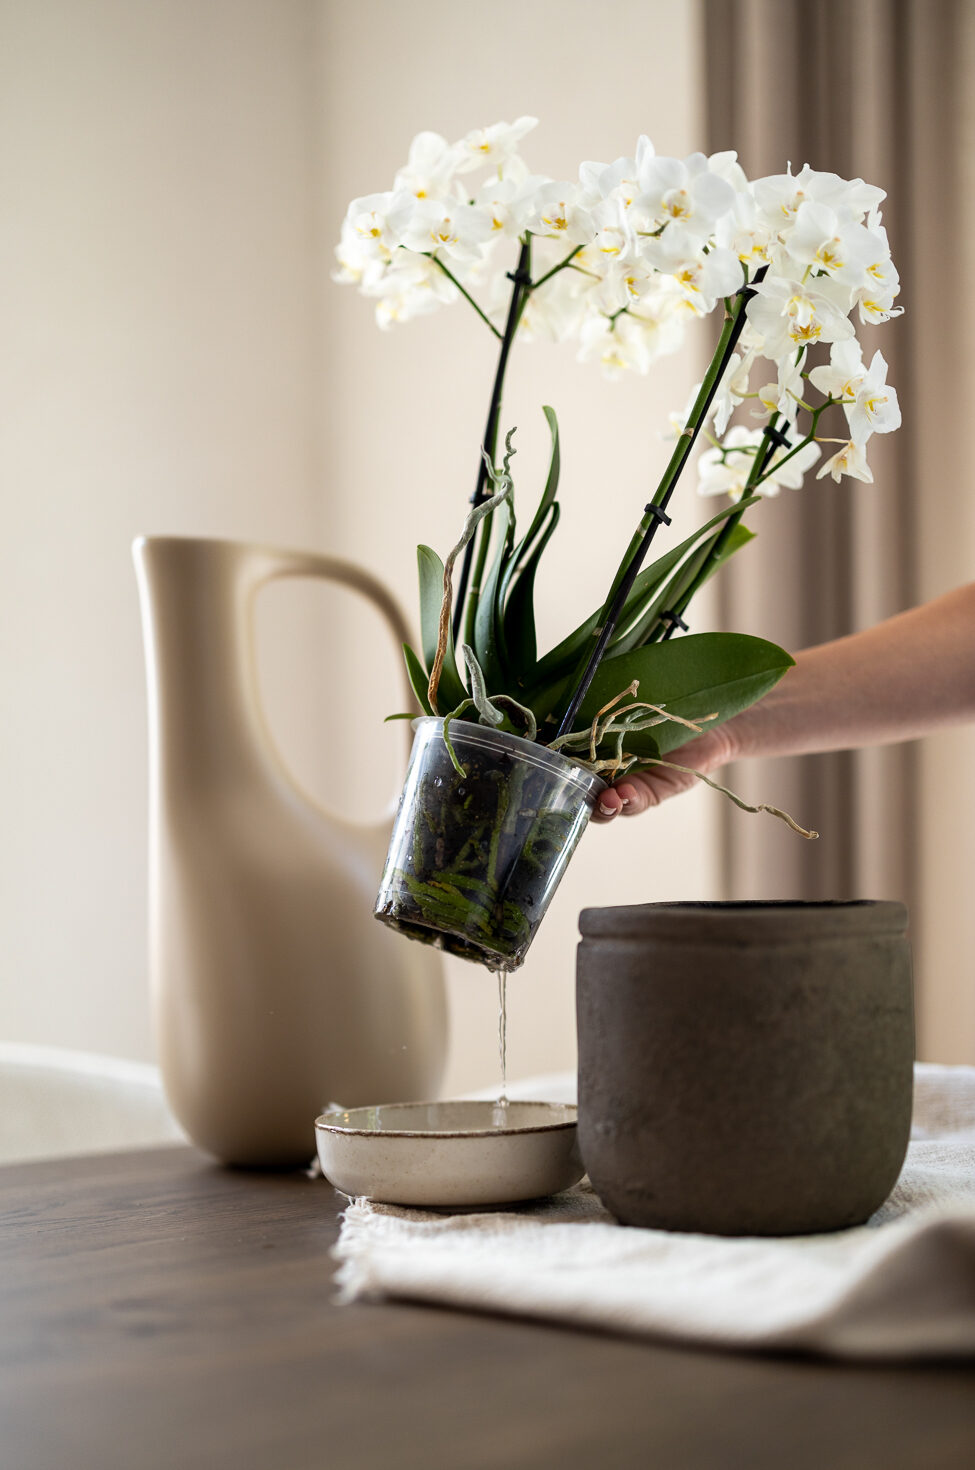
Fill a saucer with water and remove the orchid’s inner pot from its decorative outer pot. Place the inner pot in the water, making sure that the roots are submerged while the crown of the plant – where the leaves meet – remains dry. Leave the orchid in the water for around five to ten minutes. During this time, the roots can absorb the moisture they need. Afterwards, remove the pot from the water and allow it to drain thoroughly. This is an important step, as any water left standing in the decorative pot can cause root problems. Only once no more water is dripping from the pot should you place the orchid back in its decorative pot and return it to its usual spot.


Also read: How to make orchids bloom again?

How to create a tropical terrace with orchids

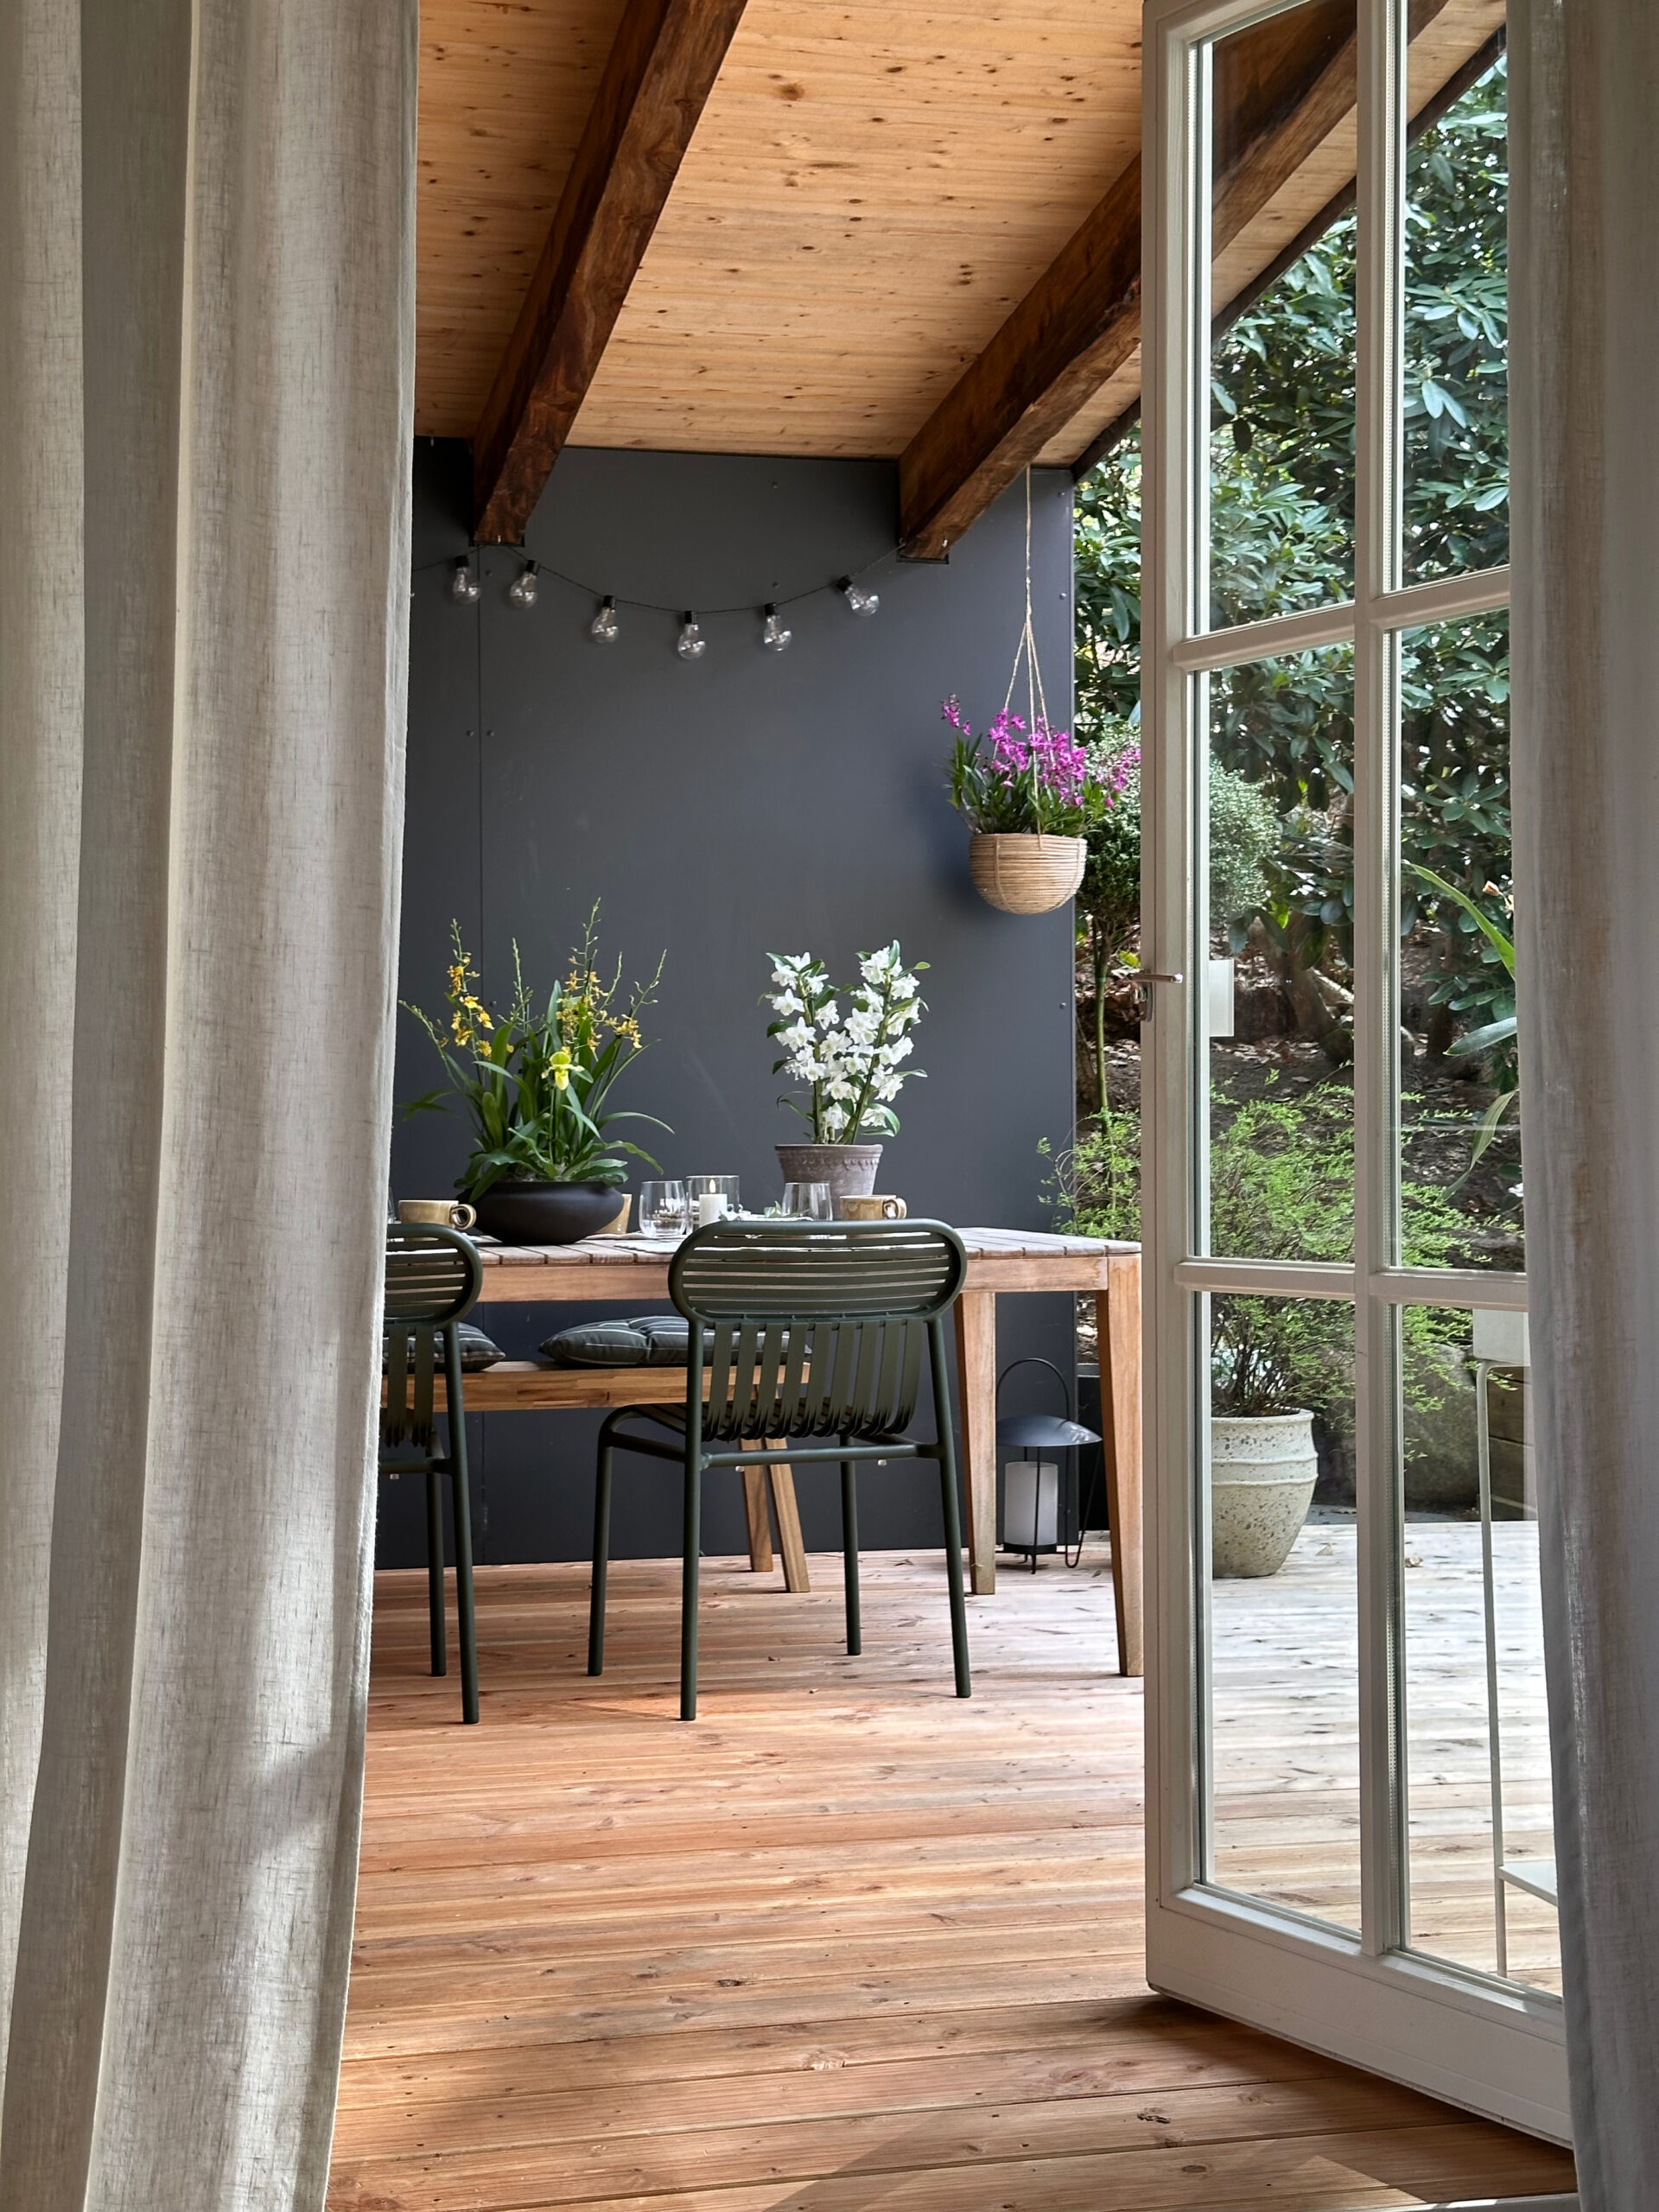
A terrace doesn’t need a major makeover to take on a completely different atmosphere. Orchids instantly introduce a new look filled with colour. While they’re best known as houseplants, some varieties can also be placed outdoors. It’s an easy way to give your terrace or balcony a tropical touch.

Create a tropical terrace with orchids


A strong foundation

The basis of a tropical terrace starts with creating the right conditions. A tropical feel naturally emerges when light is filtered. Think of a pergola, shade sail or taller plants that soften direct sunlight. This not only makes the space more comfortable for you, but is also essential for orchids, as they are not typical terrace plants. However, as long as they are kept in the shade and the temperature doesn’t drop below 10°C, they can be placed outside. This makes orchids suitable from late spring through to early autumn.


Orchids suitable for outdoor use

Orchids come in a wide range of colours, so make the most of that. For a tropical terrace, opt for a vibrant mix. It’s worth noting that not every orchid is suited to outdoor conditions, but there are surprisingly many that thrive outside:

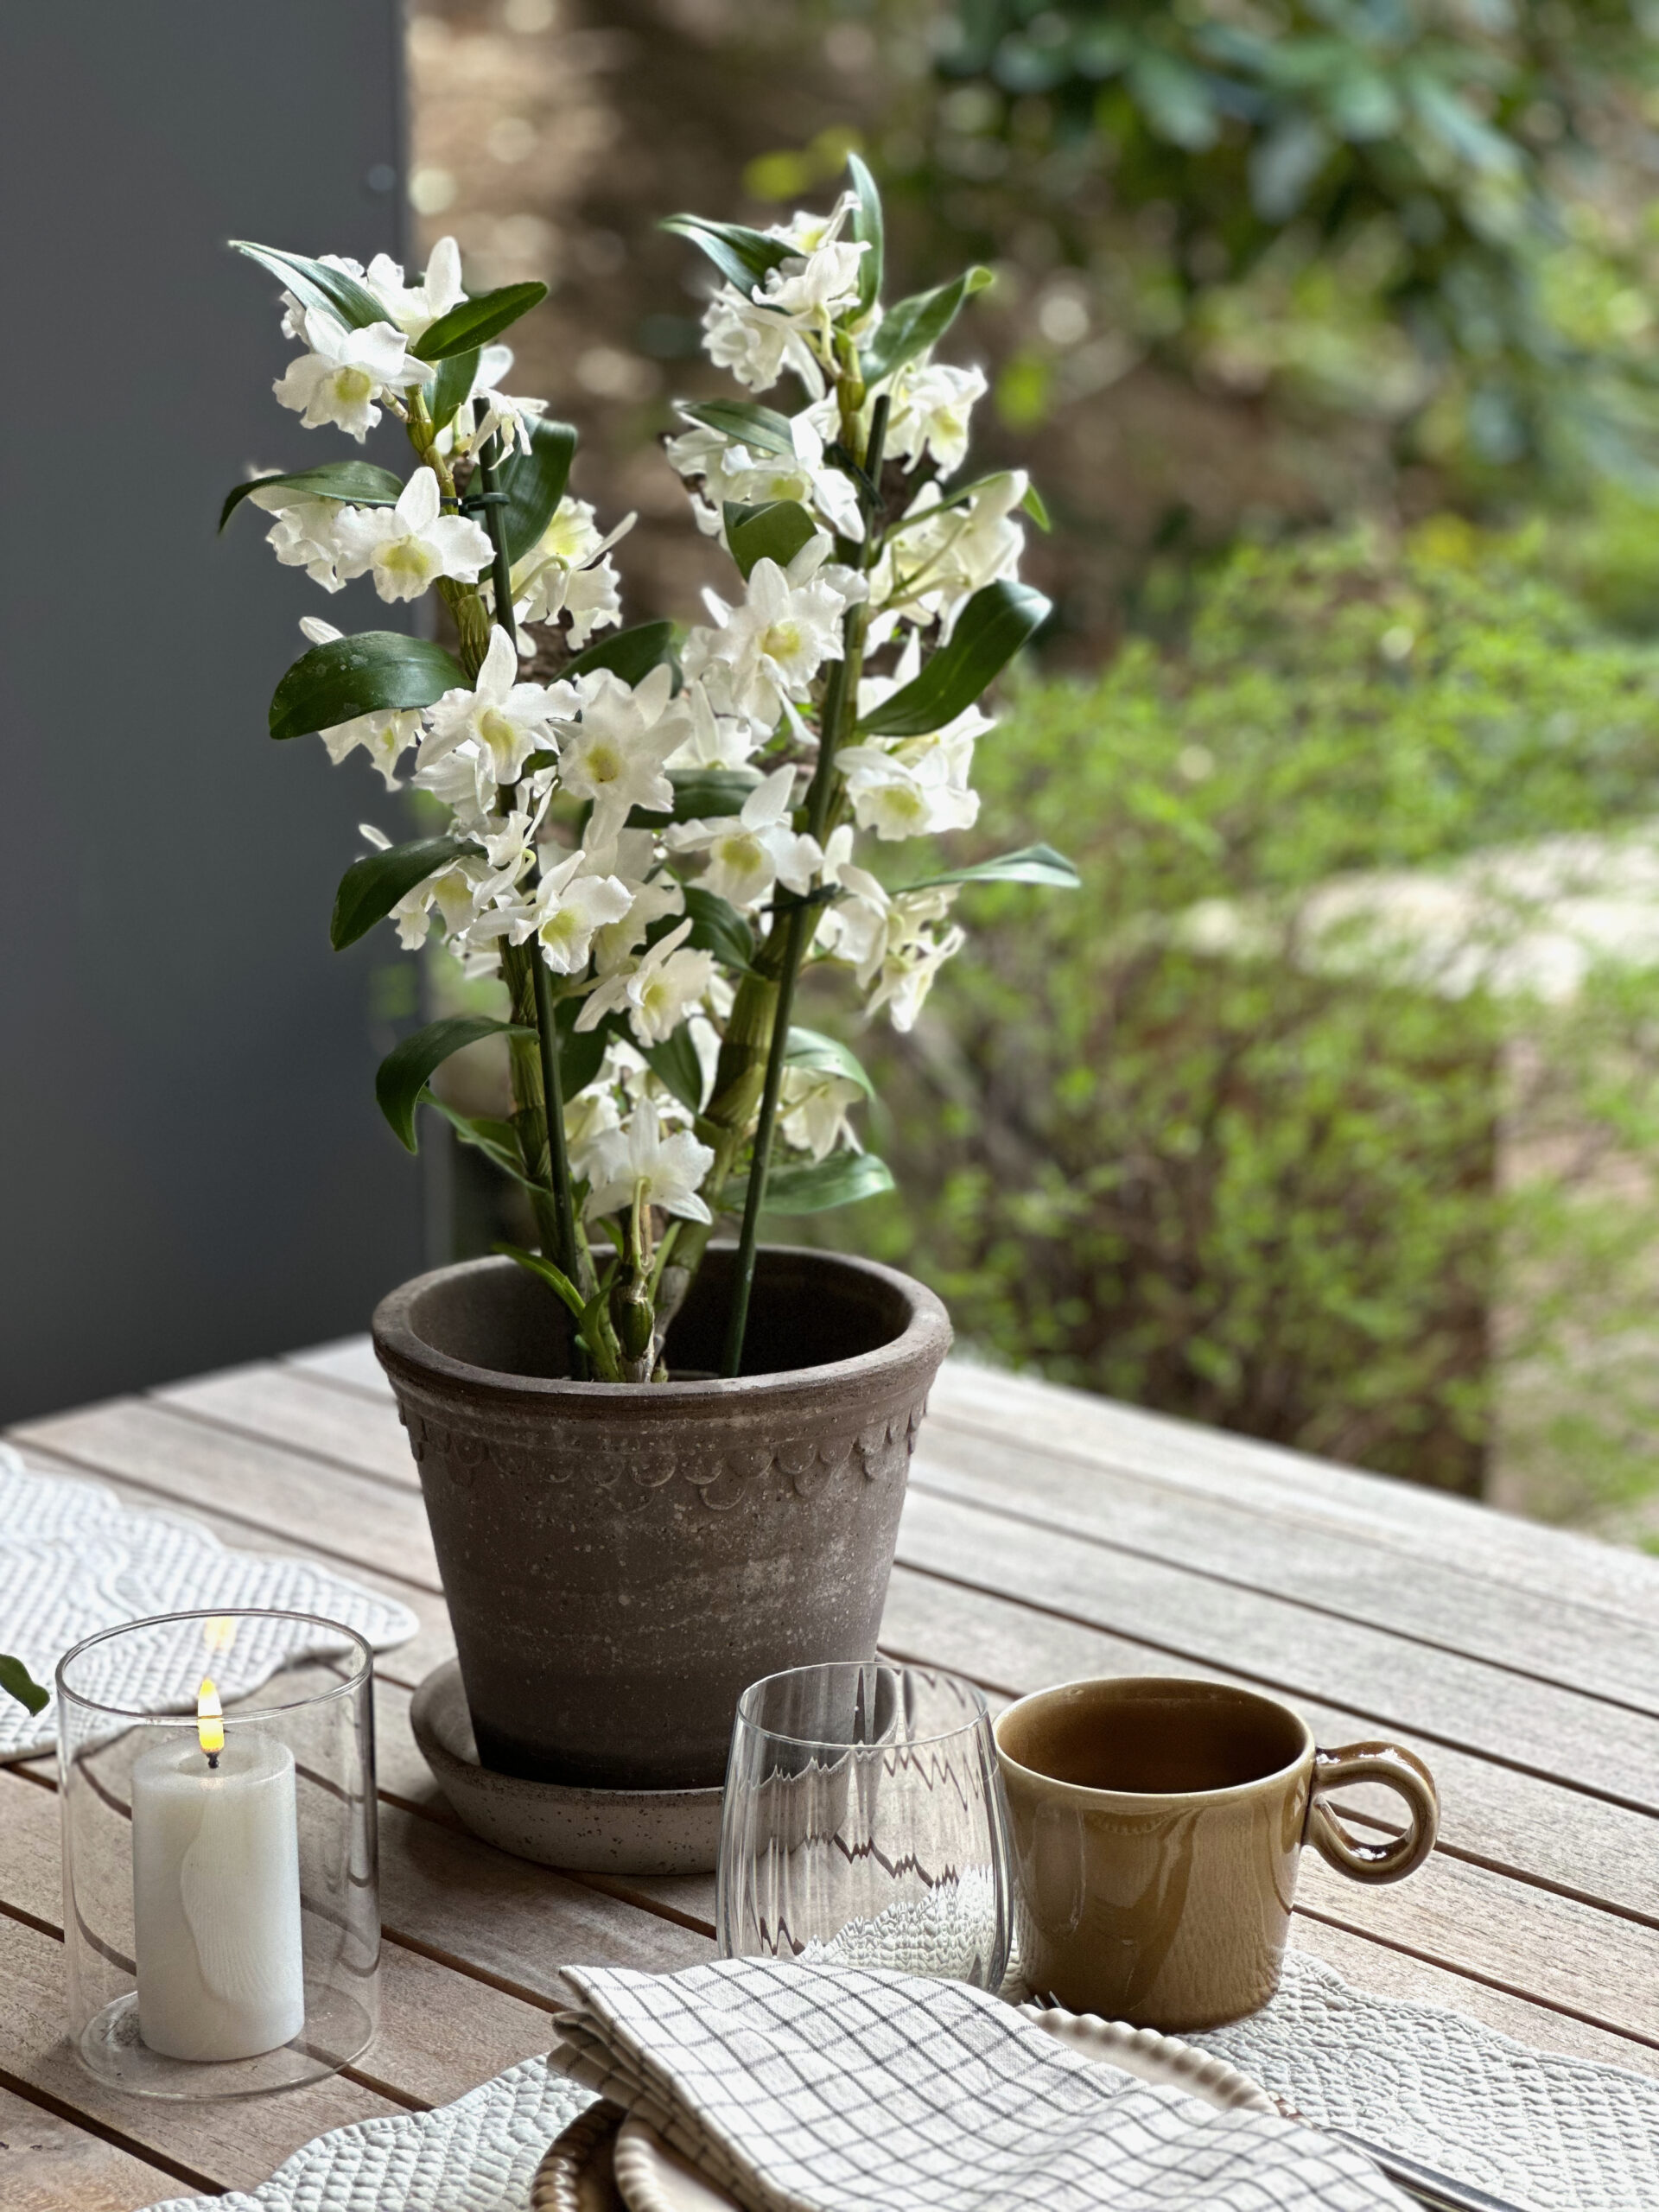
  • One of the most suitable is the Dendrobium Nobile, a robust variety with clusters of flowers that grow along the stems.
  • The Oncidium orchid enjoys plenty of light, moderate watering and slightly higher humidity, making it well suited to both indoor and outdoor environments. Place it in a patio or conservatory so it receives enough light without being exposed to full sun.
  • Paphiopedilum also performs well outdoors during summer. As with Oncidium, it’s best positioned in a patio or conservatory to avoid direct sunlight.
  • Several orchids can be placed outside temporarily in spring and summer, including Cymbidium, Dendrobium and Cambria-type orchids. Moving them outdoors can even encourage bud formation.
  • There are also garden orchids such as Dactylorhiza and Epipactis. These varieties generally tolerate full sun, provided they have constant access to moisture. Ideal locations include areas near a pond. Without one, it’s better to place them in partial shade.

Also read: Patio proof orchids: these orchids can go outside
Vary height and structure

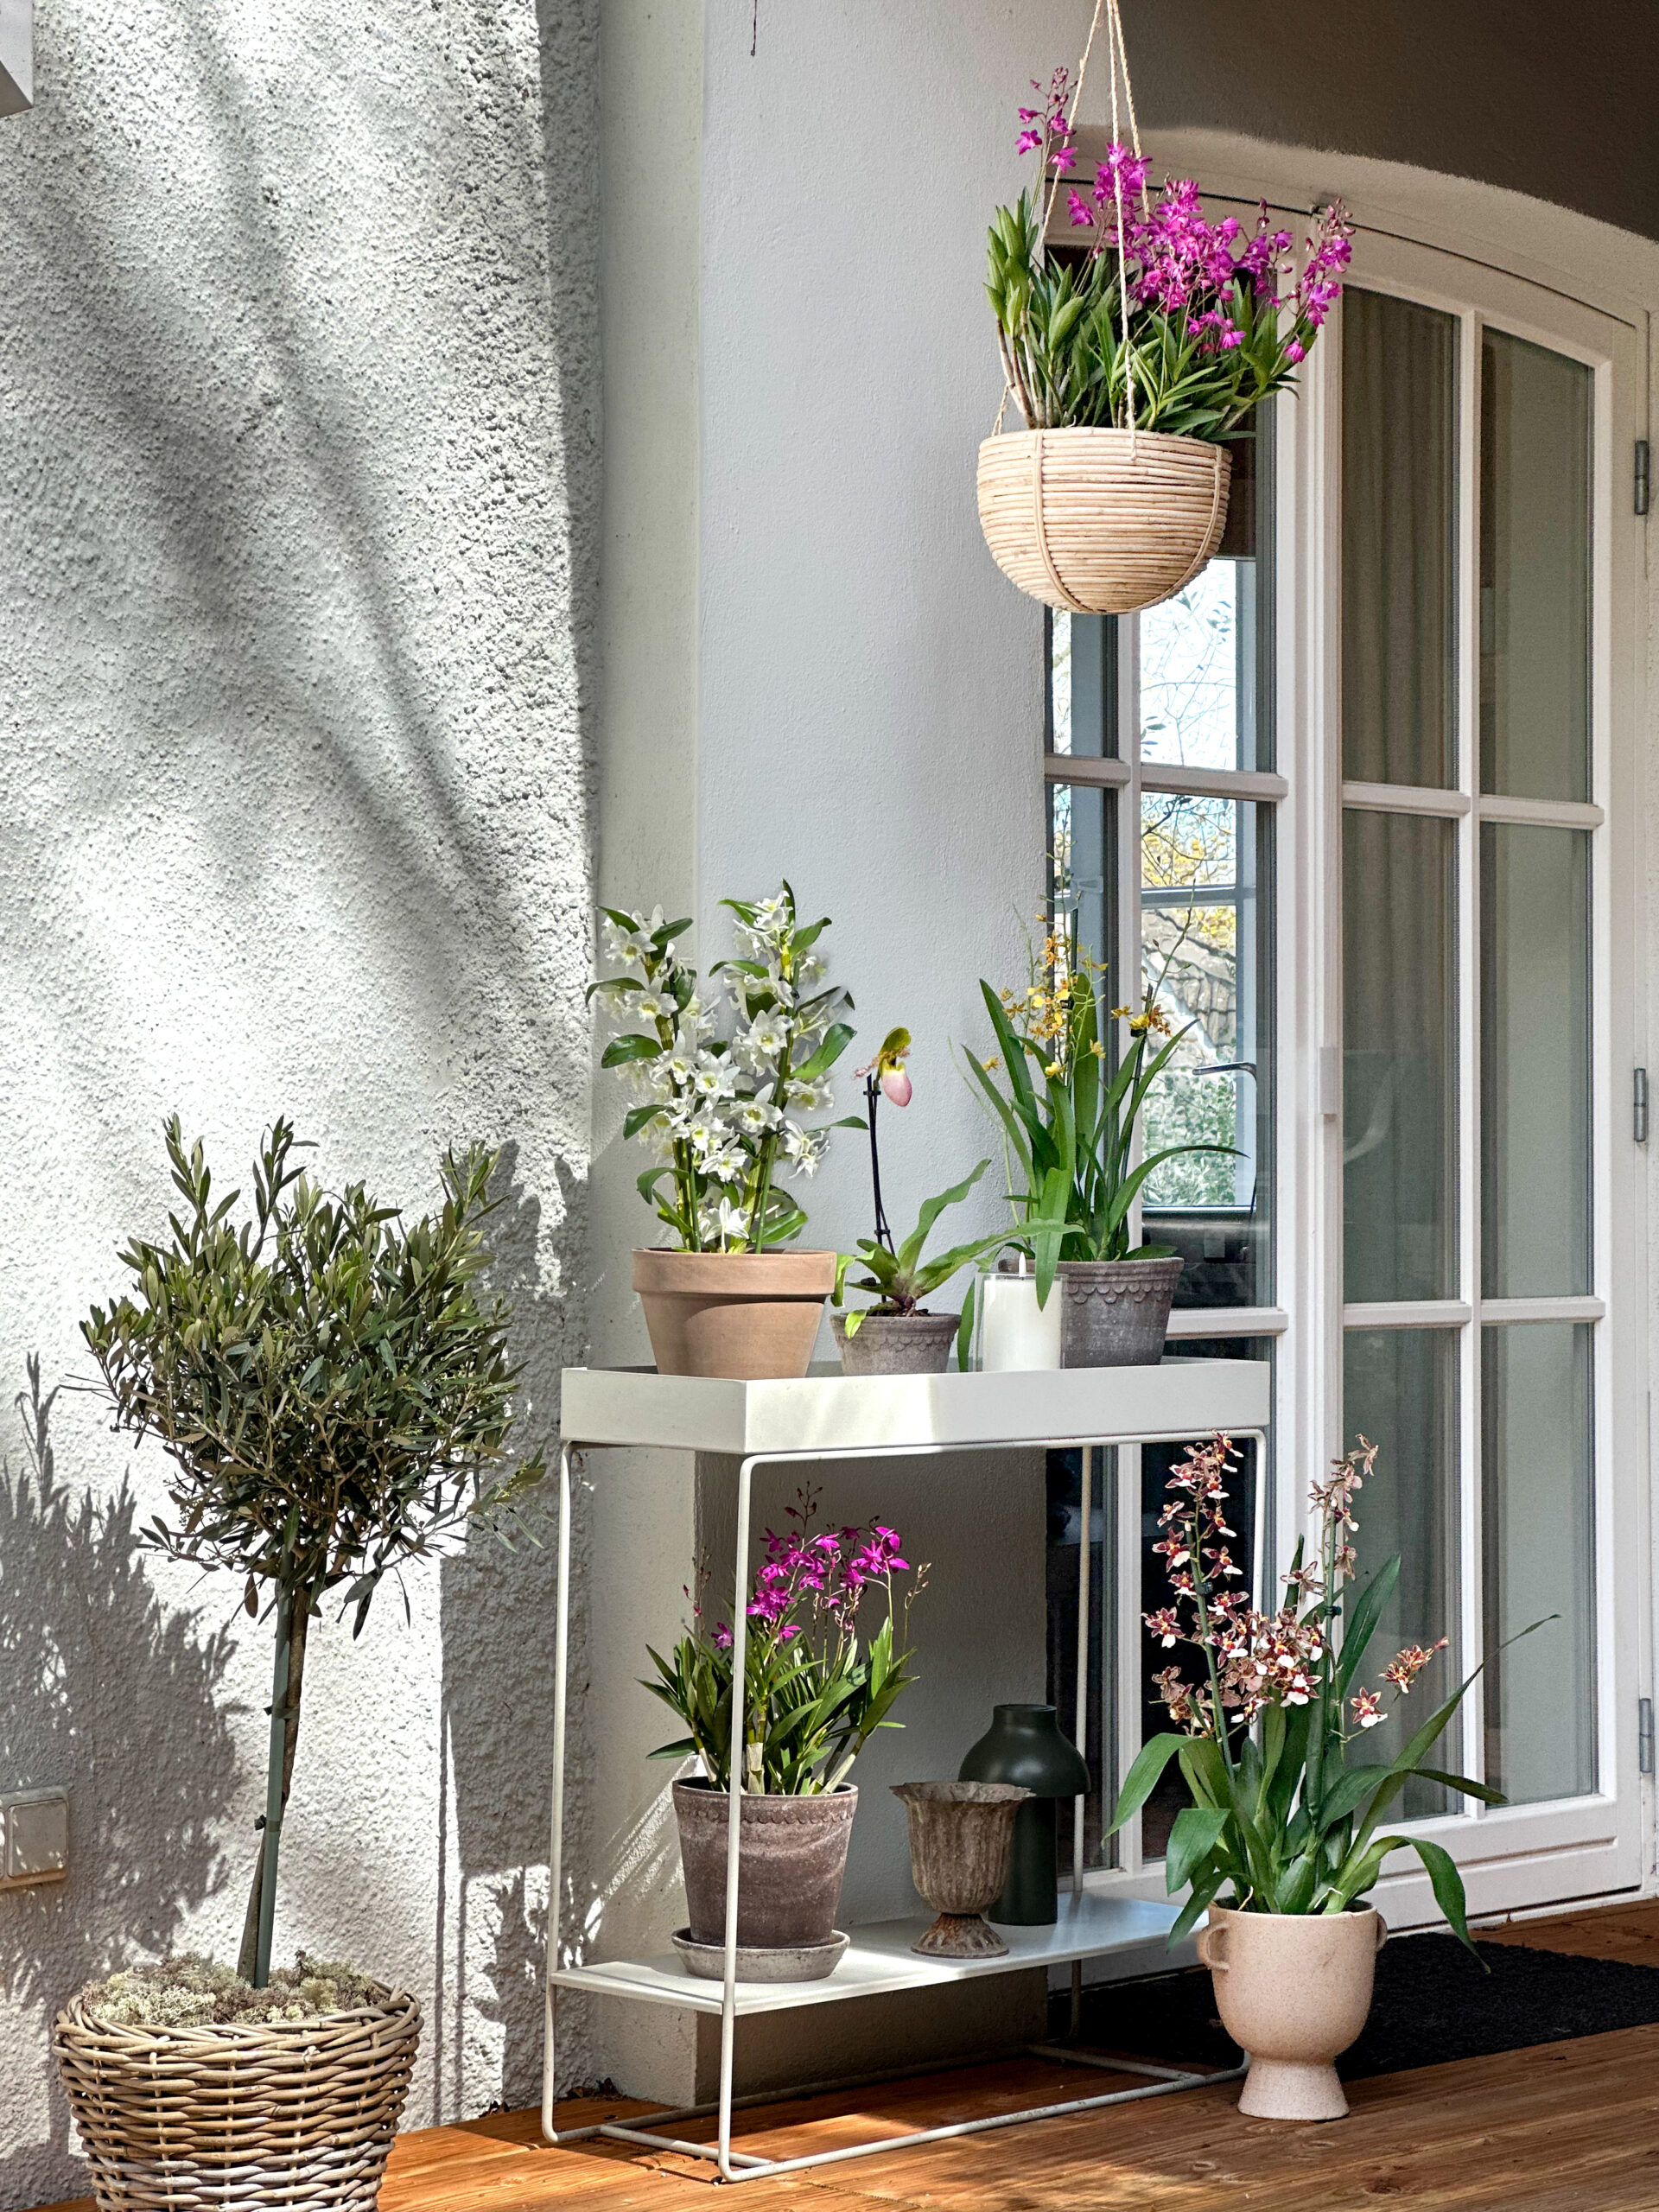
A tropical feel is created through variation in height and foliage. Combine large-leaved plants with lower, more compact varieties and allow them to overlap slightly. Grouping plants rather than spacing them apart adds depth to the terrace. Orchids work best as accents – place them at eye level, for example on a side table or in a hanging pot, so their flowers can truly stand out.


The orchid: the number one Mother’s Day gift

An orchid is the number one gift for Mother’s Day. This is evident from research conducted in the Netherlands, Germany, France and the United Kingdom. It’s not surprising, as orchids offer many advantages over, for example, a bouquet of flowers. In this article, you’ll discover what makes them so popular – and we’ll share tips on how to present an orchid as a gift.


The orchid: the number one Mother’s Day gift

Generally, mothers tend to be very busy, which is exactly why an orchid makes such a thoughtful present. Unlike a bouquet of flowers, which often wilts within a week, an orchid lasts much longer. In fact, it can bloom for weeks or even months. When the plant produces new buds and flowers again, it becomes a lovely reminder of Mother’s Day.

Orchids are also relatively easy to care for. With occasional watering and a spot in indirect sunlight, the plant will thrive. This makes it a considerate gift that doesn’t add extra demands to an already busy schedule. Another advantage is the wide variety of colours available, so there’s a good chance you’ll find one in your mother’s favourite shade.


Gift ideas with orchids

Have you chosen a beautiful orchid for your mother? Then it’s time to present it in style. Here are a few ideas:

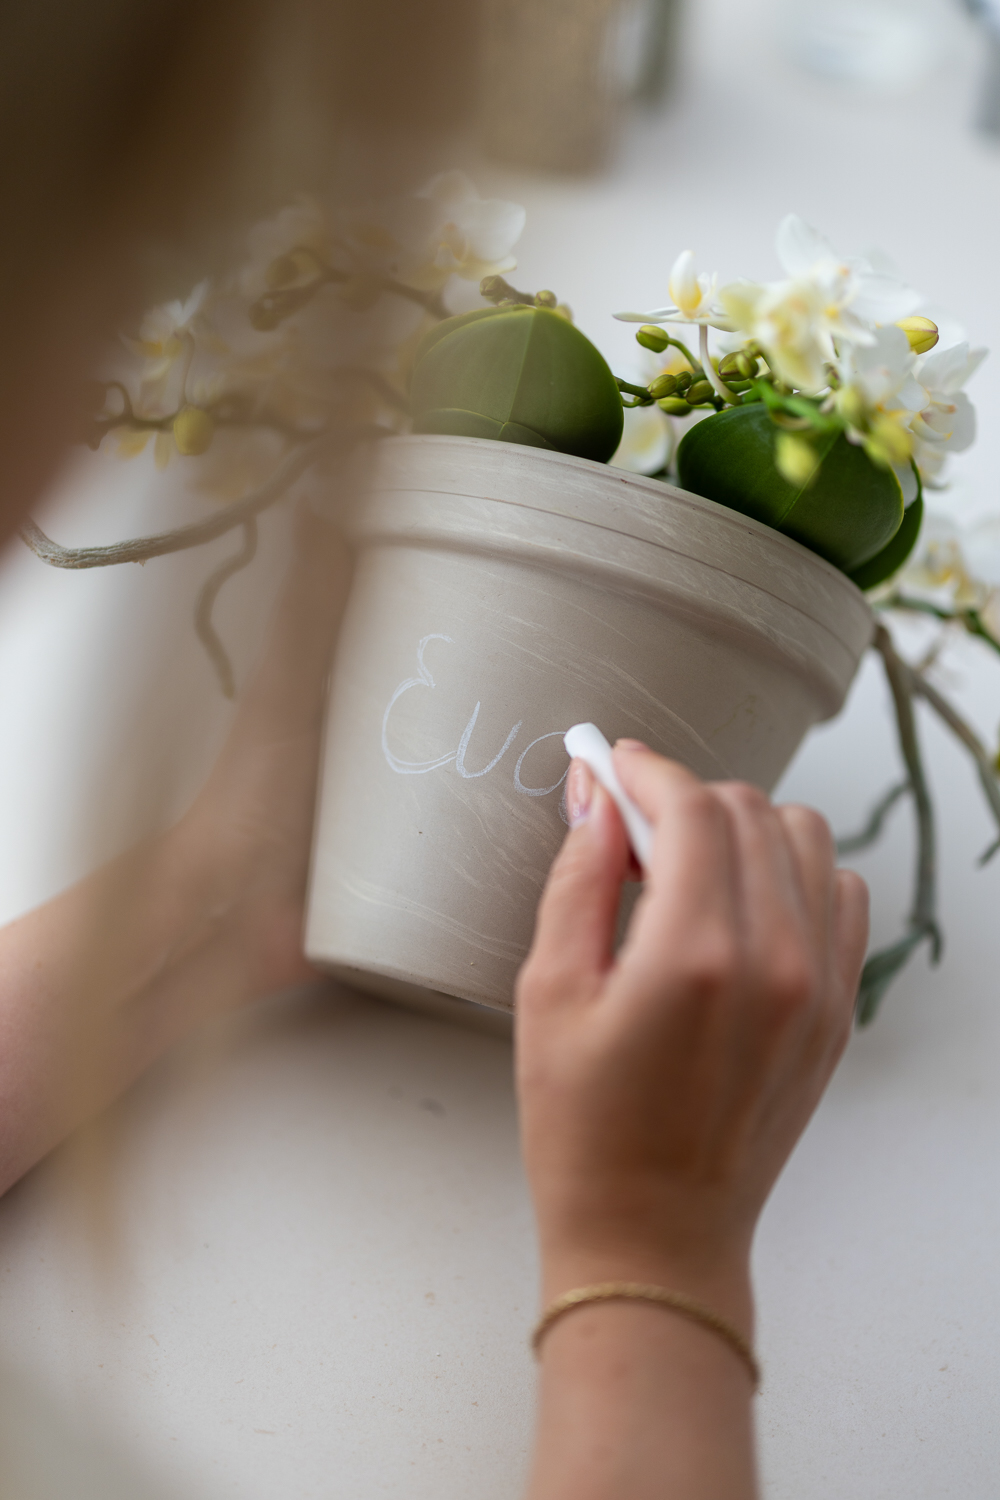
  • Place the orchid in a terracotta pot and write your mother’s name on it with chalk.
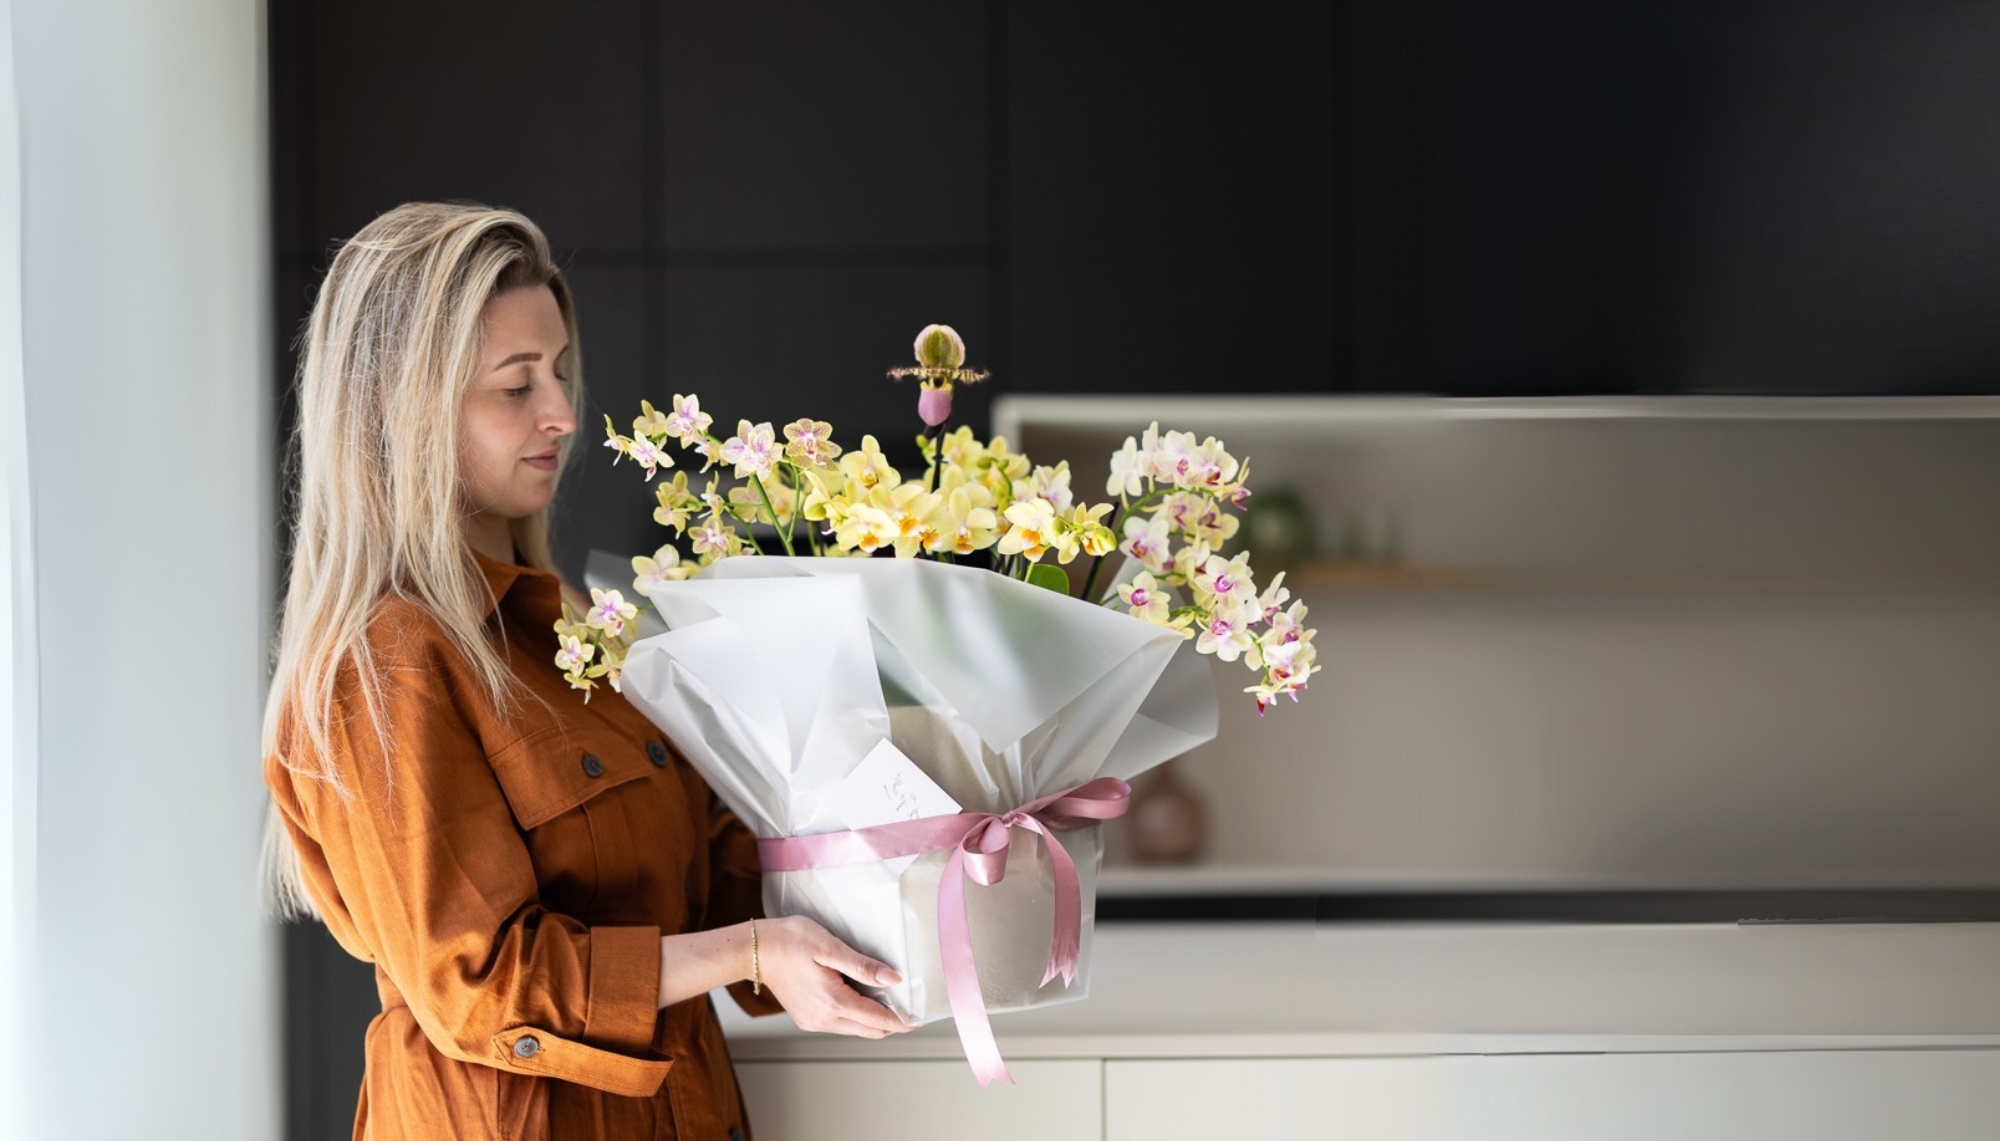
  • Put the plant in a decorative pot, choose one or two ribbons, and tie them into a bow around it.
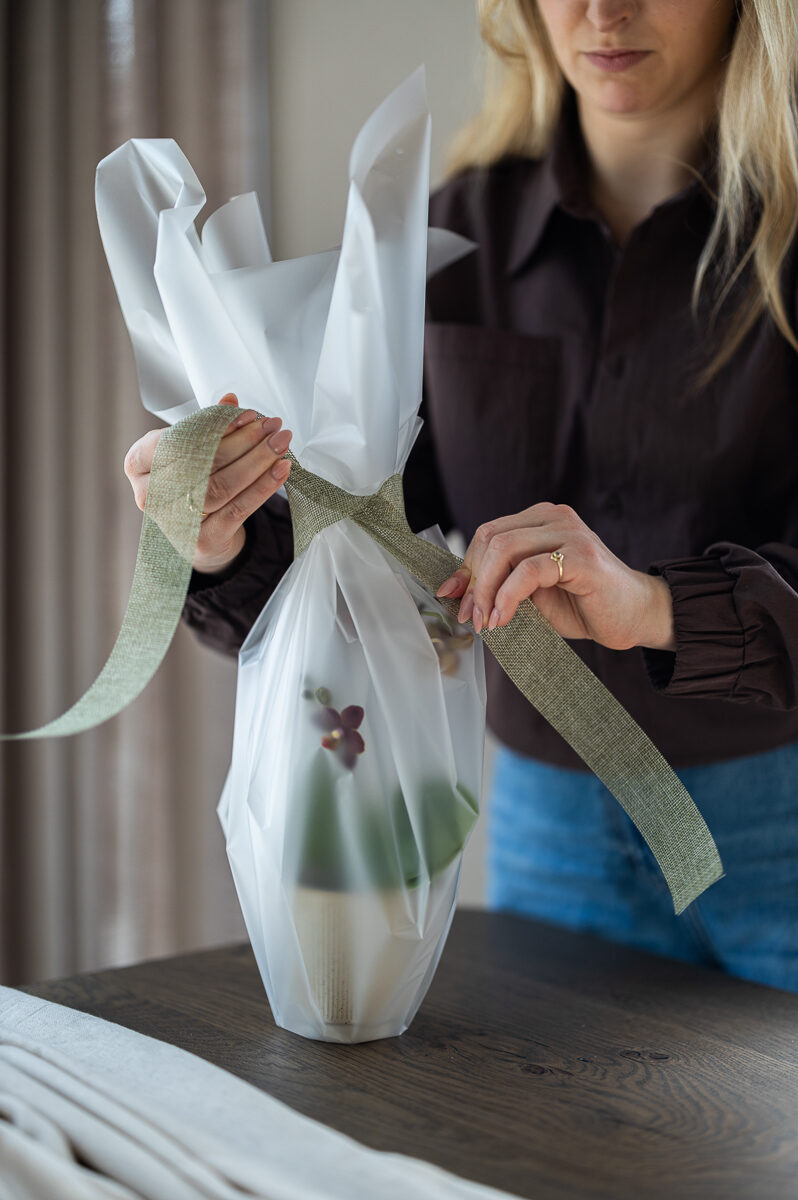
  • You can also wrap the orchid. For example, use cellophane so the plant remains visible while still being protected.


Finally, you could create your own orchid arrangement. It might sound challenging, but it’s actually quite simple – even if you’re not an experienced florist.


Also read: How to effortlessly create a stunning orchid arrangement

DIY: How to create your own orchid arrangement for Easter

Looking for original Easter decoration ideas? This year, why not opt for an orchid arrangement instead of traditional Easter branches? Yellow mini orchids are a perfect match for Easter. Simply pour some clay pebbles into a decorative bowl, place the orchids on top, add a layer of orchid bark, and you’ll have a stylish and eye-catching Easter arrangement! It really is that easy.

Also read: How to decorate an Easter table that instantly brings joy


DIY orchid arrangement for Easter

This Easter orchid arrangement is simple to make yourself, yet it looks anything but basic. It’s sure to become the centrepiece of your Easter celebrations. And once Easter is over, you can happily keep it on display, as it fits beautifully with the spring season.

Necessities

  • A decorative bowl, preferably with an Easter theme
  • Clay pebbles
  • Several yellow mini orchids
  • Orchid bark (potting mix)


Step-by-step guide

Start by adding a layer of clay pebbles to the bowl. This helps prevent the orchids from sitting in water, which could cause the roots to rot. Next, place the mini orchids on top. Fill in the sides with orchid bark to help keep the plants stable. If you like, you can add a layer of moss over the base to hide the pots and create a more natural look.

Take a look at this video for a visual guide to creating your Easter orchid arrangement:

@orchidsinfo

A simple but stunning Easter arrangement anyone can make! #easterarrangement #orchidarrangement #diyeasterdecor

♬ Cafe Music – Oleg Kirilkov

Need a bit more inspiration for your Easter table? Then be sure to check out this video as well:

@orchidsinfo

Just add yellow orchids and it feels like spring! #yelloworchids #eastertable #easterdecor #springtablescape

♬ chest pain by malcolm todd – Sir Malcolm Tott | Fan Account

How to create a hotel chic interior with orchids

Step into a luxury hotel and you’ll immediately notice the calm, harmony and refinement – often enhanced by orchids. These plants are a favourite in high-end interiors, and for good reason. Orchids have long been associated with elegance and exclusivity. Their perfect shapes and soft colours create a sense of balance and serenity. Curious how to bring that same hotel chic interior into your own home using orchids? Read on for three tips.

A hotel chic interior with orchids


Choose a statement orchid

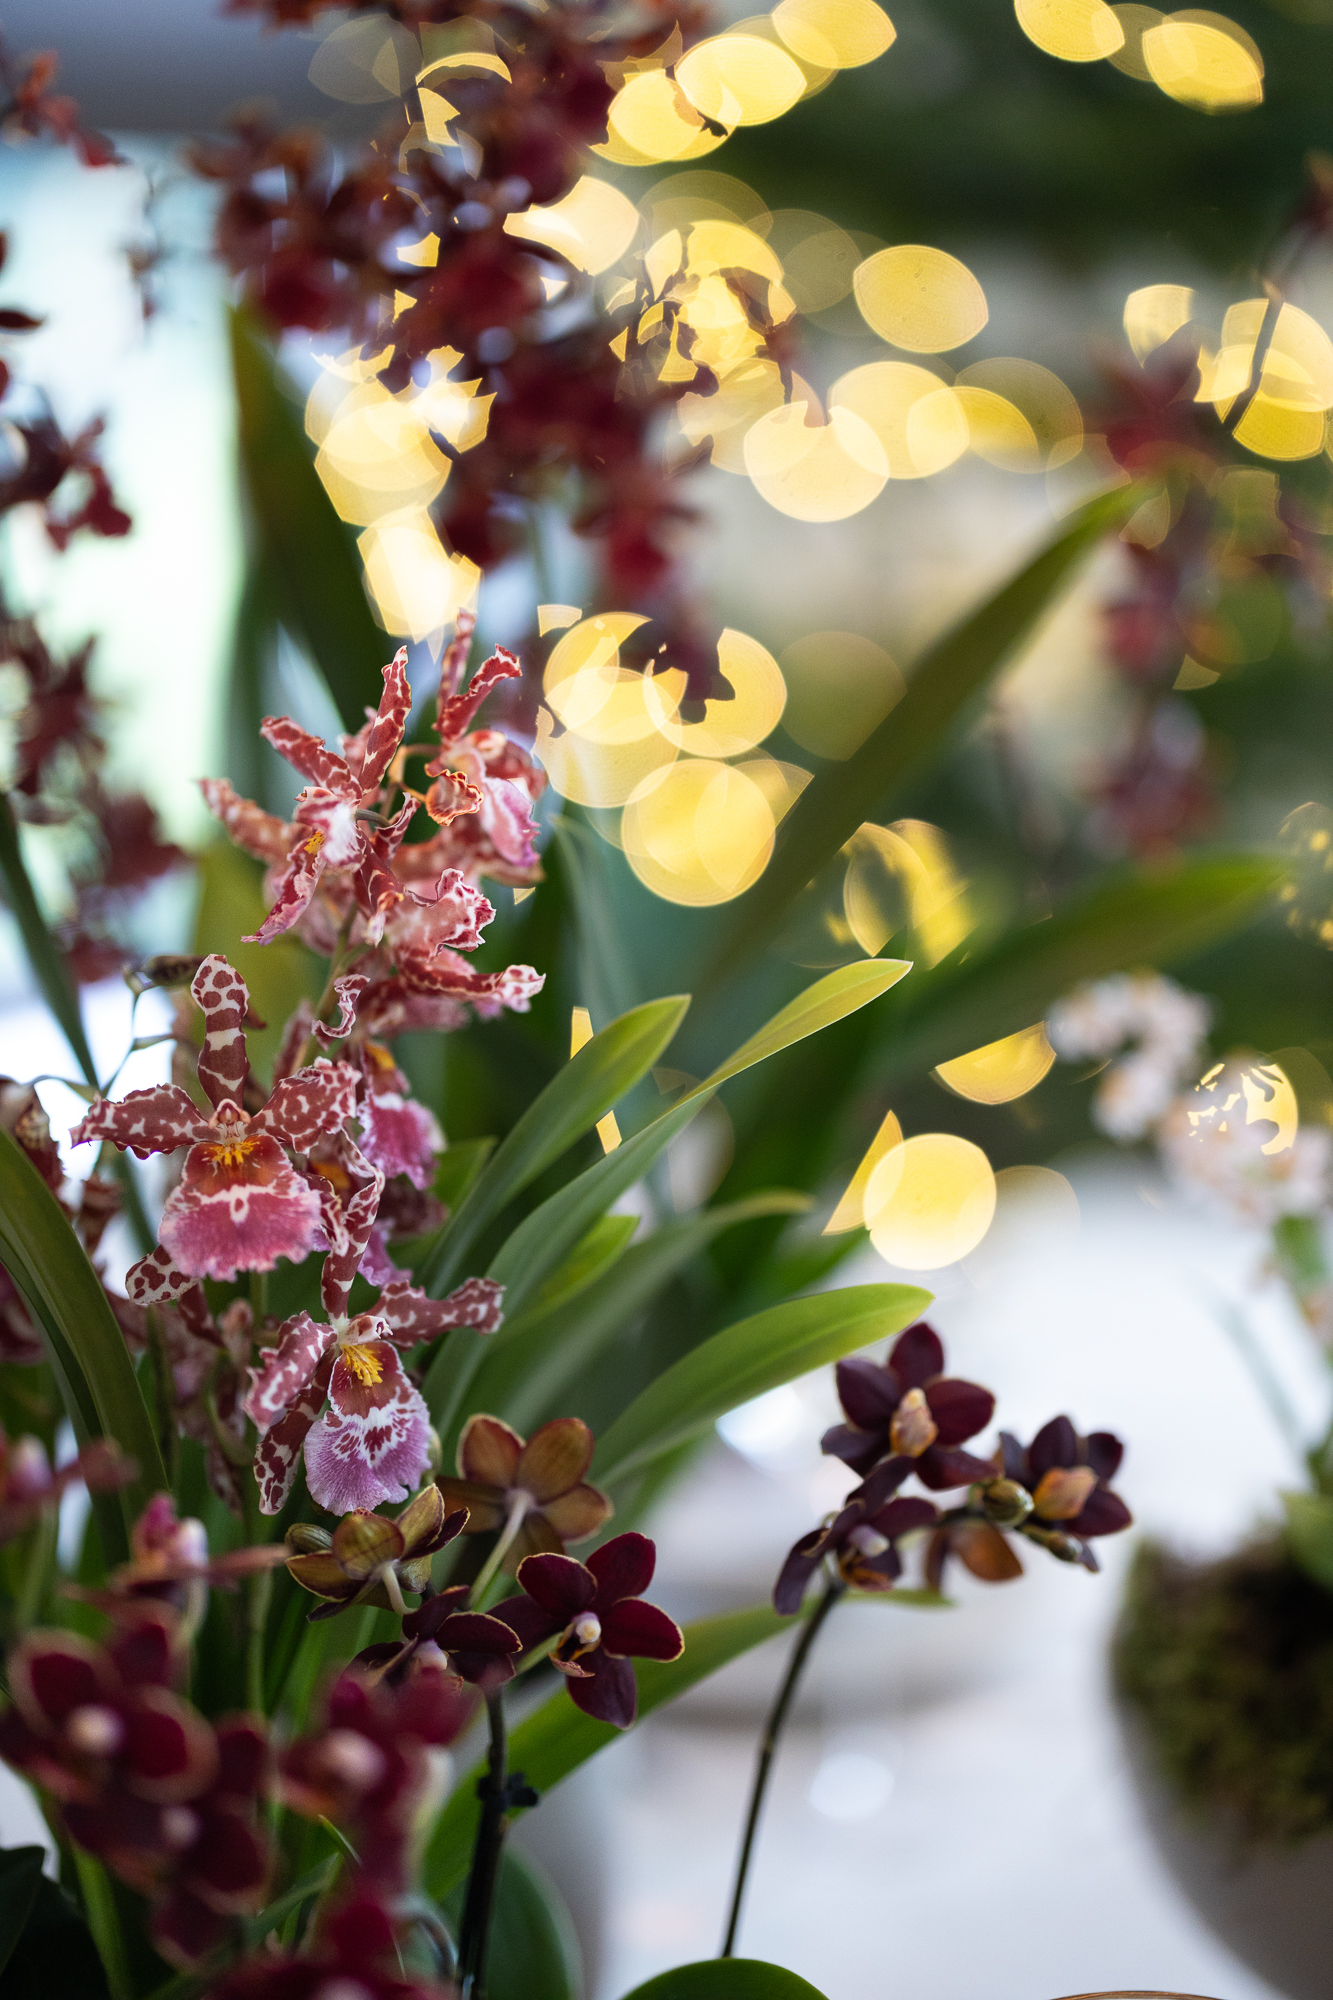
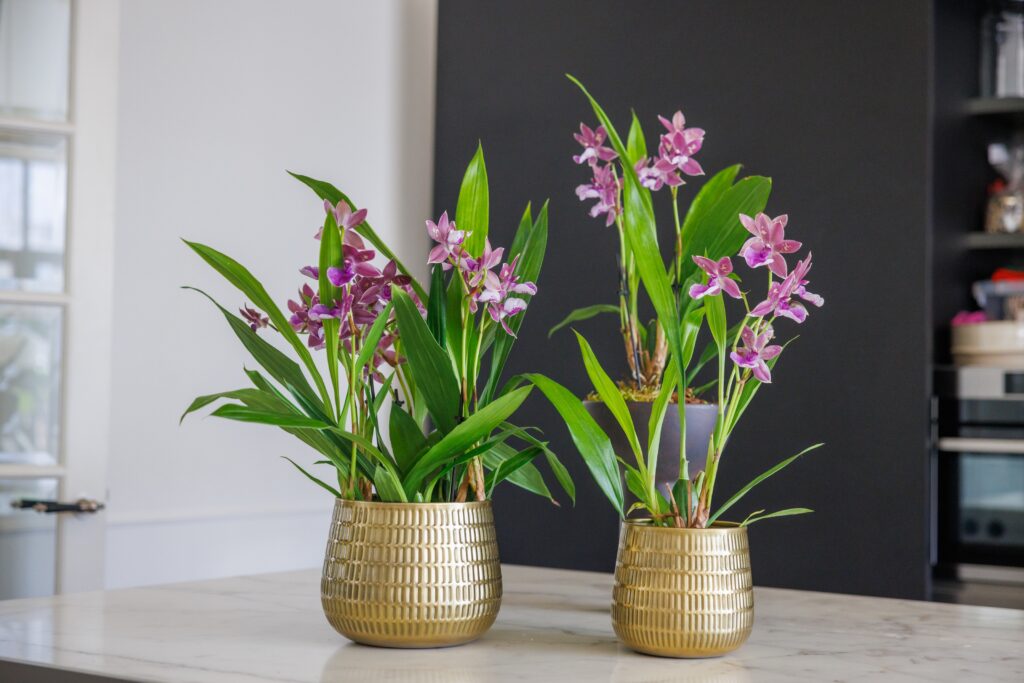
Orchids come in an incredible range of colours, so make the most of it. Instead of opting for the classic white variety, consider something more striking, such as a deep purple or a speckled orchid. A bold choice can instantly elevate your interior and give it a more distinctive, luxurious feel.


Opt for a distinctive pot

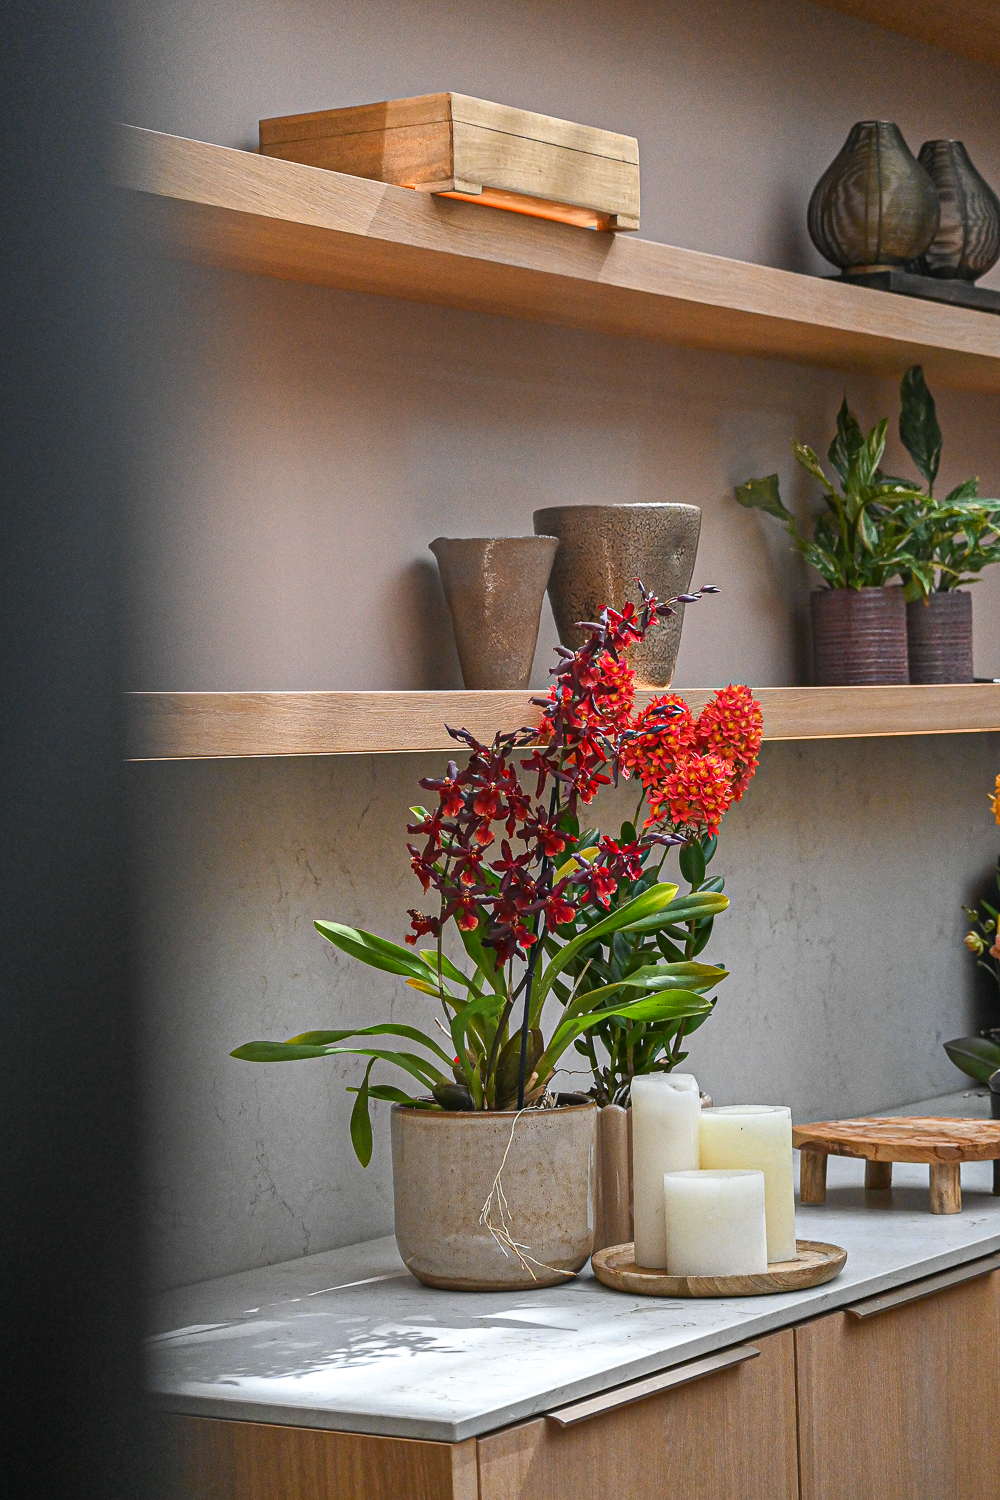
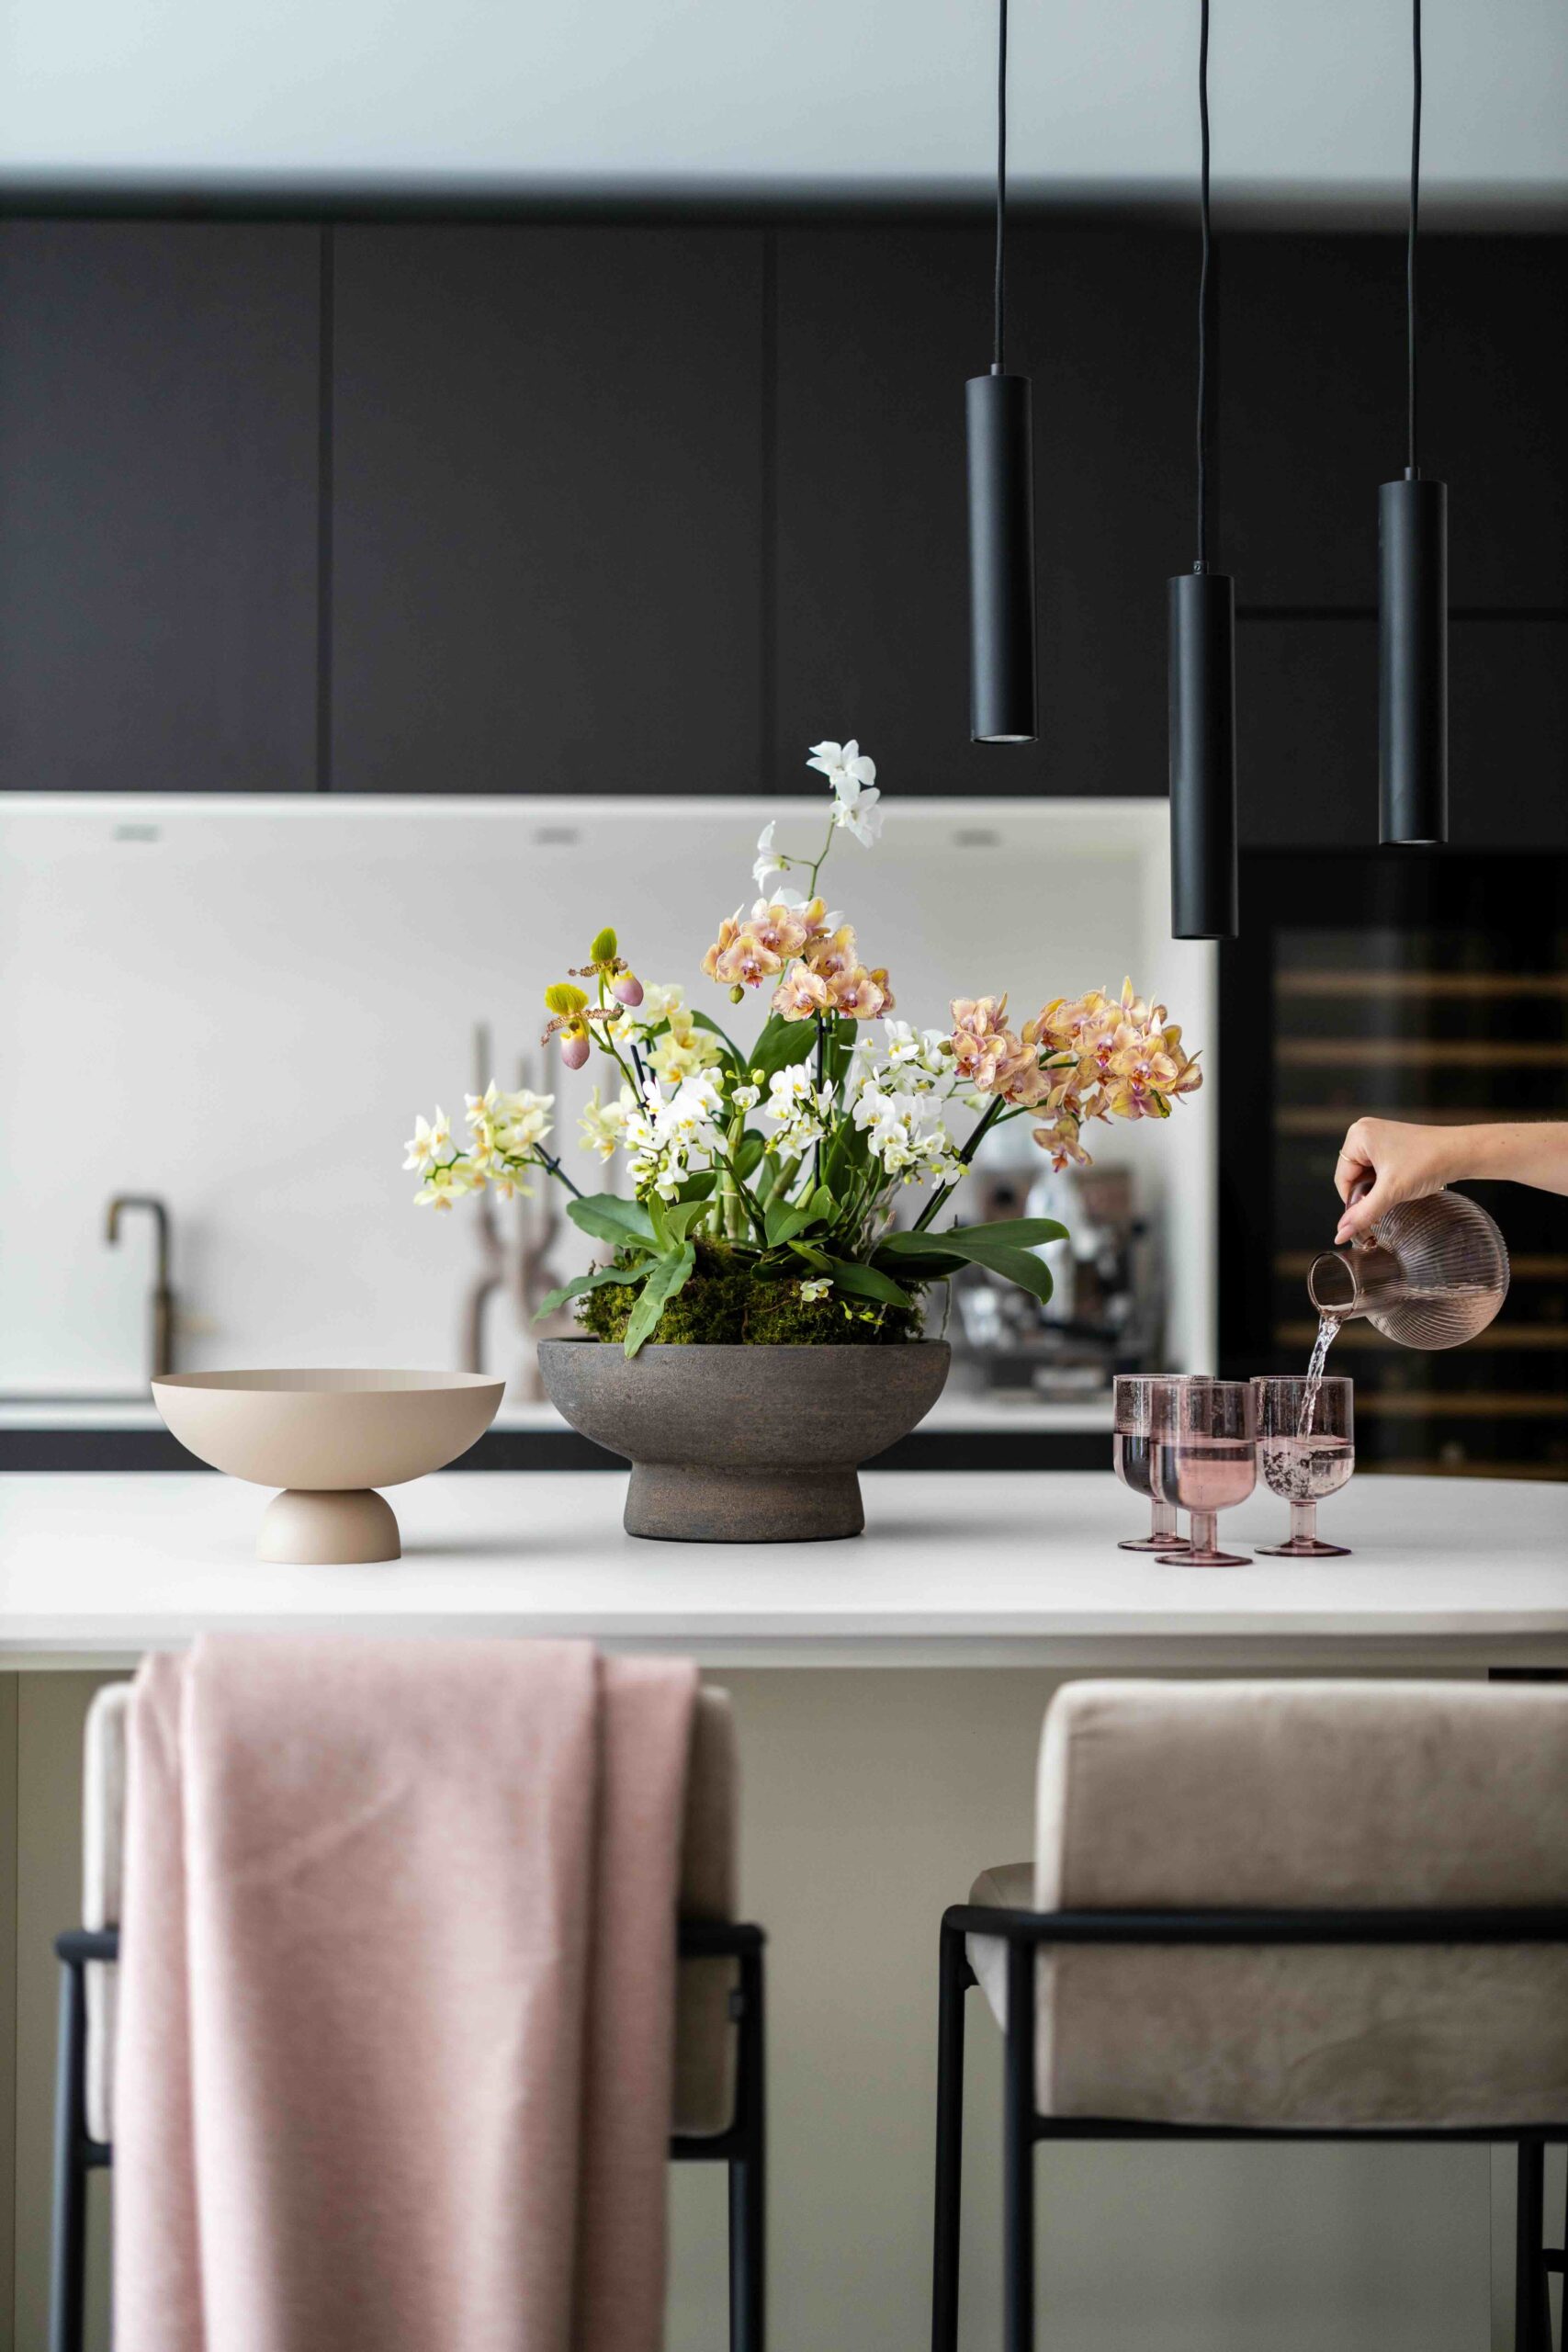
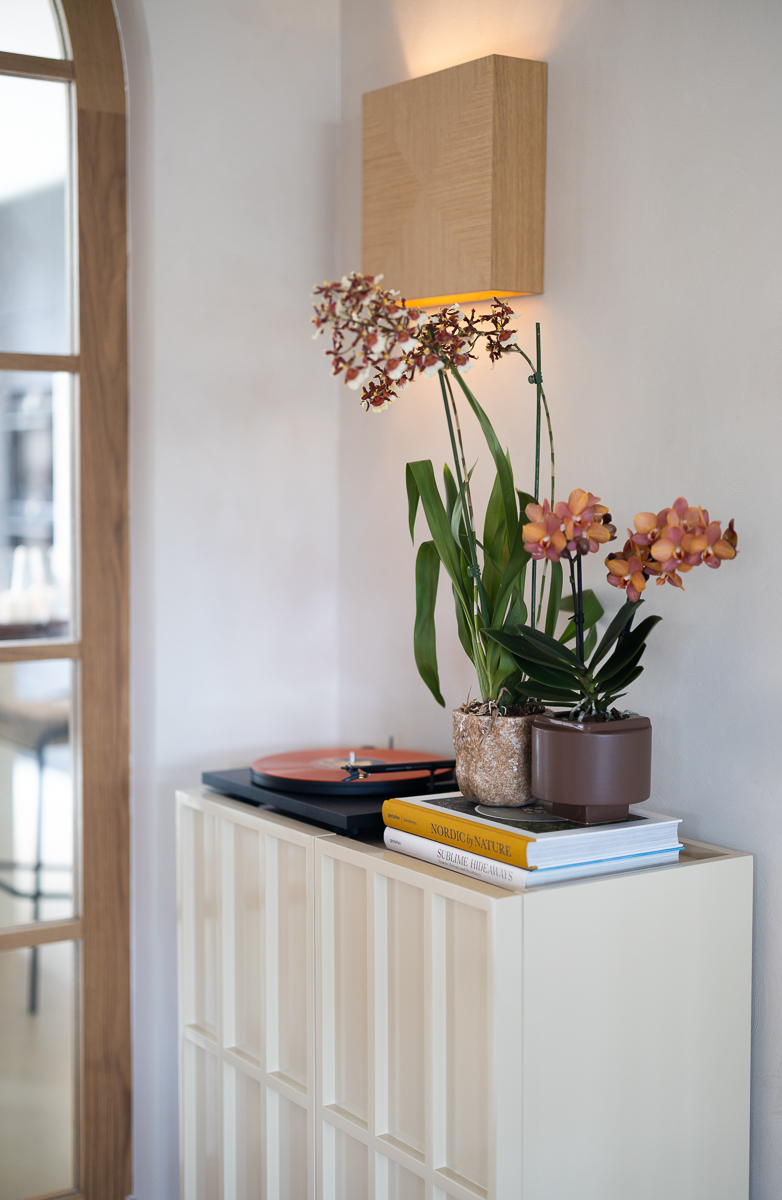
The pot or vase your orchid sits in makes a significant difference. Avoid plastic or glossy white finishes, and instead choose materials like ceramic, natural stone or tinted glass. Playing with contrasts can create a more visually interesting arrangement. Height and placement are equally important. Rather than simply placing an orchid on a table, experiment with pedestals, wall shelves or combinations with other decorative objects. Varying height and texture adds depth and creates a more dynamic and stylish composition.


Combine with luxurious elements

Pair orchids with other elements that exude luxury, such as soft textiles, warm lighting and natural materials. Think linen curtains, wooden accents, dimmable lighting and subtle fragrances. This creates a harmonious space that feels like a hotel chic interior, while still remaining personal and inviting.


Caring for an Orchid

Orchids are not only beautiful but also highly practical. They have a long flowering period and require relatively little maintenance. For hotels – and for your home – this means your space can look consistently polished and elegant without demanding much effort. The combination of aesthetics and durability makes orchids an ideal choice.


Also read: The best orchid care tips

How to care for orchids in spring: 3 tips

Spring is in the air – and orchids can sense it too. Longer days and rising temperatures encourage plants to come out of their winter rest. Spring is the time when orchids become more active again and start producing new roots or leaves. With just a few small adjustments to your care routine, you can help your orchids make the most of the season.

Also read: Bring spring into your home with orchids


How to care for orchids in spring

Indirect sunlight

Now that the days are getting longer, your orchids are likely receiving more sunlight. While they enjoy plenty of light, they do not tolerate direct sun. Check whether your plants are sitting in full sun and, if necessary, move them slightly further back from the window. Bright, indirect light is ideal.


Avoid draughts

Are you opening the windows more often to air out your home? Orchids do not like draughts. A bit of fresh air from time to time won’t do any harm, but be careful with windows and doors that are frequently left open. The ideal room temperature for an orchid is between 20 and 22°C.


Encourage reblooming

Did you know that an orchid doesn’t flower just once, but can bloom repeatedly? You can enjoy orchids for many years. And spring is the perfect time to give an orchid a fresh start. With more sunlight and warmer temperatures, orchids often begin producing new buds again, rewarding you with another beautiful display of flowers.

When the flowers of your orchid have finished blooming, they dry out and eventually fall off. If this doesn’t happen naturally, you can carefully trim away the dried flowers yourself. This allows the plant to focus its energy on any remaining blooms and on developing new buds.


Also read: How to help your orchid rebloom in the spring

How to turn an orchid plant into a bouquet

Did you know you can turn an orchid plant into a bouquet? Most people think of an orchid purely as a houseplant in a pot, but you can style it in a surprisingly different way. By placing the plant in a vase and removing the stakes and clips, you create a loose, natural look that resembles an elegant bouquet rather than a traditional potted plant.


Turning an orchid plant into a bouquet

The most well-known orchid is the Phalaenopsis, also known as the moth orchid. This variety is perfect for styling as a bouquet. Its long flower stems, carrying multiple blooms, create a rich and graceful effect.

Start by choosing a tall vase that complements your orchid. Place the orchid inside the vase while keeping it in its plastic nursery pot. It’s best to use a vase with a narrow neck, although the base of the orchid must still fit through the opening. If the vase is very deep, you can place something inside it to raise the orchid slightly, allowing the flowers to sit higher and be shown off properly.

To create the bouquet effect, carefully remove the stakes and clips from the orchid. Loosen the clips one by one, to avoid damaging the flower stems. Once the support is removed, the stems will gently arch and fall more naturally. This gives the orchid an airy, playful appearance – exactly what you want when recreating the look of a bouquet.


A bouquet that lasts extra long

Styling your orchid this way gives this classic houseplant a modern and creative twist. It’s perfect for a dining table, a sideboard or as a striking feature in the hallway. An added bonus is that orchids bloom for months, meaning this bouquet will last far longer than a traditional cut-flower arrangement!


Also watch this video:

@orchidsinfo

A simple way to turn your orchid plant into a bouquet! #orchidplant #diyorchidarrangment #homedecorideas

♬ Little Things – Adrián Berenguer

Also read: How to brighten up your hallway with orchids

This is Secret Safari – Histor Colour of the Year 2026

Secret Safari is Histor’s Colour of the Year 2026. A soft green shade with a refreshing lime-green undertone. This trend colour brings a sense of calm, while its subtle sunny undertone also adds energy to a space. The shade feels contemporary, elegant and expressive, without being loud. Curious about how to use Histor’s Colour of the Year 2026 in your interior? Read on for inspiration with Secret Safari.

Also read: The Dulux Colours of the Year 2026: The Rhythm of Blues


Histor Colour of the Year 2026

Secret Safari is soft yet confident. Distinctive, yet balanced. New, yet also very natural. It’s a beautiful yellow-green shade that brings both the calm and the strength of nature into the home. Gentle enough to soothe, yet lively enough to lift your mood.


Secret Safari inspiration

What makes Histor’s Colour of the Year 2026 so special, is its versatility. This trend colour works beautifully with a wide range of styles and palettes, whether you use Secret Safari as a main colour, a secondary shade or an accent. A helpful guideline here is the 60-30-10 rule: 60% of the room is defined by a base colour, 30% by a secondary shade and 10% by an accent colour. This ensures that each colour has its place and creates a stylish, well-balanced whole.


Happy Monday Blog


Also read: Interior, flower & plant style trends for 2026

This is the Pantone Colour of the Year 2026: Cloud Dancer

Cloud Dancer is the trend colour we will be seeing everywhere in 2026. The Pantone Color Institute has named white as the Colour of the Year 2026, as it creates space for new ideas and stimulates creativity. Curious about how to incorporate the Pantone Colour of the Year 2026 into your interior without it feeling cold or dull? In this article, you’ll find inspiration and practical tips – including the perfect way to add a touch of Cloud Dancer to your home with orchids.

Pantone Colour of the Year 2026

Cloud Dancer is a light, almost floating shade of white that radiates calm and clarity. In a time of constant change and sensory overload, this hue acts as a conscious moment of pause. Laurie Pressman, Vice President of Pantone, describes Cloud Dancer as a “blank canvas”. It’s a colour that lets go of the old and makes room for fresh concepts. “An airy white hue that opens up space for creativity, allowing our imagination to drift so that new insights and bold ideas can emerge and take shape,” says Pressman.

Leatrice Eiseman, Executive Director of Pantone, adds: “In times of change, Cloud Dancer helps to maintain focus. It is a deliberate statement of simplification that creates freedom from external distractions and enables clarity.”


Cloud Dancer in your interior

Wondering how to incorporate the trend colour of 2026 into your interior without it feeling cold or boring? The minimalist nature of Cloud Dancer makes the possibilities endless. According to the Pantone Color Institute, we will mainly see this colour paired with pearl tones and neutral shades. Think soft pinks and yellows, as well as gentle pastel versions of blue, green and orange.


Of course, these combinations are not prescriptive. You could also choose to design your entire interior in white. By using different shades of white and combining them with wood, ceramics and the greenery of orchids, you can still create a warm and inviting atmosphere.


Or, alternatively, pair Cloud Dancer with one of today’s other major trend colours, such as blue!


Also read: The Dulux Colours of the Year 2026: The Rhythm of Blues

Stay informed with monthly news, promotions and inspiration.