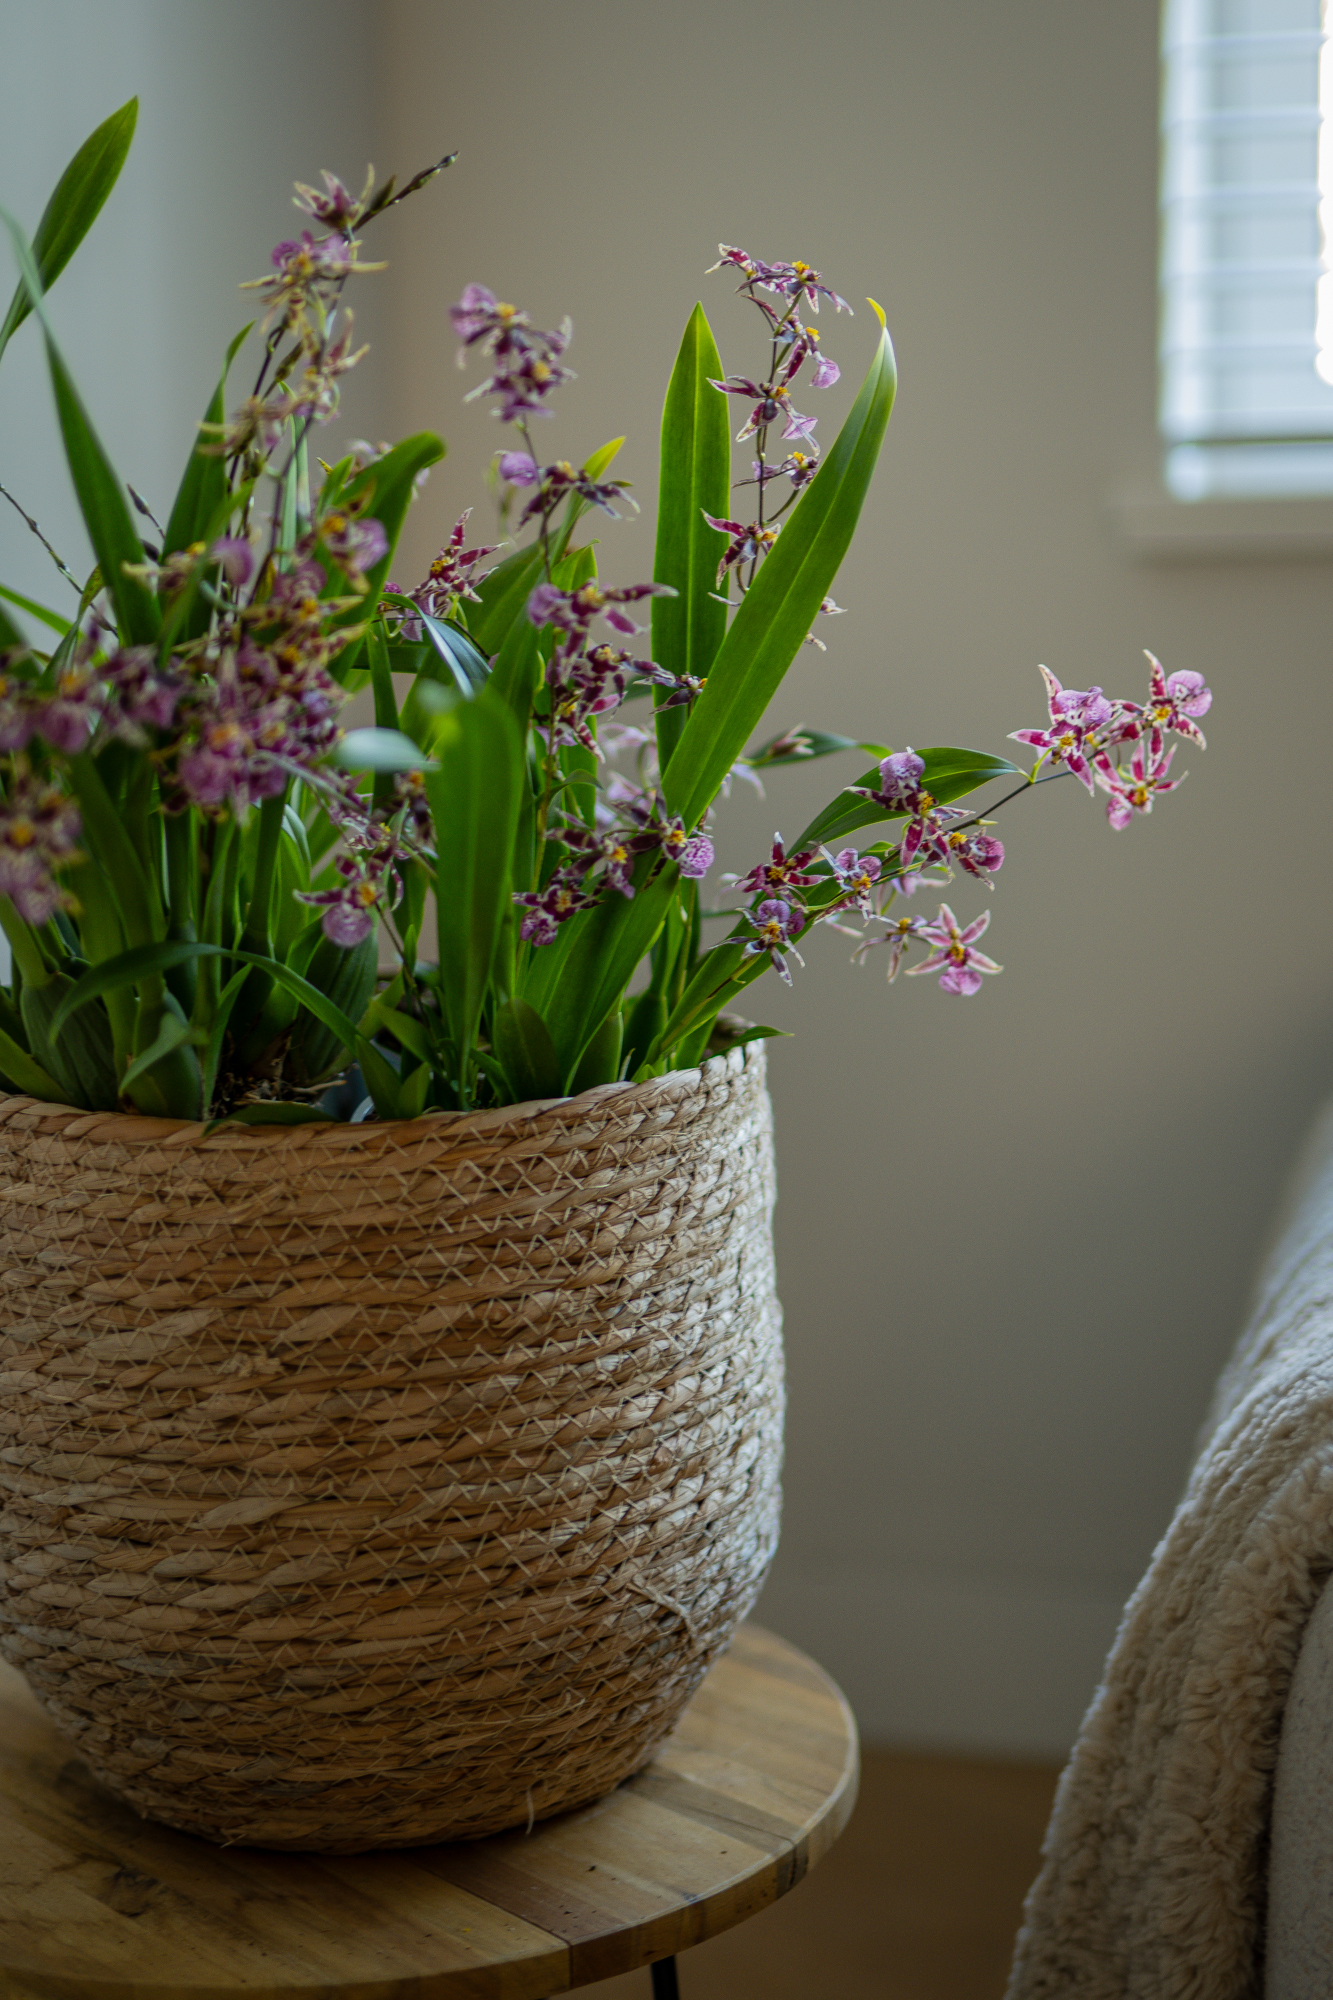
DIY: a mini orchid arrangement in 3 simple steps
Mini orchids are beautiful on their own, but they’re also perfect for creating a lovely little arrangement. By combining a few plants, you can easily create a playful display that looks great on a table, side table or any other little corner of your home. And you don’t need to have green fingers to make it! In this article, we’ll show you how to create your own mini orchid arrangement in just three simple steps.
DIY: mini orchid arrangement
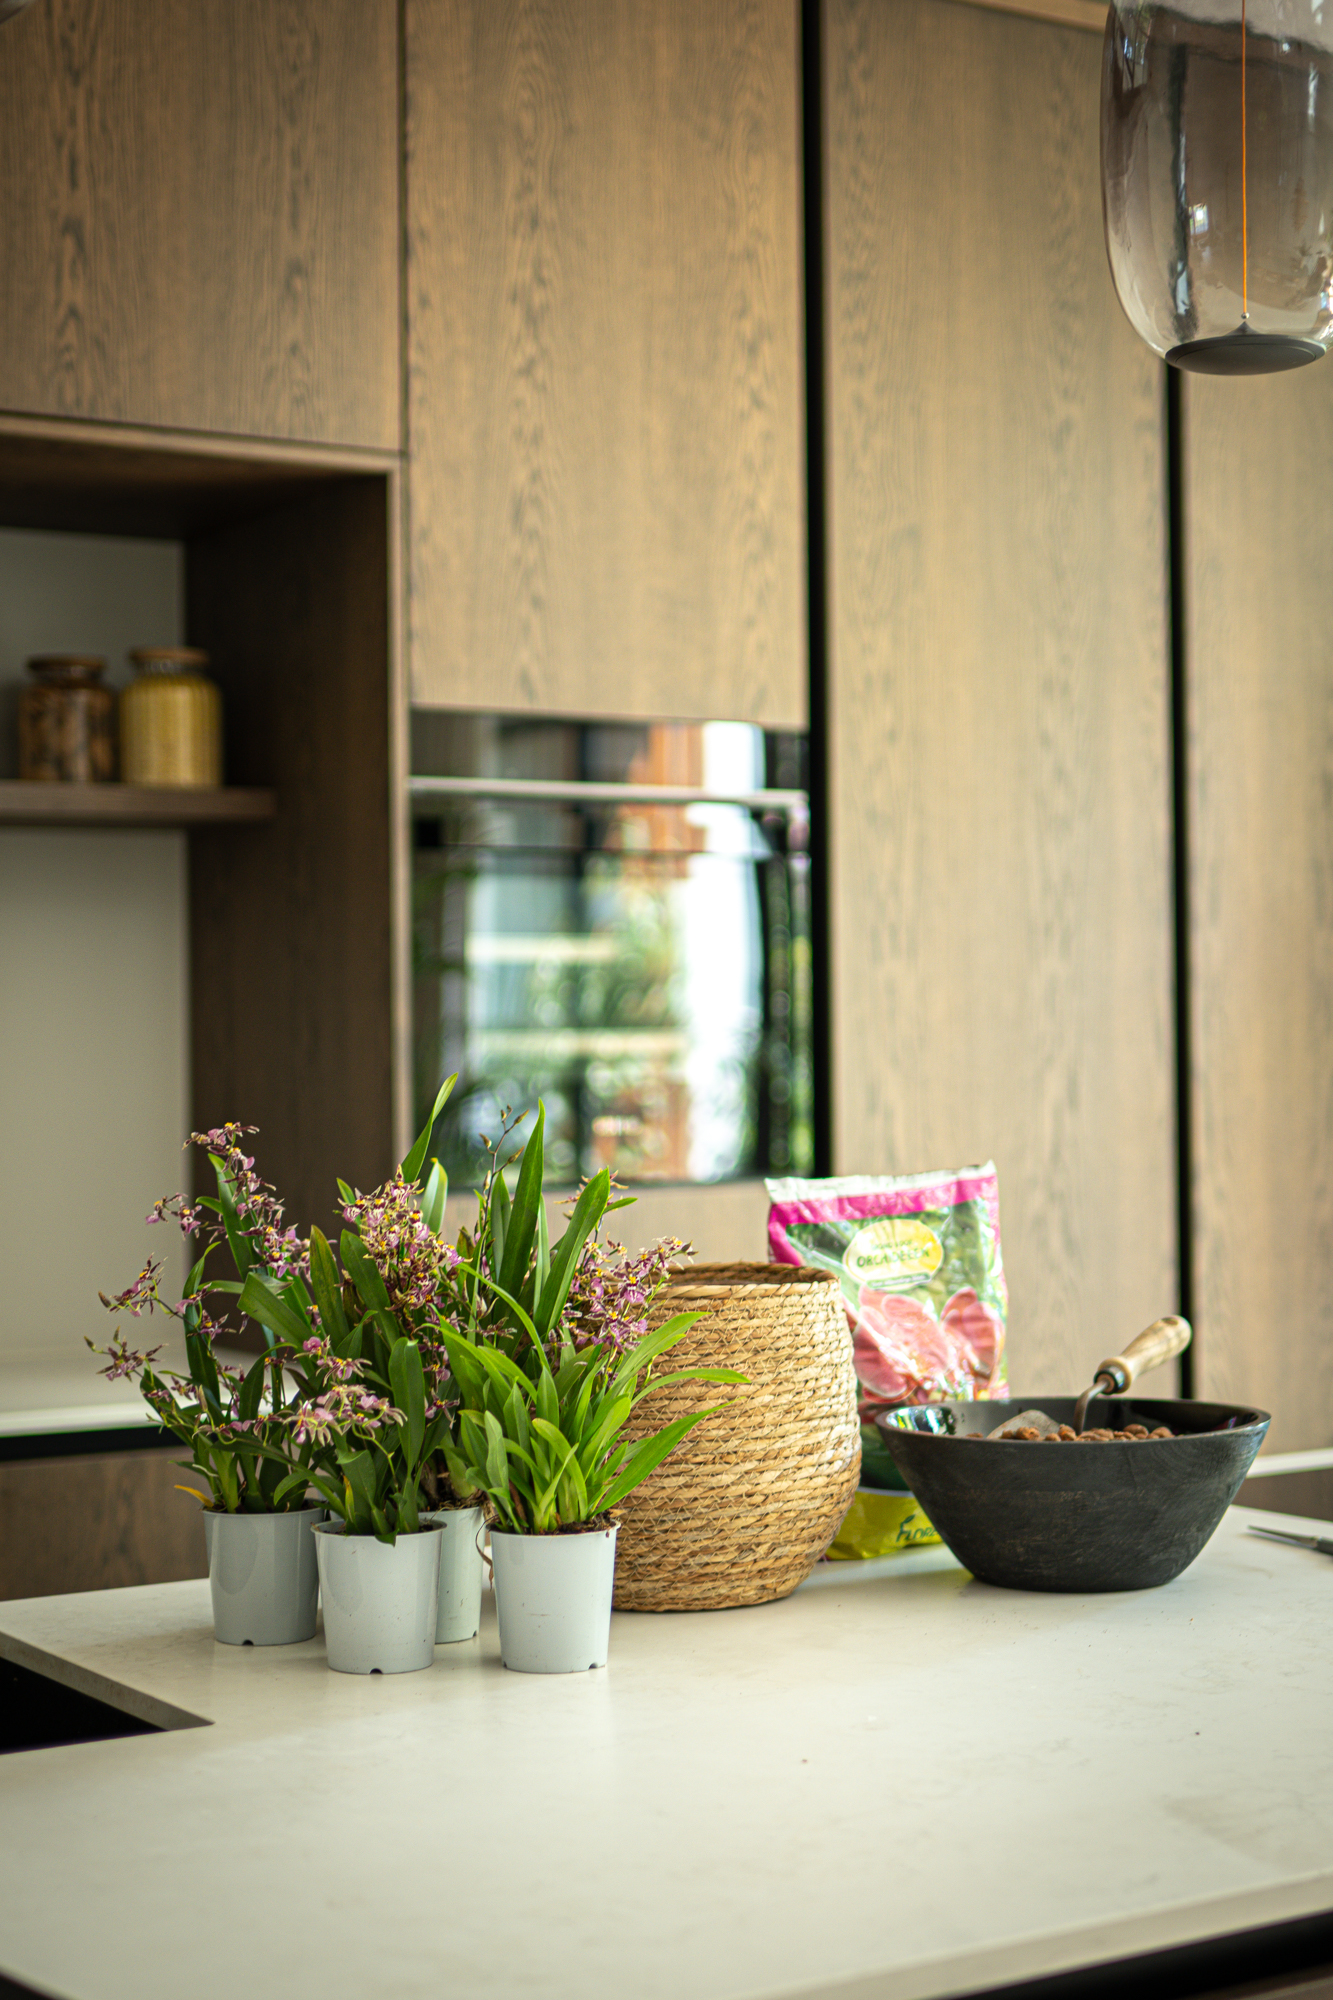
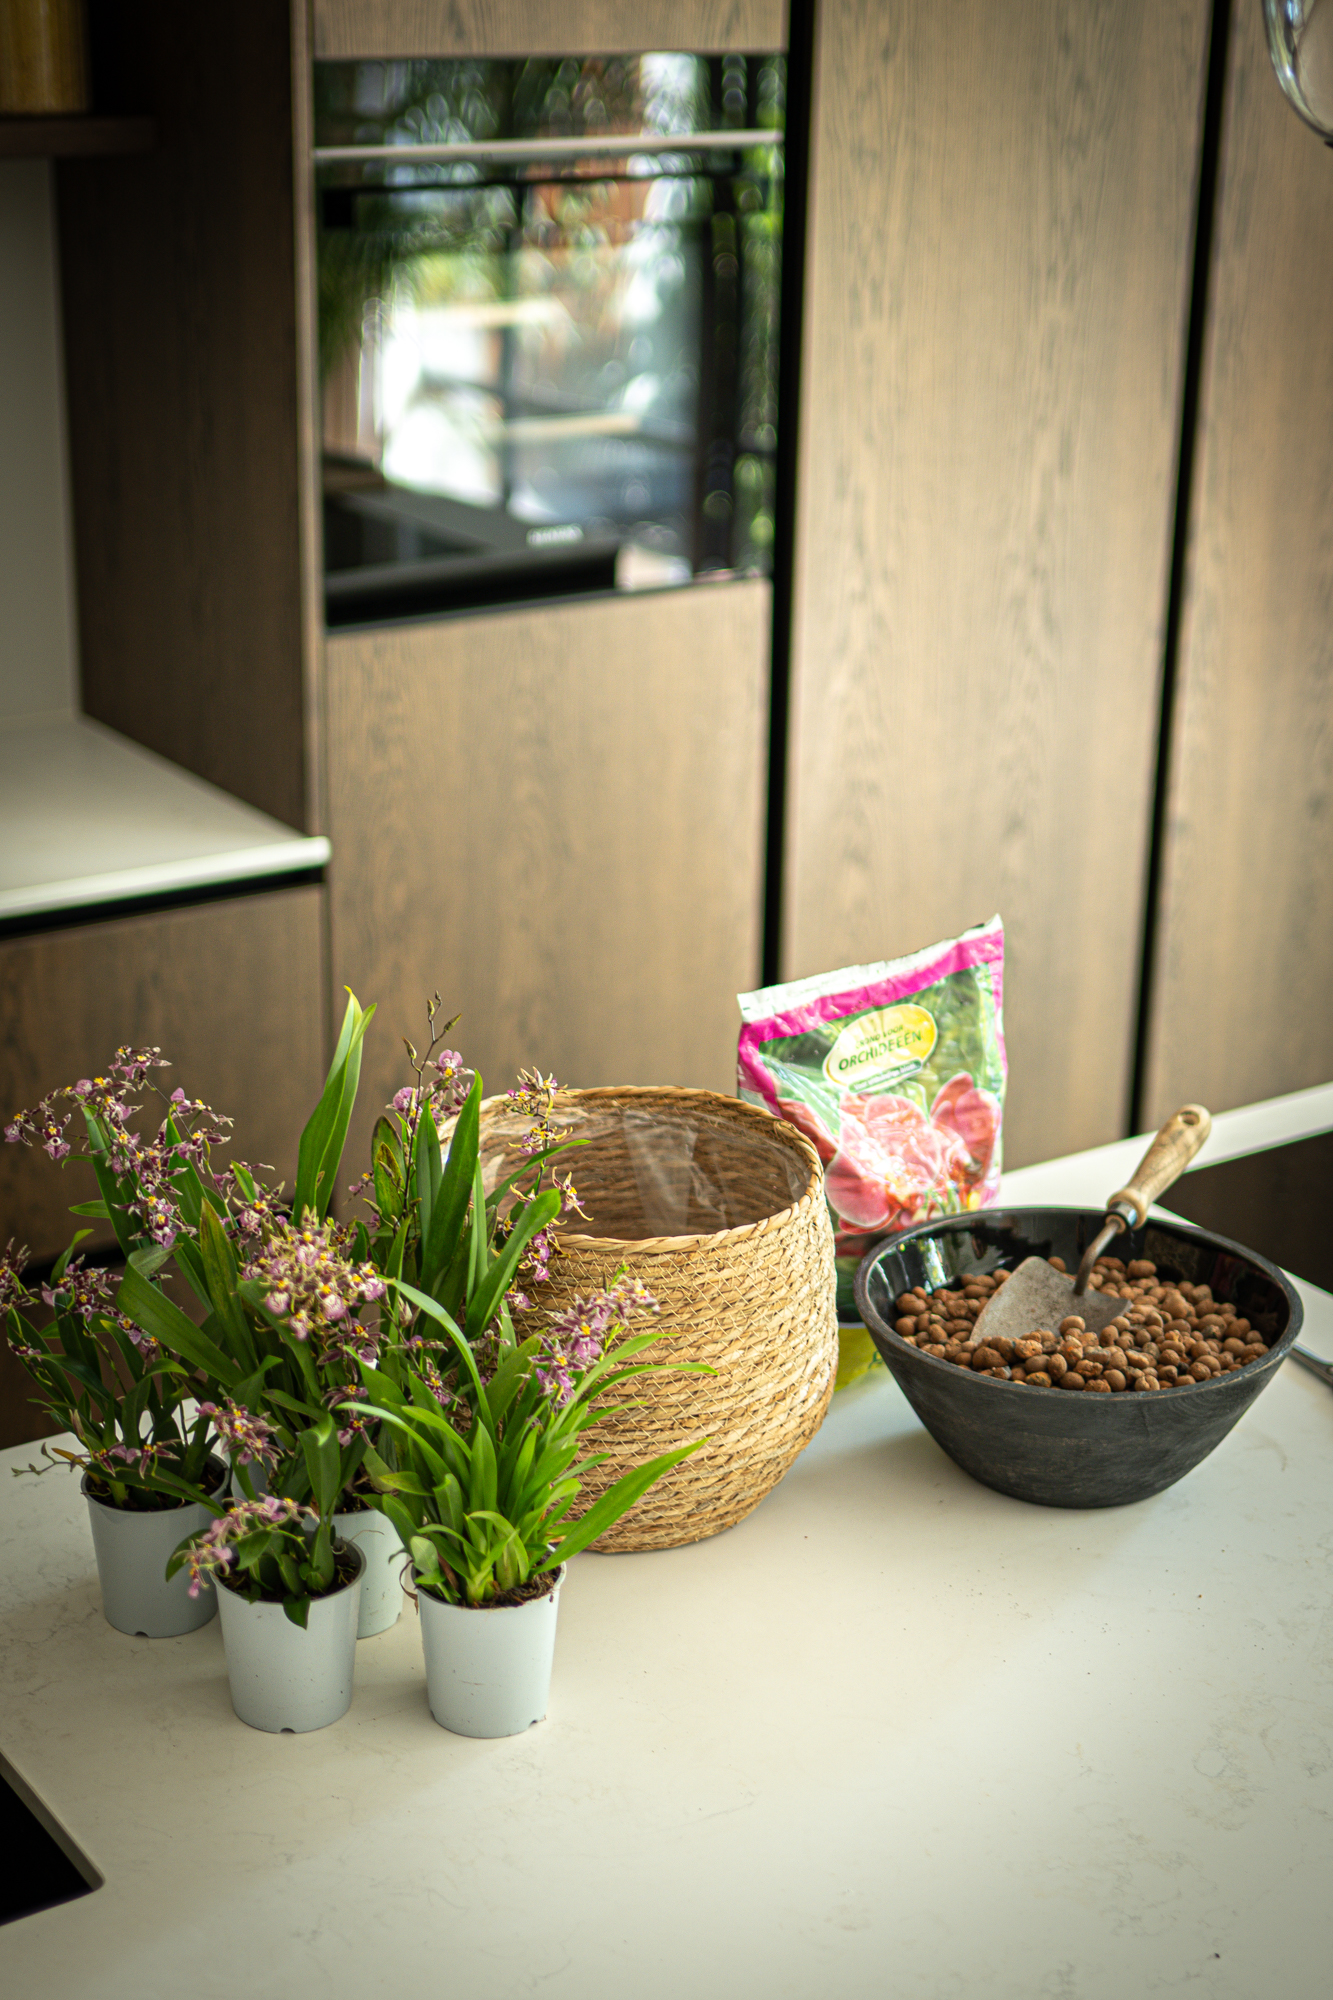
Necessities
- A basket or bowl
- Hydro granules
- Several mini orchids
- Orchid bark (potting mix)
Step-by-step guide
Start by adding a layer of hydro granules to the bottom of the basket. This prevents the mini orchids from sitting in water after watering, which could cause the roots to rot. Then place the mini orchids in the basket one by one.
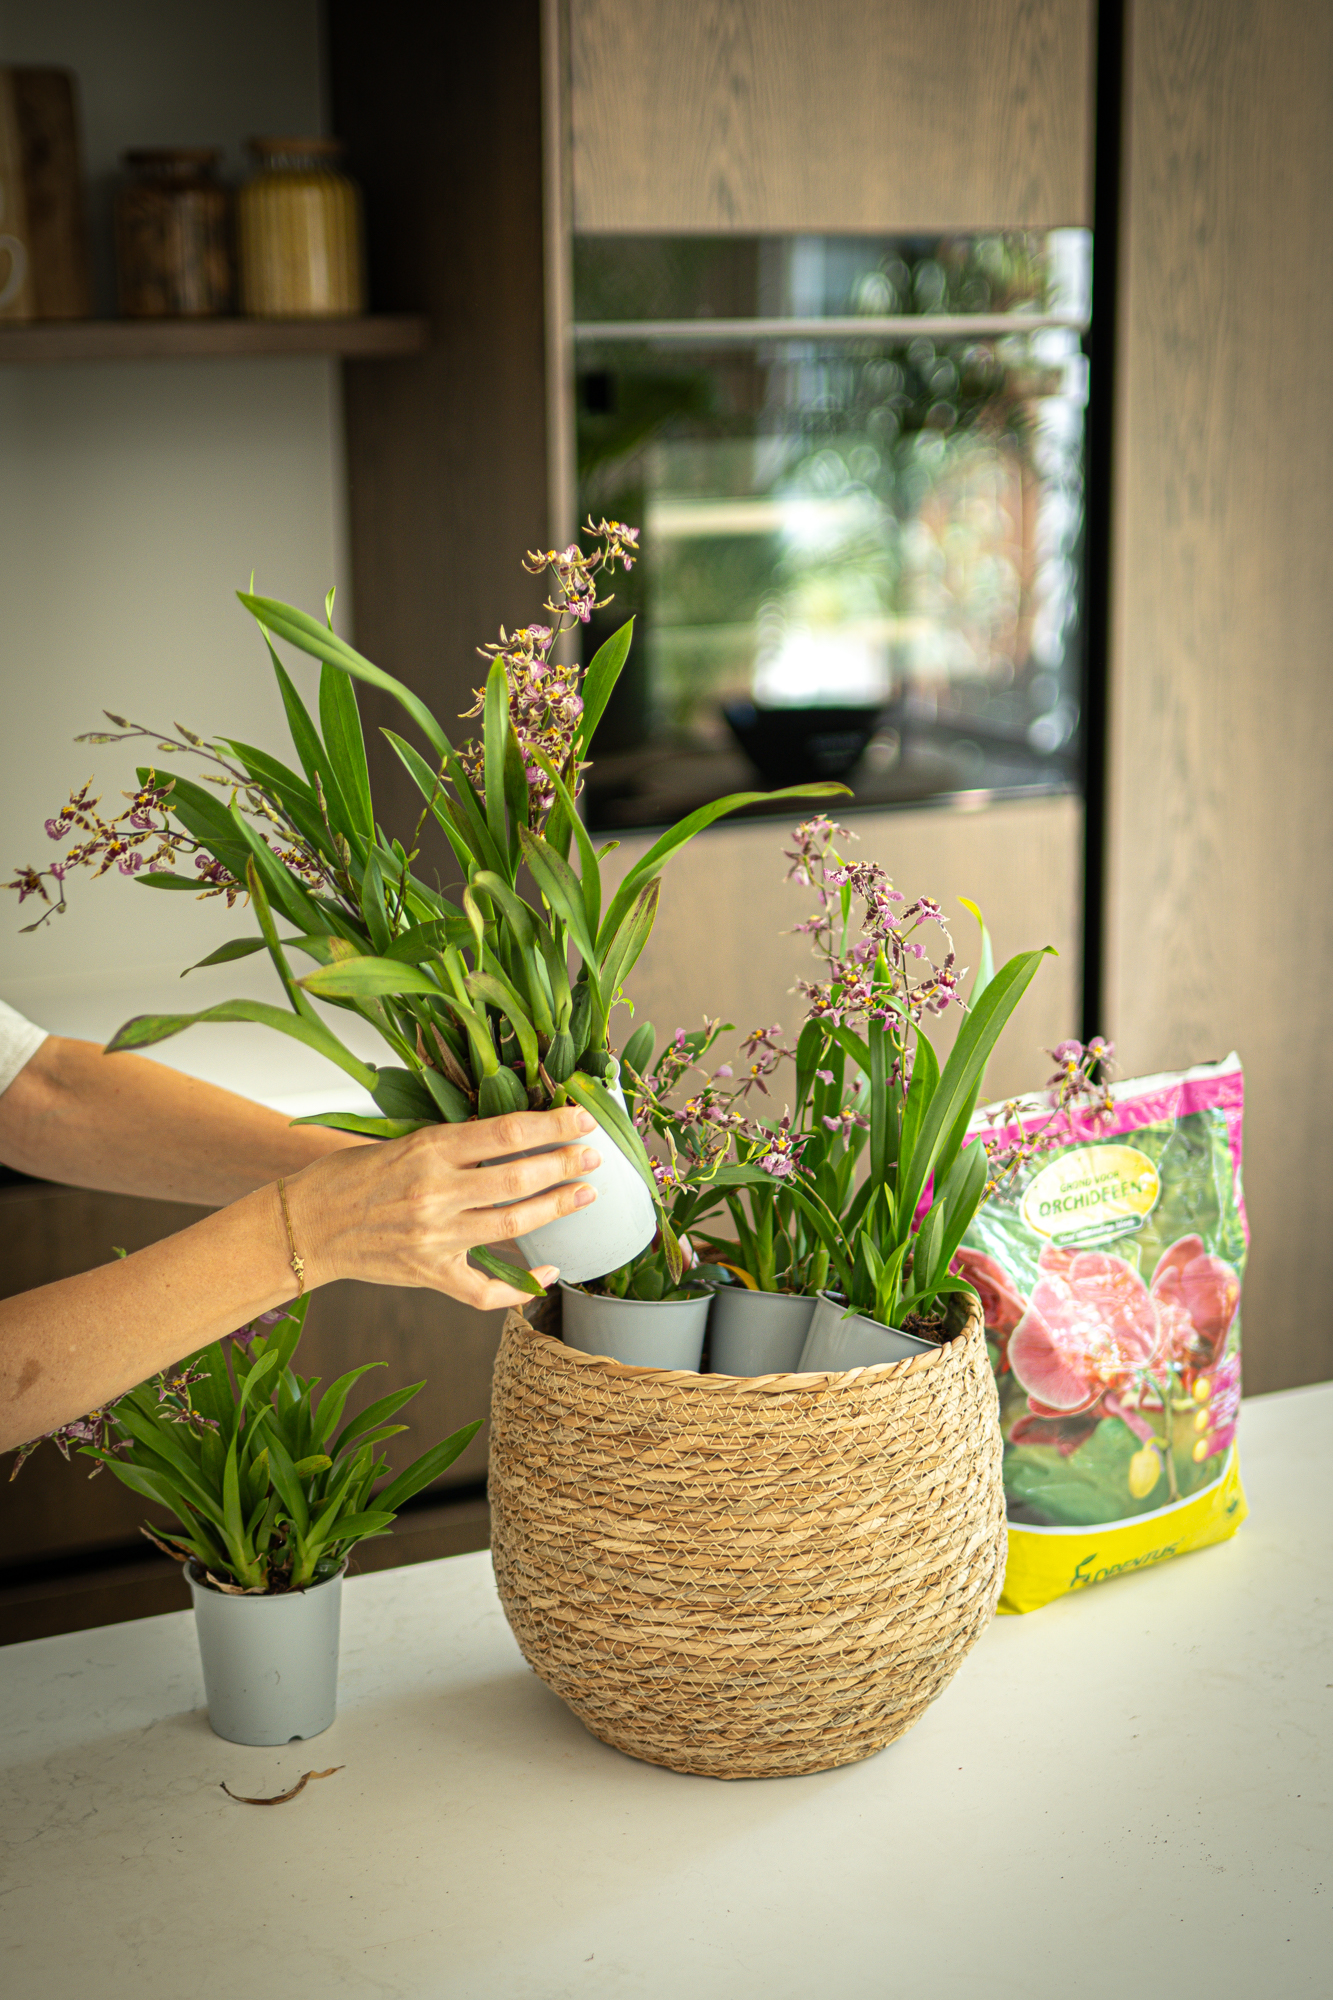
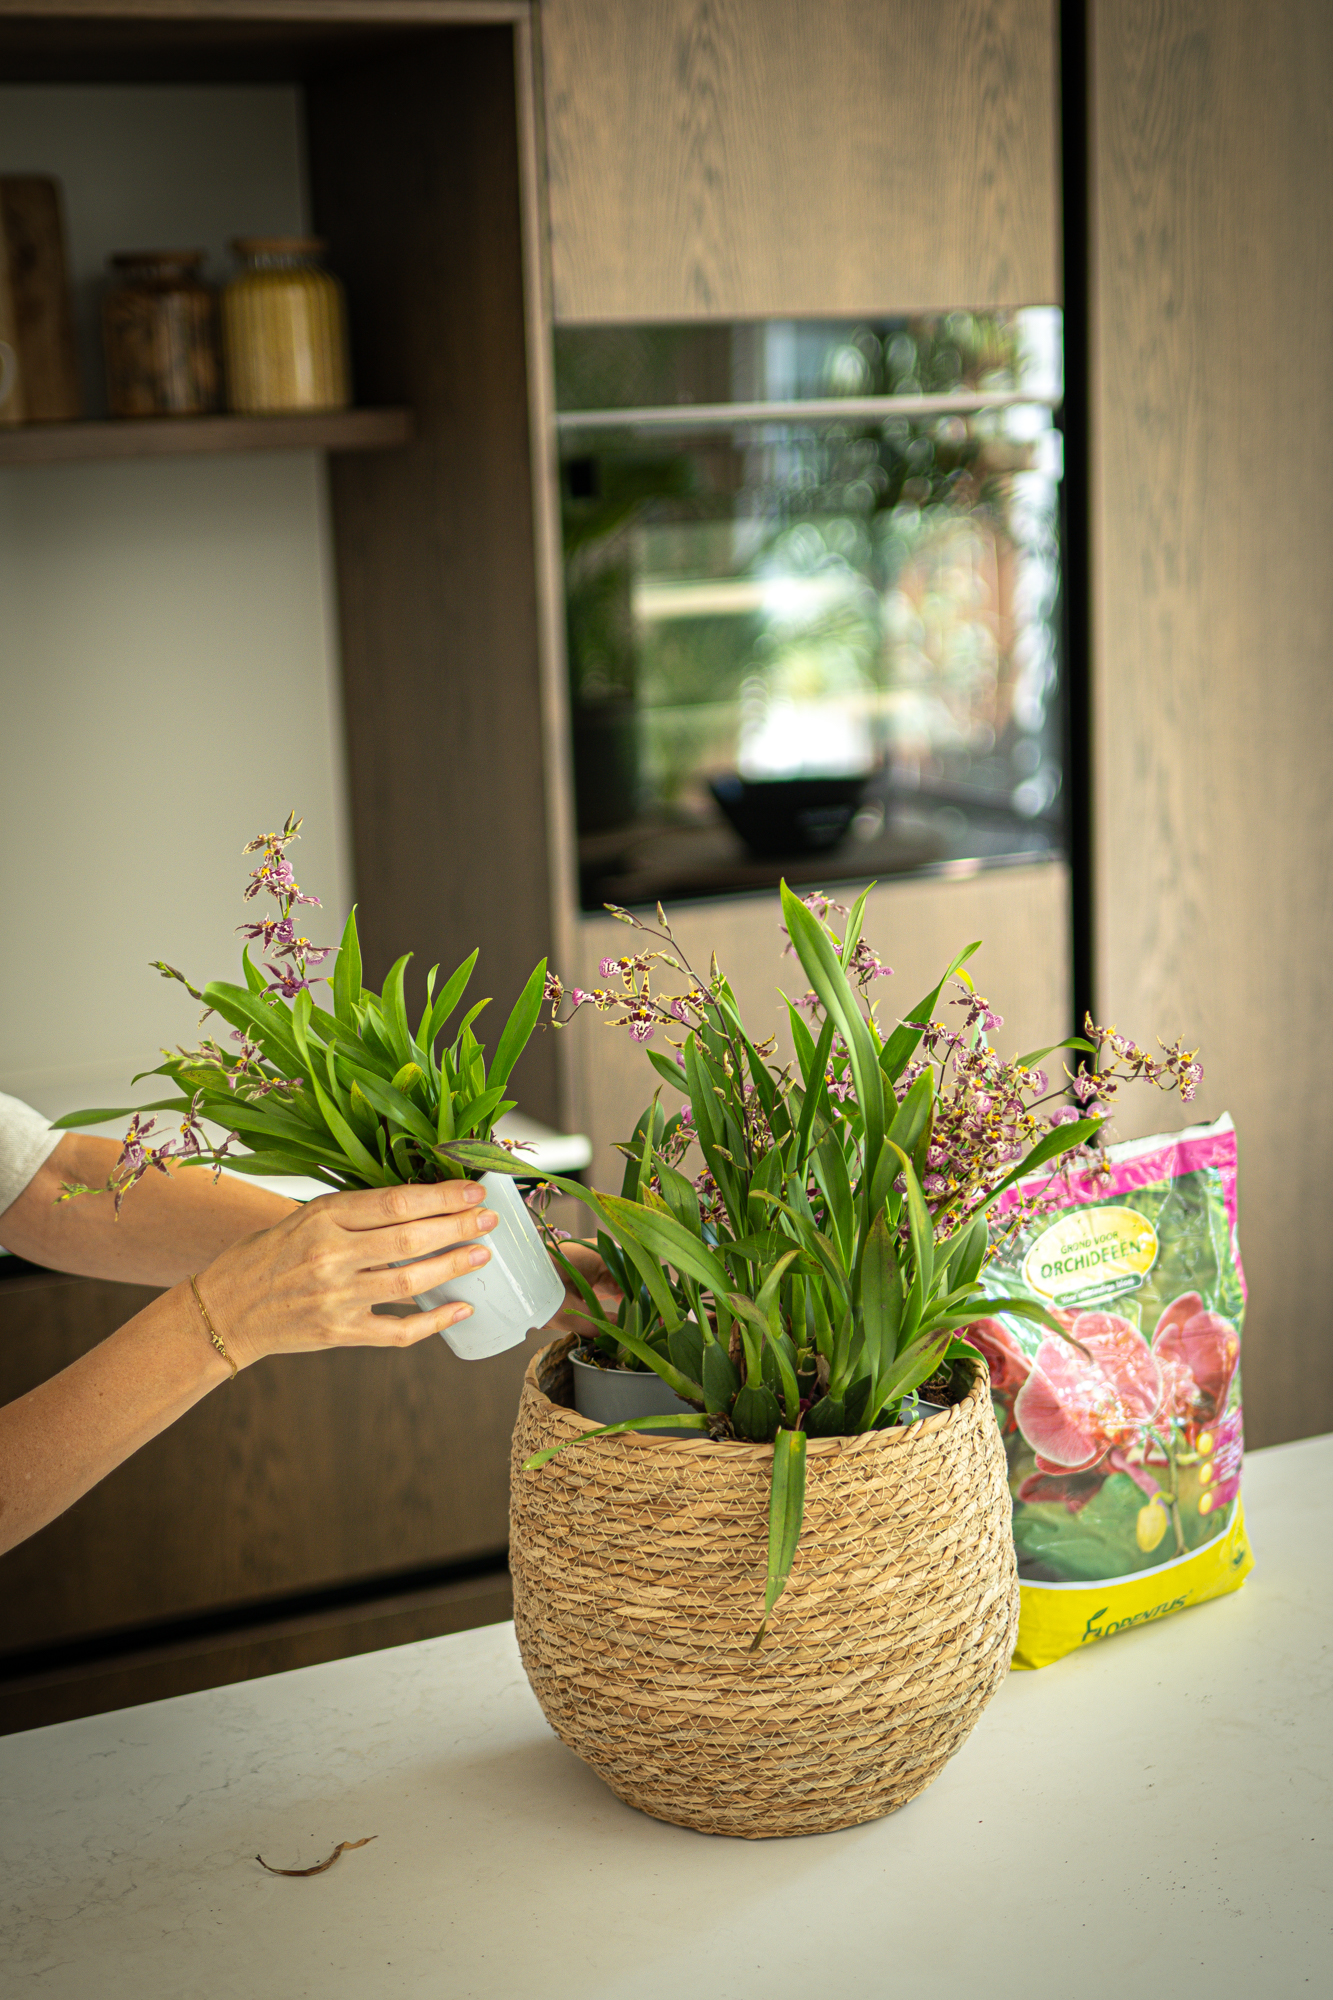
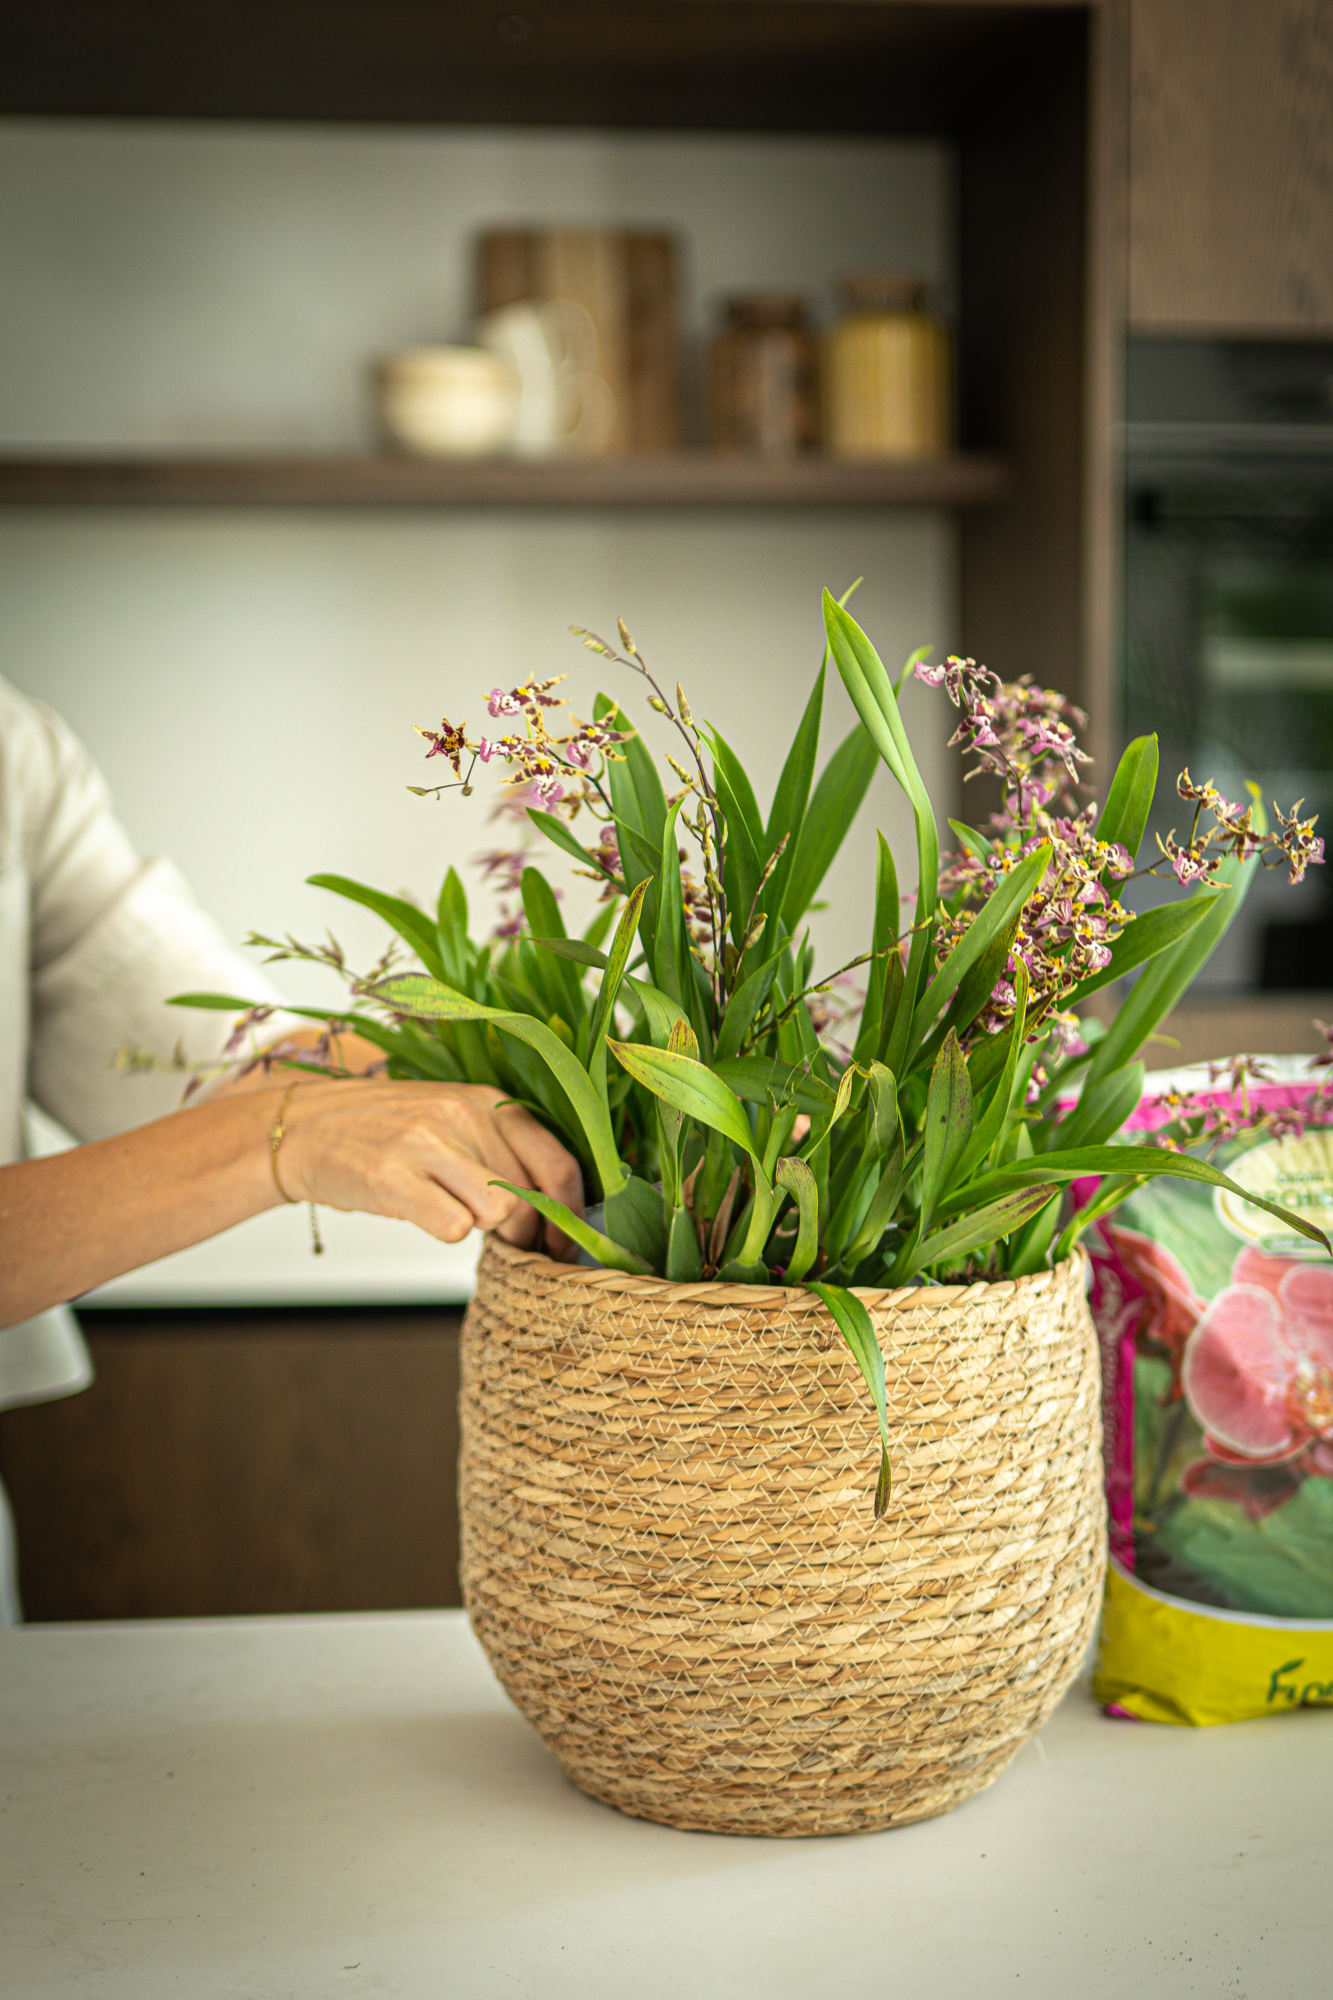
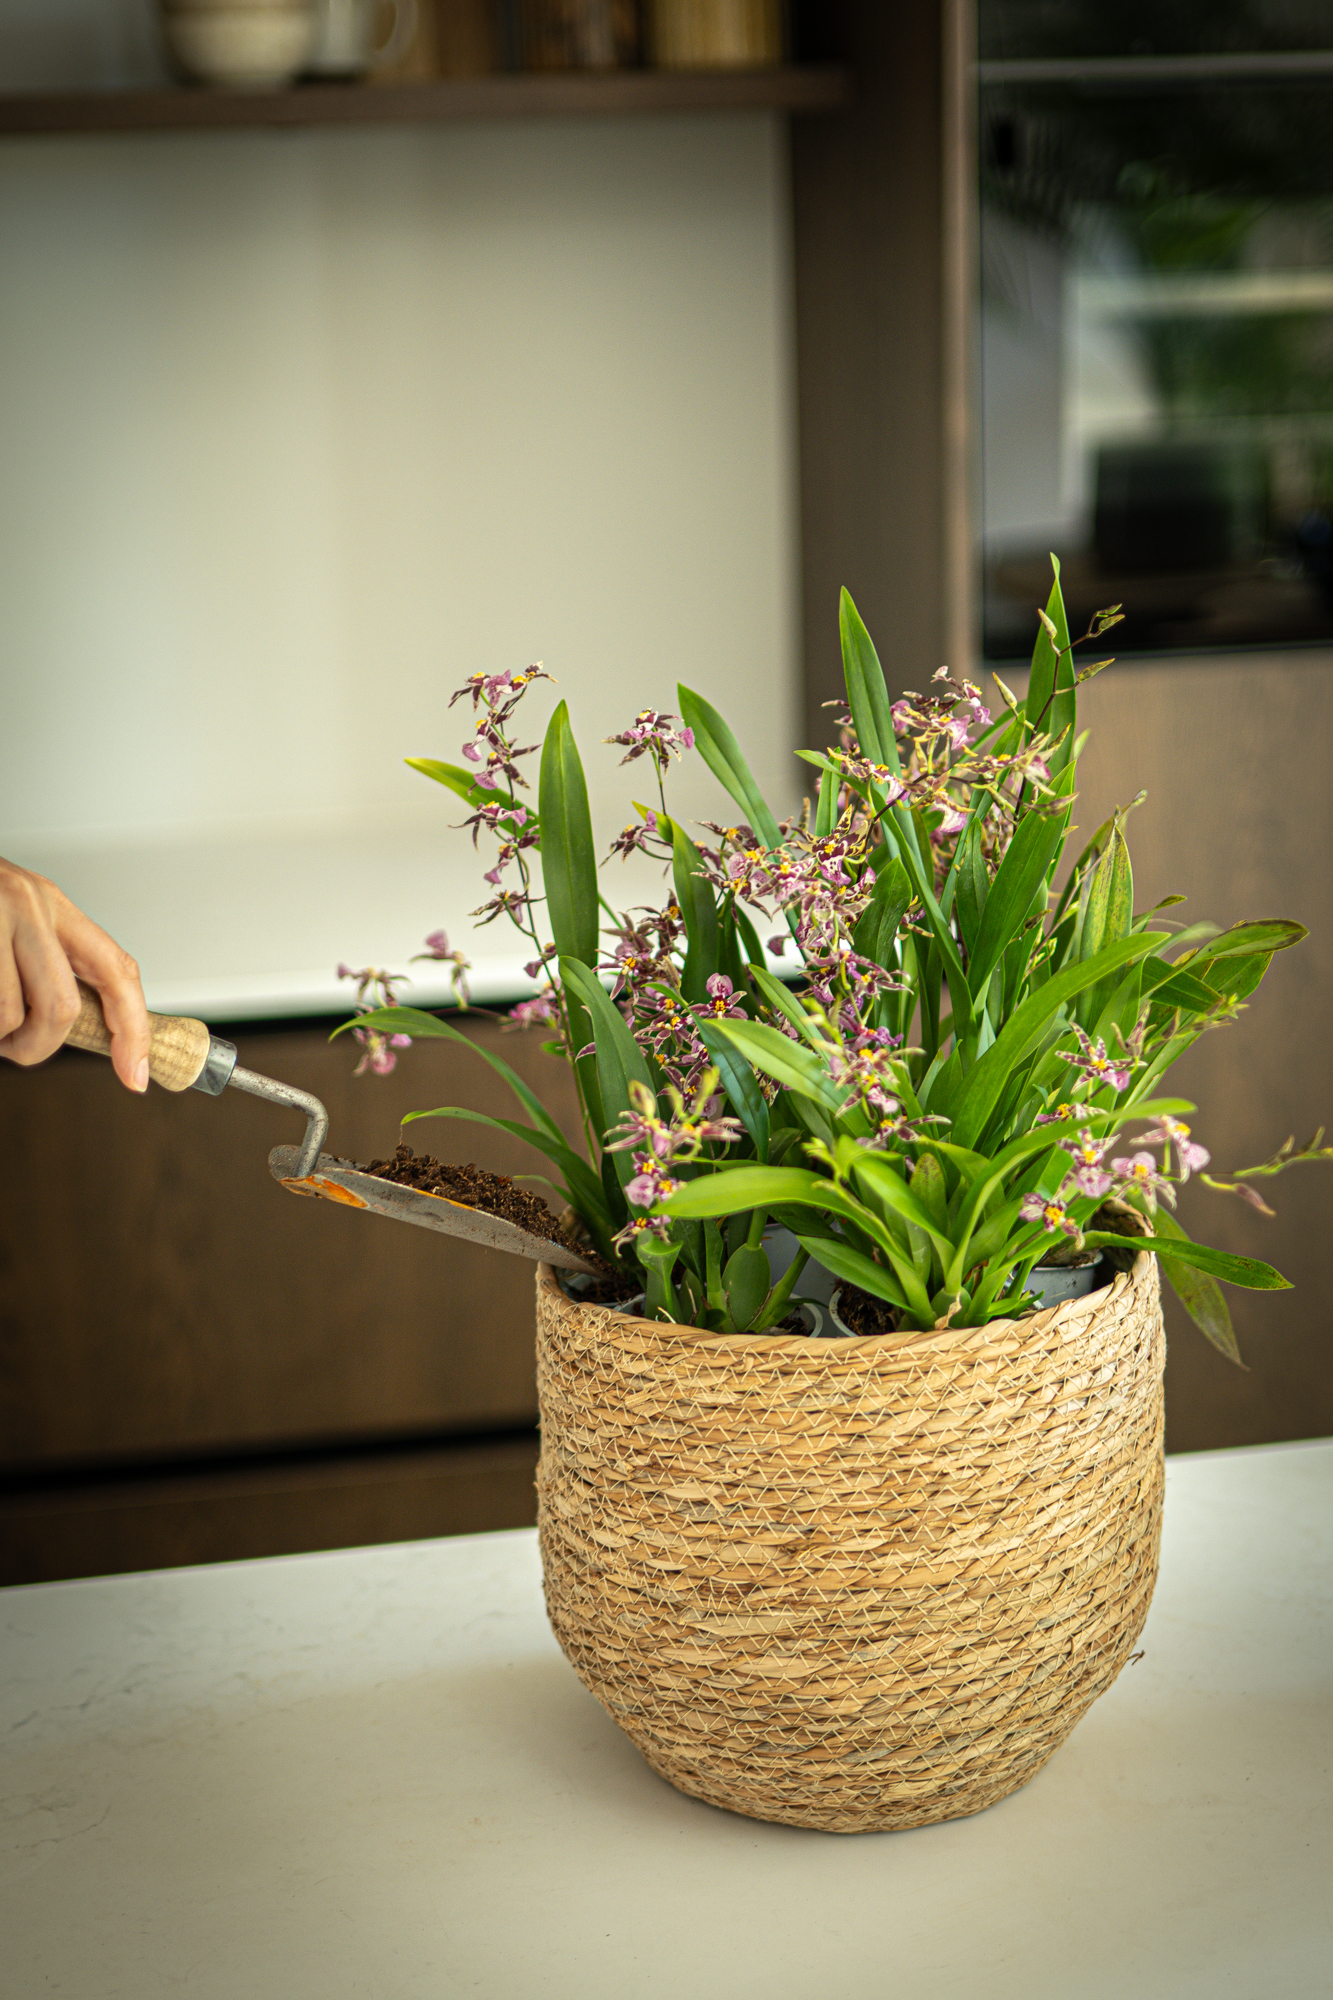
Position the plants close together so they stay firmly in place. Finally, add some bark around the sides to keep the mini orchids secure. If you like, you can also add a little moss around the base of the plants to cover the pots.
Caring for your mini orchid arrangement
Just like regular orchids, this mini orchid arrangement is easy to care for. Give the plants a little water once a week, making sure that no water remains at the bottom of the basket. Mini orchids prefer a spot with plenty of daylight, and they thrive best at a consistent room temperature.
Also read: Styling mini orchids: a blooming accent for every corner