Explained: the care icons on an orchid label
When you buy a new orchid, it comes with a label that includes various care icons to help you look after your new plant. Nothing complicated, but useful to know! To make sure you understand them, we’re breaking them down in this article: this is what the care icons on an orchid label mean.
The care icons on an orchid label
Light
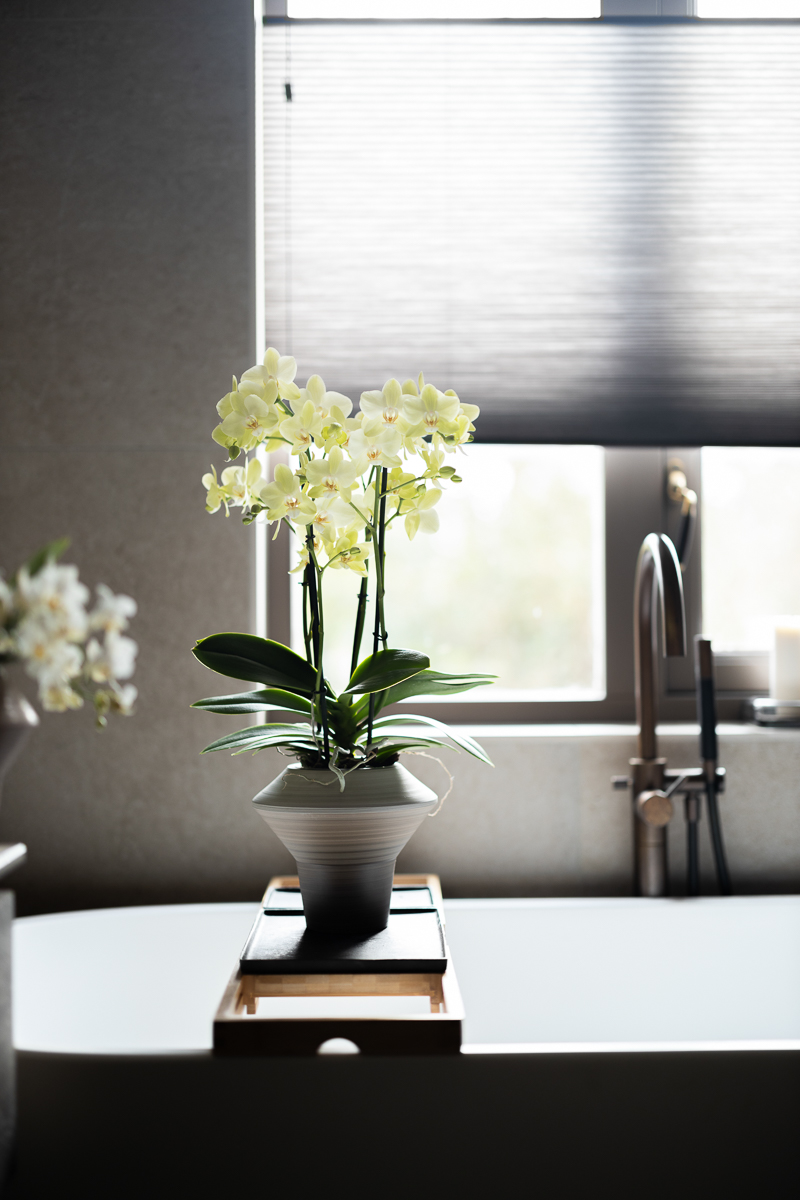
Place the orchid in a light spot without direct sunlight. This means a location where the plant receives daylight, but isn’t in full sun. For example, in a north-facing window or a few metres from a south-facing window. You can also create indirect sunlight by hanging curtains or applying window film.

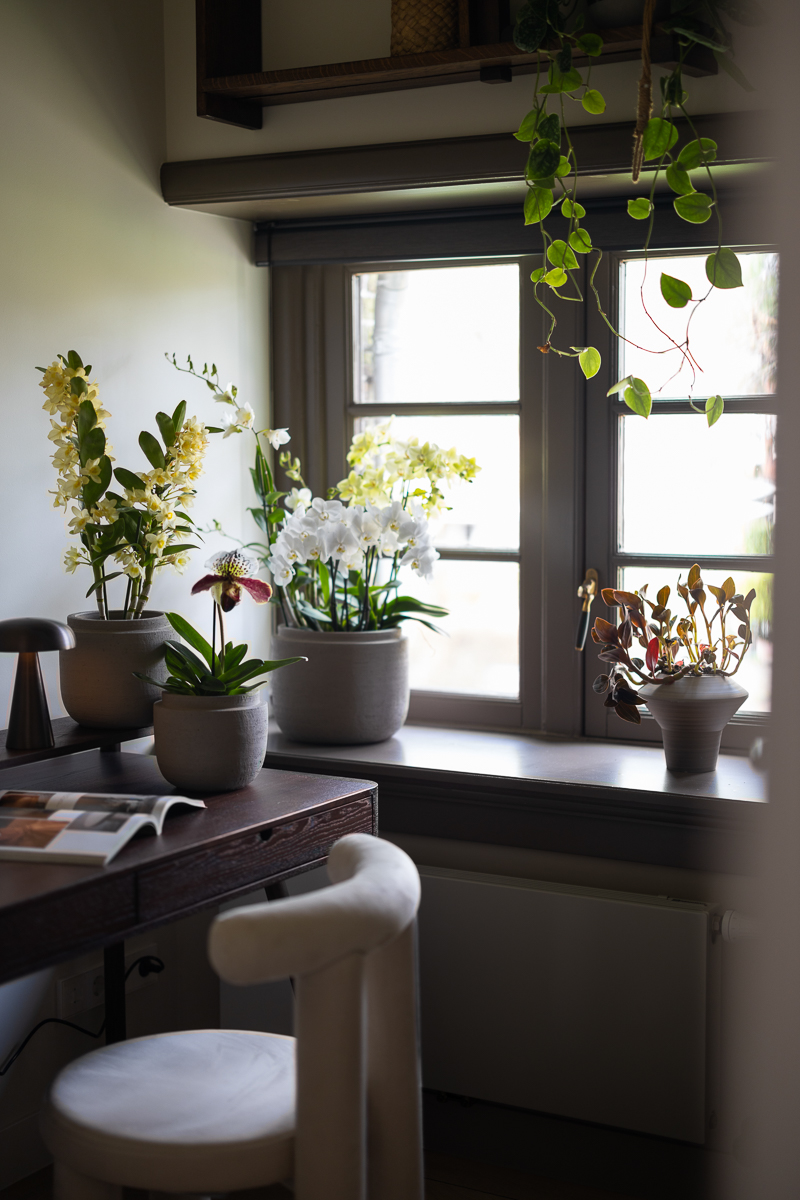
Also read: Where should I place an orchid in my house? The 4 best spots
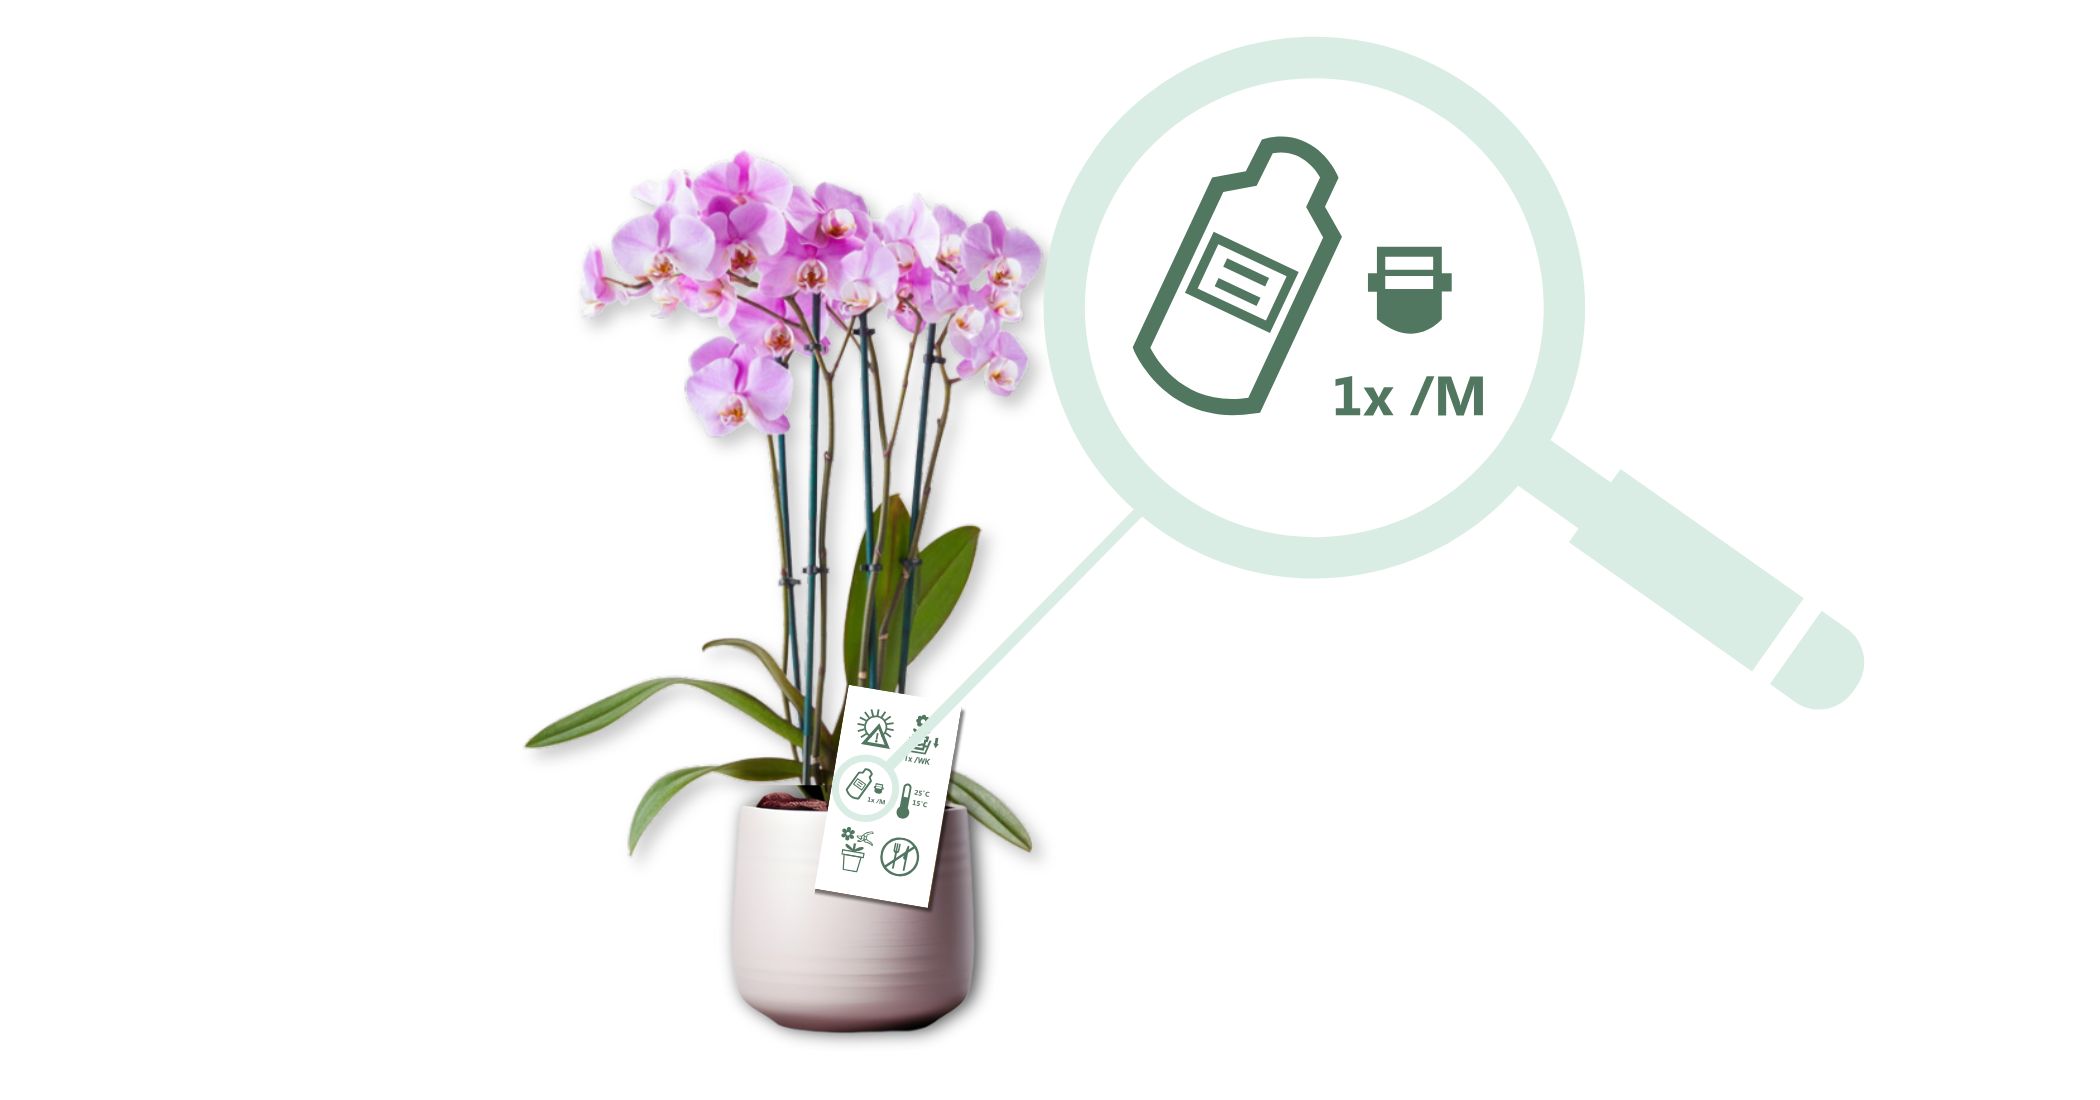
Feeding
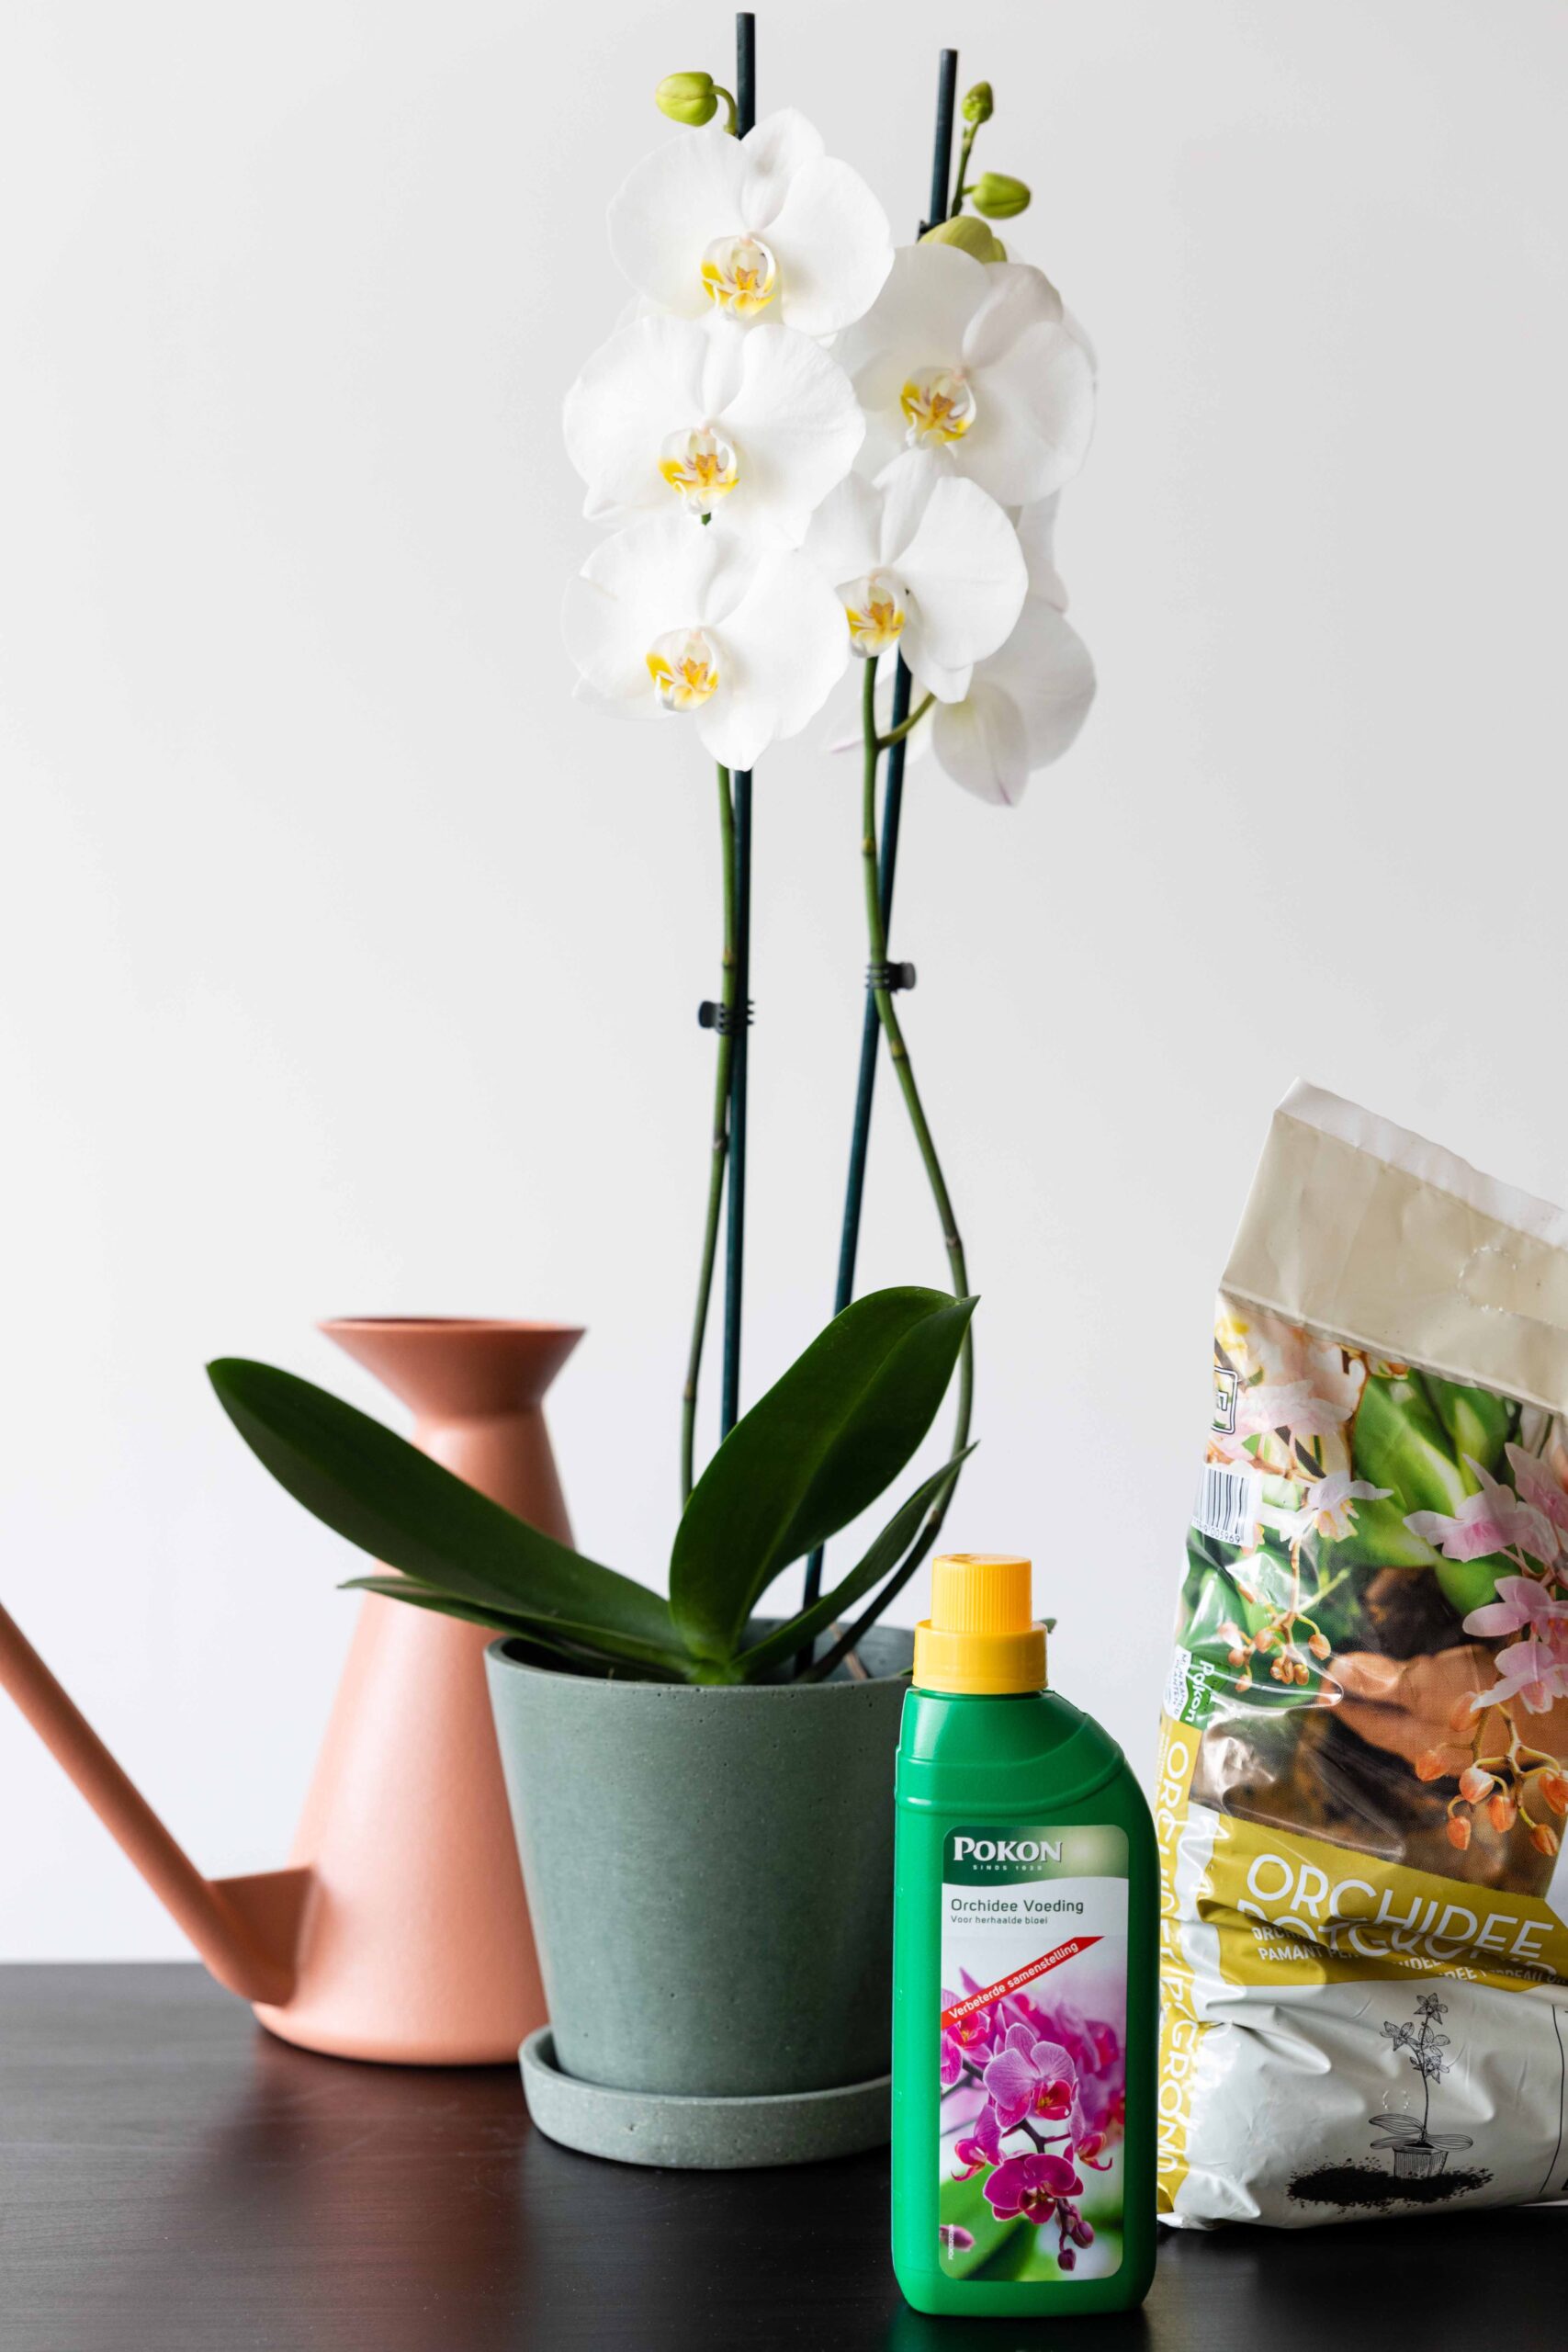
The orchid will happily bloom without additional feeding, but for optimal flowering pleasure feed it once a month. Add 10 ml of orchid feed per 1 litre of water.
Water
Place the orchid in a layer of water for about 10 minutes once a week. Allow to drain and return it to the planter.

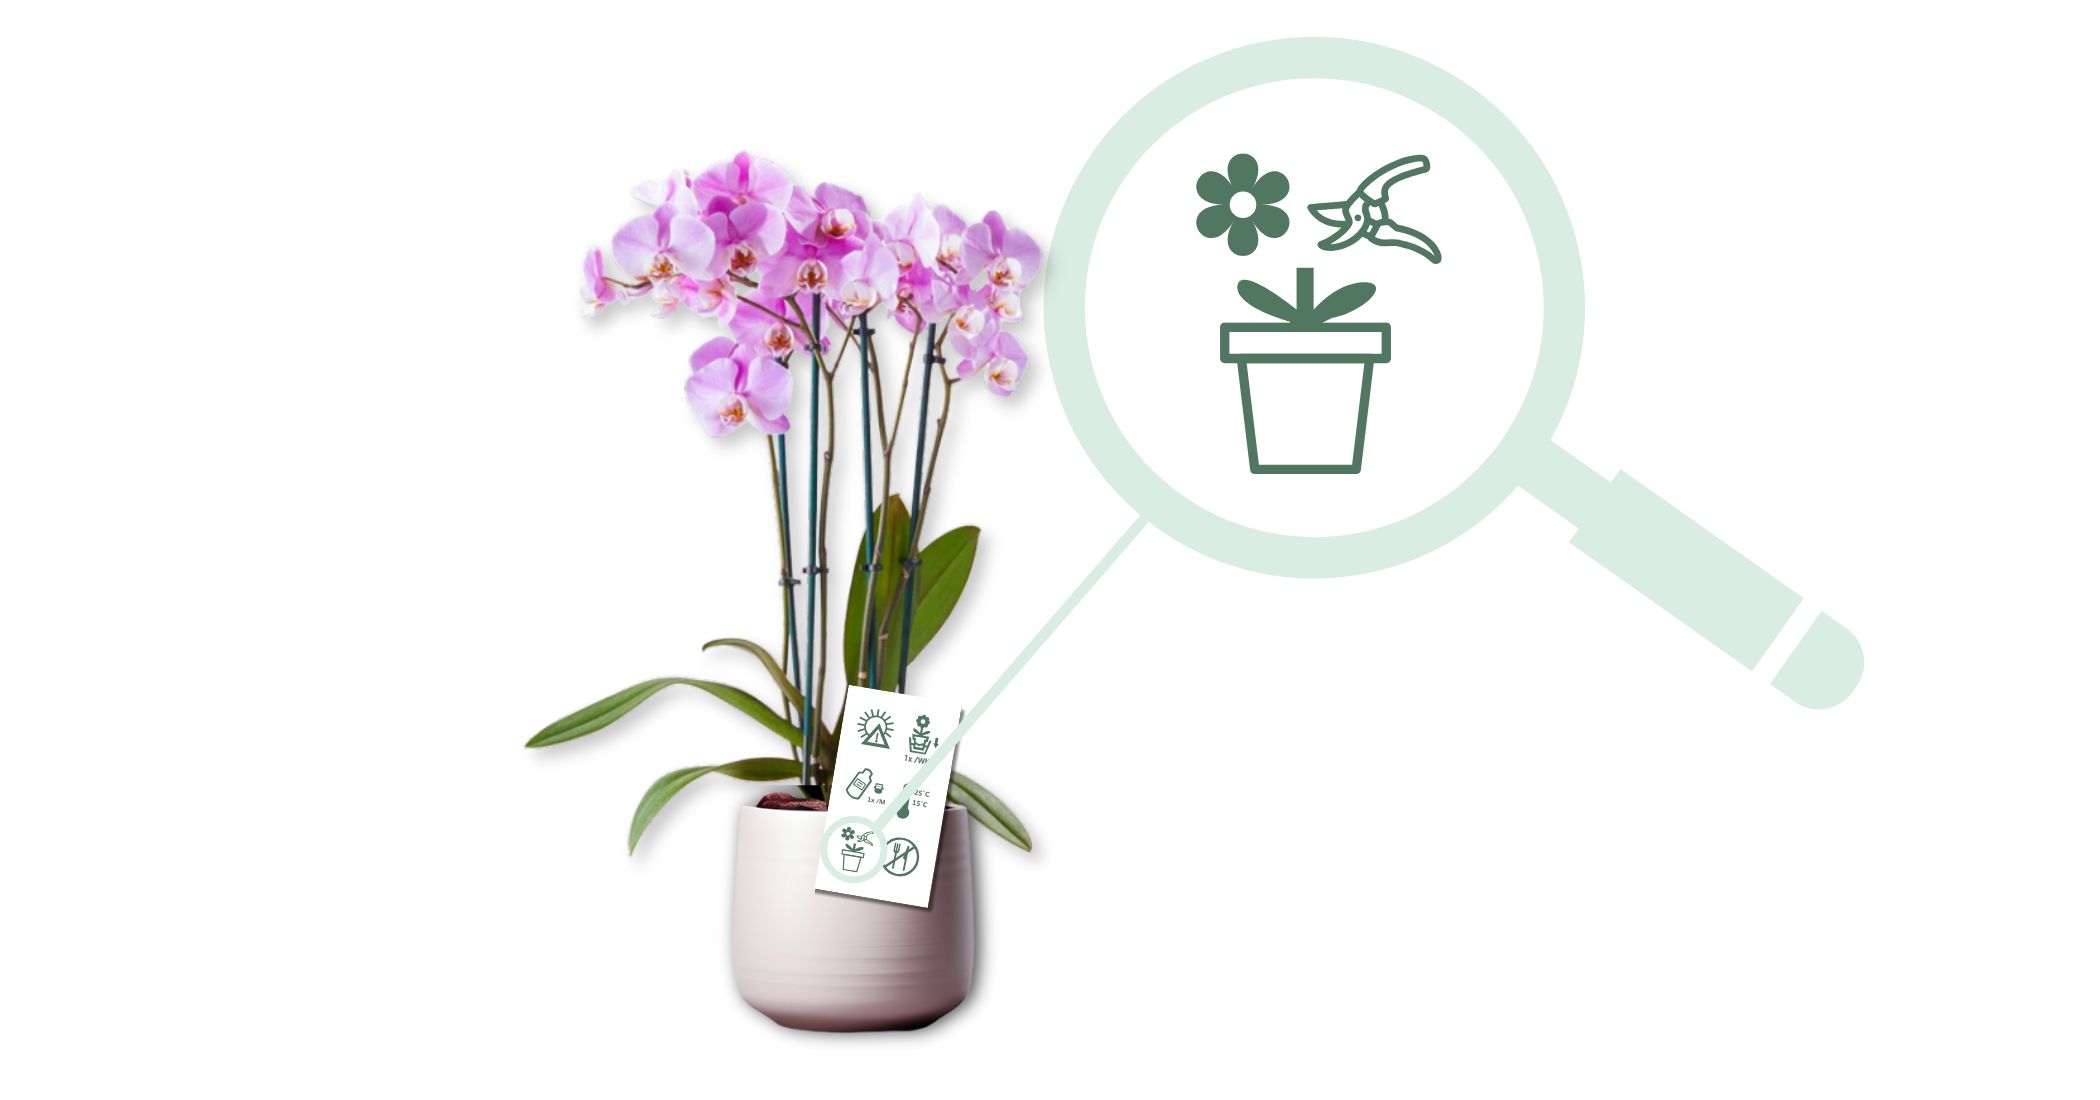
Reblooming
Cut off a spent stem above the second ‘eye’ (the thickening on the branch) from the roots. Water the plant a little less and place it in a cooler spot until new buds begin to form.
Also read: How to make orchids bloom again?
Temperature
Maintain a temperature of between 15°C and 25°C.

Not edible
Orchids are not meant for consumption.

Also watch this video:
@orchidsinfo This is what the care icons on the label of an orchid mean – nothing complicated, but useful to know! #orchidcare #neworchid #orchidscare